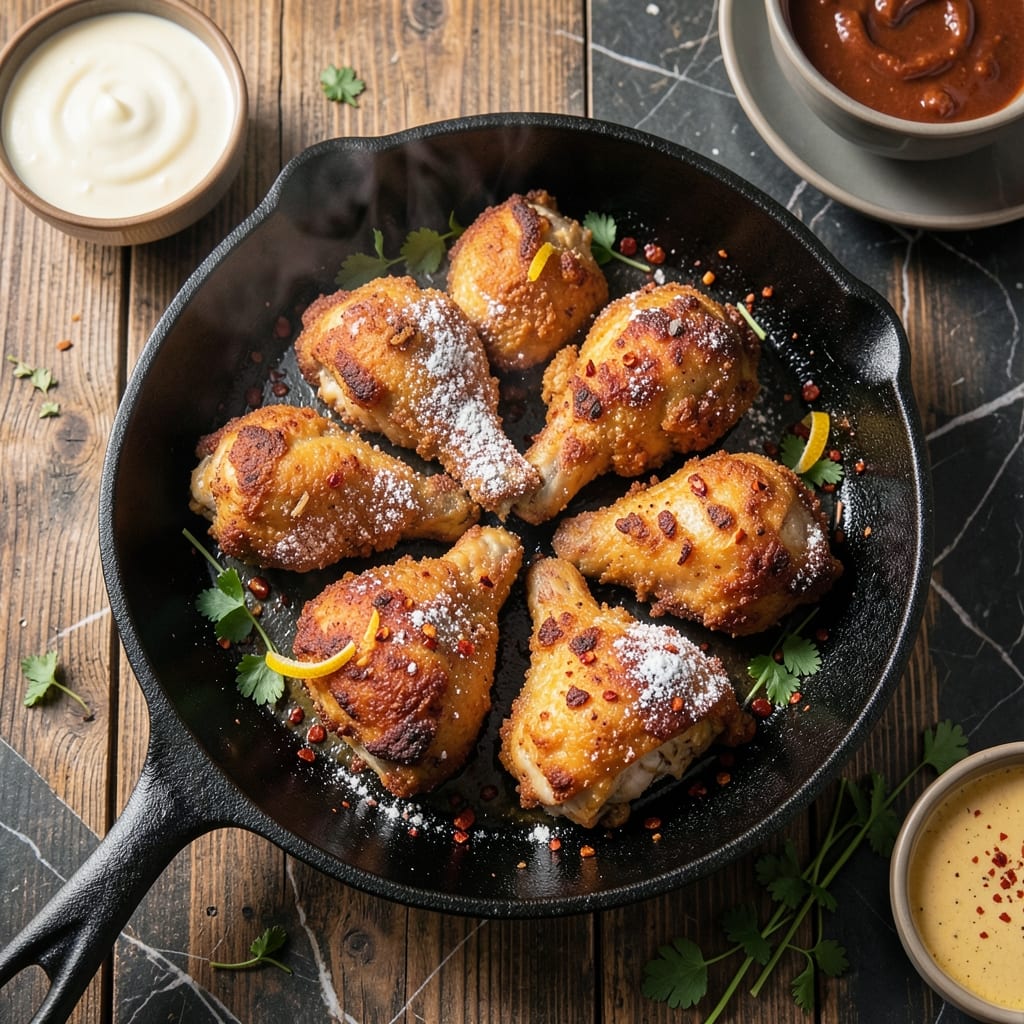
There’s nothing quite like stovetop fried chicken with its golden crust and juicy centers. I’ve perfected this method over years of trial and error, focusing on maintaining even heat and proper oil temperature.
The key is using a heavy-bottomed skillet and a thermometer to monitor the oil. This ensures the chicken cooks evenly, achieving that perfect balance between crispy exterior and tender meat inside.
Each piece emerges with a shatteringly crisp coating that gives way to moist, flavorful chicken. The aroma alone will have everyone gathering in the kitchen before it’s even done.
Serve hot with classic sides like mashed potatoes or coleslaw for a meal that feels special every time.
Ingredients for Fried Chicken Recipe Stovetop
Every ingredient here builds that signature crisp coating and tender meat inside.
| Ingredient | Amount | Notes |
|---|---|---|
| Chicken Thighs 🍗 | 3 lb | Bone-in, skin-on preferred |
| Buttermilk 🥛 | 2 cups | Full-fat for tenderness |
| All-Purpose Flour 🌾 | 2 cups | Plus extra for dredging |
| Cornstarch 🌽 | ½ cup | For extra crispiness |
| Salt 🧂 | 1 ½ tbsp | Kosher or sea salt |
| Black Pepper 🌶️ | 1 tbsp | Freshly ground preferred |
| Paprika 🌶️ | 1 tbsp | Sweet or smoked variety |
| Garlic Powder 🧄 | 1 tsp | Not garlic salt |
| Onion Powder 🧅 | 1 tsp | Fresh ground preferred |
| Cayenne Pepper 🔥 | ½ tsp | Adjust for heat preference |
| Vegetable Oil 🫒 | 4 cups | For frying, high smoke point |
| Large Eggs 🥚 | 2 whole | Beaten for egg wash |
[recipe_ingredient_scaler]
The chicken is everything. Bone-in, skin-on thighs stay juicier than breasts during frying. Look for plump pieces with smooth skin—no tears or discoloration. Most supermarkets carry them pre-packaged, but the butcher counter at Whole Foods or Publix often has fresher options. If using breasts, brine them first to prevent dryness. The buttermilk should be full-fat for maximum tenderness and that subtle tang.
No buttermilk? Whole milk plus 1 tbsp vinegar or lemon juice per cup works in a pinch. Out of cornstarch? Instant mashed potato flakes give a similar crisp. The paprika can be swapped for Cajun seasoning if you want extra kick. For a gluten-free version, rice flour and cornstarch at a 1:1 ratio replace the all-purpose flour. The cayenne is optional—skip it entirely for kid-friendly chicken.
Fry in batches to avoid crowding the pan (this drops oil temperature fast). Leftovers keep 3-4 days in the fridge but are best eaten fresh. Reheat in a 375°F oven for 15 minutes to restore crispness. Never store in the frying oil—strain and discard it after cooling.
Why You’ll Love This Recipe
- One Pan Magic: I love that I can go from prepping to plating without ever turning on the oven—just my stove, a skillet, and that buttermilk-soaked chicken.
- Crispy Perfection: The cornstarch in the flour mix gives it that shatteringly crisp crust while the thighs stay juicy inside. Honestly, it’s the best texture I’ve nailed at home.
- Weeknight Hero: Between us, this is my Tuesday night lifesaver—quick enough for a busy evening but impressive enough for weekend company too.
- Budget Friendly: Chicken thighs are cheap, the pantry staples do the rest, and I always have leftovers for sandwiches the next day. I’ll be real: that’s a win in my book.
Step-by-Step Instructions for Stovetop Fried Chicken
Here’s the method. Straightforward, tested, works every time.
Step 1: Marinate the Chicken Thighs in Buttermilk
Place the 3 lb Chicken Thighs in a large bowl and pour in all 2 cups Buttermilk. I prefer full-fat buttermilk for maximum tenderness, as the acid gently breaks down the proteins while keeping the meat moist.
Ensure each piece is fully submerged, then cover and refrigerate for at least 4 hours (overnight is ideal). This marinating step guarantees the juicy centers promised in the title. You’ll notice the buttermilk thickens slightly as it works its magic.
Step 2: Prepare the Seasoned Flour Dredge
In a large shallow dish, whisk together all 2 cups All-Purpose Flour, 0.5 cup Cornstarch, 1.5 tbsp Salt, 1 tbsp Black Pepper, 1 tbsp Paprika, 1 tsp Garlic Powder, 1 tsp Onion Powder, and 0.5 tsp Cayenne Pepper. The cornstarch is key for that extra crispiness.
Taste the mixture—it should be well-seasoned but not overwhelming. The paprika adds color and subtle depth, while the cayenne provides a gentle heat that balances the richness of the chicken. Set this aside while you prepare the egg wash.
Step 3: Create the Egg Wash and Dredge the Chicken
In a separate bowl, beat the 2 whole Large Eggs until fully combined. This acts as the glue between the chicken and the flour mixture. I find that large eggs provide just the right amount of liquid to help the dredge adhere without becoming soggy.
Remove the chicken from the buttermilk, letting excess drip off. Dip each piece into the beaten eggs, then press firmly into the seasoned flour mixture. Turn to coat completely, then shake off any excess. Place the dredged pieces on a wire rack set over a baking sheet. This setup allows air to circulate, keeping the coating crisp as it waits to be fried.
Step 4: Fry to Golden Perfection
Heat all 4 cups Vegetable Oil in a large, heavy-bottomed pot or Dutch oven over medium-high heat until it reaches 350°F. Use a deep-fry thermometer for accuracy—this temperature ensures the outside crisps while the inside cooks through without drying out.
Carefully lower 2-3 pieces of chicken at a time into the hot oil, being careful not to overcrowd the pot. Fry for 12-15 minutes, turning occasionally, until the coating is deep golden brown and the internal temperature reaches 165°F. The oil should bubble steadily but not violently around the chicken.
Step 5: Drain and Rest Before Serving
Transfer the fried chicken to a wire rack or paper towels to drain excess oil. This step is crucial—if you pile the chicken on a plate, the steam will make the coating soggy. Instead, the rack allows air to circulate, preserving that coveted crispiness.
Let the chicken rest for 5-10 minutes before serving. This brief pause allows the juices to redistribute, ensuring each bite delivers on the promise of a golden crust with juicy centers. Serve immediately while hot and crispy.
Pro Tips For Making Fried Chicken Recipe Stovetop
- Rest the Chicken: After coating, let the chicken rest for 10-15 minutes—this helps the flour adhere better and prevents it from sliding off in the pan.
- Double Fry for Crisp: Fry once at 350°F until golden, then rest 5 minutes and fry again briefly for that shatteringly crisp crust.
- Pat Dry First: I learned this the hard way—always pat the chicken thighs completely dry before dredging, or the coating won’t stick properly.
- Use a Mix of Oils: A 50/50 blend of vegetable oil and butter adds flavor and a higher smoke point for even browning without burning.
Essential Equipment for Great fried chicken recipe stovetop
Heavy-Duty Skillet
A cast iron skillet is my top pick for even heat distribution. I use a 12-inch Lodge that’s been seasoned for years. The heavy base prevents hot spots that can burn the coating. Avoid nonstick pans—they can’t handle the 350°F oil temperature needed. 🔥
Deep-Fry Thermometer
Precise oil temperature is non-negotiable. I swear by my CDN ProAccurate thermometer with a 5-inch probe. It clips to the pan and gives instant readings. Without it, you’re guessing—and that leads to greasy or undercooked chicken.
Wire Rack Setup
A wire cooling rack over a baking sheet is essential for draining. I use the OXO Good Grips version—it’s sturdy and easy to clean. Elevating the chicken lets air circulate, keeping the crust crisp. Paper towels work in a pinch but can steam the bottom.
Tongs for Safety
Never use a fork—it pierces the coating. I rely on 12-inch locking tongs from OXO for safe handling. The long handles keep your hands away from splattering oil. Look for tongs with a scalloped edge for better grip on slippery chicken.
Splatter Screen
Frying creates grease splatters. A stainless steel splatter screen saves your stovetop and your sanity. I place mine over the skillet while frying in batches. It’s a $15 investment that prevents a messy cleanup.
Oil Management
Use a fine-mesh skimmer to remove stray coating bits between batches. These can burn and impart off-flavors. I also keep a heatproof bowl nearby for safe oil disposal after cooling. Never pour hot oil down the drain.
Nutrition Facts
Frequently Asked Questions
What oil works best for frying?
Use oils with a high smoke point like vegetable, peanut, or canola oil. Avoid olive oil as it can burn at 350°F.
How do I keep the coating from falling off?
Pat the chicken dry before dredging and let it rest 10 minutes after coating. This helps the flour adhere better during frying.
Can I use chicken breasts instead of thighs?
Yes, but they cook faster and can dry out. Reduce frying time to 8-10 minutes and check internal temp reaches 165°F.
How do I know when the oil is ready?
Use a thermometer to confirm 350°F. Without one, test with a wooden chopstick—bubbles should form around it immediately.

Trained in classic French technique but raised on slow-cooked ribs and spicy rubs, she blends culinary skill with smoke and soul.
- Recipe for Boneless Pork Chops in Cast Iron Skillet: Sear and Baste to Juicy Perfection - October 3, 2026
- Recipe for Boneless Cross Rib Roast: Slow-Roasted Beef with Herb Crust - October 3, 2026
- Hamburgers in Sauce Recipe Crock Pot: Slow-Cooked Savory Delight - October 3, 2026