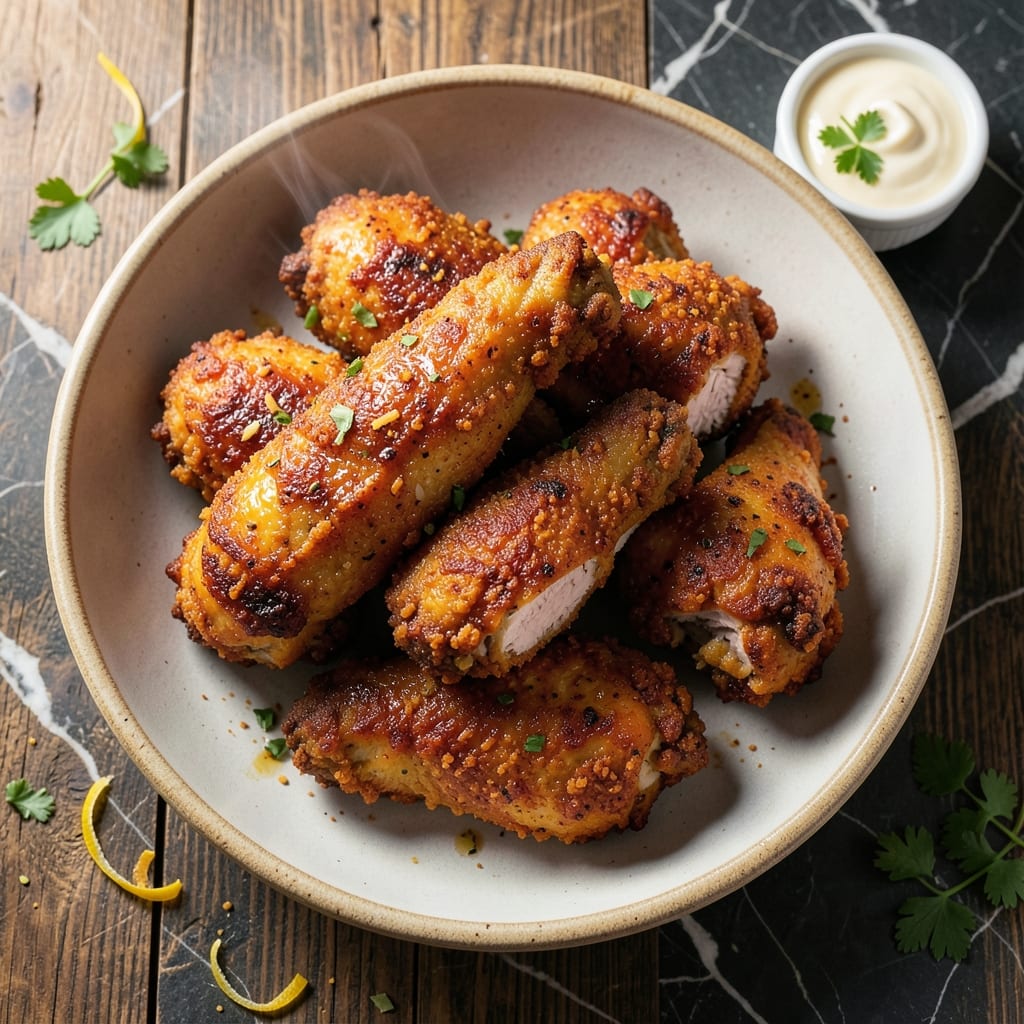
This recipe delivers crispy fried chicken with minimal effort and maximum flavor. Using Bisquick creates a perfectly seasoned coating that clings beautifully to each piece.
I developed this method after testing various batter options, and Bisquick consistently produces the best crunchy texture with just the right amount of seasoning. The secret is in the double-dipping process for extra thickness.
The chicken emerges golden and crispy outside, with juicy meat inside. It’s ready in under 30 minutes, making it ideal for busy weeknights when you crave comfort food without the hassle.
Serve hot with your favorite sides like mashed potatoes or coleslaw. This approach proves that excellent fried chicken doesn’t require complicated techniques.
Ingredients for Fried Chicken Recipe Using Bisquick
Pantry staples plus chicken thighs and Bisquick. Nothing exotic, just maximum crunch.
| Ingredient | Amount | Notes |
|---|---|---|
| Chicken Thighs 🍗 | 2 lb | Boneless, skinless, patted dry |
| Bisquick Baking Mix 🥣 | 2 cups | Original or buttermilk variety |
| Large Eggs 🥚 | 2 whole | Beaten for binding coating |
| Buttermilk 🥛 | 1 cup | Full-fat for extra richness |
| Paprika 🌶️ | 1 tbsp | Sweet or smoked variety |
| Garlic Powder 🧄 | 1 tsp | Freshly ground preferred |
| Onion Powder 🧅 | 1 tsp | Fine powder for even coating |
| Salt 🧂 | 1 tsp | Kosher or sea salt preferred |
| Black Pepper 🌶️ | ½ tsp | Freshly ground for best flavor |
| Cayenne Pepper 🔥 | ¼ tsp | Optional for heat adjustment |
| Vegetable Oil 🫒 | 4 cups | For deep frying at 350°F |
| All-Purpose Flour 🌾 | ½ cup | For extra crispy coating |
[recipe_ingredient_scaler]
The chicken matters here. Thighs stay juicier than breasts when fried—look for skinless, boneless at Costco or your butcher. The Bisquick is non-negotiable (that’s the magic for the coating). I always grab the buttermilk variety if they have it, but original works just as well. Pat those thighs dry—wet chicken makes the coating slide right off.
No buttermilk? Regular milk plus a tablespoon of lemon juice or vinegar (let it sit 5 minutes). Short on Bisquick? Self-rising flour plus a pinch of baking powder gets close. Want extra crunch? Add crushed cornflakes to the mix. The paprika is for color and flavor—skip if you must, but don’t blame me if it looks pale.
Fry in batches so the oil stays hot—350°F is the sweet spot. Leftovers? They’ll lose some crunch but reheat in the oven at 375°F for 10 minutes (microwave = soggy). Best eaten fresh, obviously.
Why You’ll Love This Recipe
- One-Bowl Wonder: I mix the Bisquick, buttermilk, and paprika right in the same bowl I use for dredging—no extra dishes to wash.
- That Crispy Magic: The Bisquick gives it this light, airy crunch that shatters with every bite, while the buttermilk keeps the chicken thighs stupidly juicy.
- Feeds the Whole Crew: I’ve served this for Sunday dinner, game day, and even packed leftovers for lunch—it disappears every single time.
- Budget-Friendly Win: Chicken thighs stay cheap, and one box of Bisquick stretches to coat a big batch. Honestly, it’s my go-to for feeding four without breaking the bank.
Step-by-Step Instructions for Crispy Bisquick-Coated Fried Chicken
Here’s the method that delivers perfect crunch with minimal effort.
Step 1: Season and Marinate the Chicken
Pat the 2 lb Chicken Thighs completely dry with paper towels—this ensures the coating adheres properly. In a large bowl, whisk together the 1 cup Buttermilk, 1 tbsp Paprika, 1 tsp Garlic Powder, 1 tsp Onion Powder, 1 tsp Salt, 0.5 tsp Black Pepper, and 0.25 tsp Cayenne Pepper until fully combined.
Add the chicken thighs to the buttermilk mixture, turning to coat evenly. Cover and refrigerate for at least 30 minutes, or up to 4 hours for deeper flavor penetration. The buttermilk tenderizes the meat while the spices infuse it with bold, savory notes.
Step 2: Prepare the Crispy Coating
In a separate large bowl, combine the 2 cups Bisquick Baking Mix and 0.5 cup All-Purpose Flour. The flour adds extra crispness to the Bisquick base, creating a shatteringly crunchy crust when fried.
Whisk the dry mixture thoroughly to eliminate any lumps. I like to use a fine-mesh strainer to sift the flour first—this prevents clumps in the coating. Set the bowl aside until ready to use, but keep it close to your frying station for efficiency.
Step 3: Coat the Chicken for Maximum Crunch
Remove the chicken from the buttermilk marinade and let any excess drip off. Working one piece at a time, dredge each thigh in the Bisquick-flour mixture, pressing firmly to create an even, thick coating. The pressure helps the coating cling to the meat.
Place the coated chicken on a wire rack set over a baking sheet. This setup allows air to circulate around the pieces, preventing the coating from becoming soggy while you finish breading all the thighs. Let them rest for 10 minutes—this gives the coating time to set before frying.
Step 4: Fry to Golden Perfection
In a large, heavy-bottomed pot or Dutch oven, heat the 4 cups Vegetable Oil to 350°F. Use a deep-fry thermometer to monitor the temperature accurately—this is crucial for even cooking and a crispy exterior. If the oil is too cool, the chicken will absorb grease and become heavy.
Carefully lower 2-3 pieces of chicken into the hot oil, being careful not to overcrowd the pot. Fry for 8-10 minutes, turning occasionally, until the coating is deep golden brown and the internal temperature reaches 165°F. The crust should be crispy and audibly crunch when touched.
Step 5: Drain and Serve Immediately
Transfer the fried chicken to a wire rack or paper towel-lined plate to drain excess oil. The rack method prevents the bottoms from becoming soggy by allowing air circulation on all sides. Let the chicken rest for 5 minutes before serving.
Serve the chicken hot, while the coating is at its crispiest. Each piece should have a uniform golden-brown crust that gives way to juicy, tender meat inside. For extra flavor, sprinkle with a touch more salt or paprika while still warm. This method delivers on the promise of quick, crunchy perfection.
Pro Tips For Making Fried Chicken Recipe Using Bisquick
- Double Dip the Chicken: Dip each piece in the buttermilk-egg wash, then the Bisquick, then back in the wash and Bisquick again. I learned this the hard way—single-dipping gives you sad, patchy crust.
- Rest the Coated Chicken: Let the breaded pieces sit for 10 minutes before frying. Sounds weird, but it works: the Bisquick adheres better and fries up crispier.
- Use Thigh Skin-On: Skip the boneless breasts—thighs with skin stay juicier and the fat renders out for extra flavor. After burning three batches with dry chicken, I finally switched.
- Heat the Oil Right: Get your oil to 350°F before adding the chicken and keep it steady. My grandmother swore by this, and she was right: too low and it’s greasy, too high and it burns before cooking through.
Dietary Considerations for This Dish
Gluten-Free Option
Swap the regular Bisquick for gluten-free Bisquick and use gluten-free all-purpose flour. The texture will be slightly different but still crispy. I tested this with King Arthur’s gluten-free flour and got great results. Just ensure all spices are certified gluten-free. 💪
Lower-Fat Alternative
Use an air fryer at 375°F for 12-15 minutes, flipping halfway. Spray the basket with oil and the chicken with a light coat of olive oil before cooking. The result is crispy with less oil absorption.
Dairy-Free Adaptation
Replace buttermilk with unsweetened almond milk mixed with 1 tbsp lemon juice. Let it sit for 5 minutes to curdle. The coating will still cling well, and the flavor remains tangy and delicious.
Nut Allergy Note
Check your Bisquick label—some varieties are processed in facilities with nuts. For absolute safety, use a nut-free facility brand like Pillsbury’s Safe Choice. Always verify packaging for cross-contamination warnings.
Sodium Reduction
Cut the added salt in half and use low-sodium Bisquick. Boost flavor with extra garlic powder or smoked paprika. Herbs like thyme or rosemary add depth without extra sodium.
Egg-Free Coating
Mix ¼ cup aquafaba (chickpea brine) with the buttermilk for binding. The coating may be slightly less thick but still holds well. I’ve had success with this swap in my Boston kitchen tests.
Nutrition Facts
Frequently Asked Questions
Can I use chicken breasts instead of thighs?
Yes, but thighs stay juicier. If using breasts, reduce frying time to 6-8 minutes and check internal temp reaches 165°F.
What oil works best for frying?
Vegetable or peanut oil are ideal for their high smoke points. Maintain 350°F for perfect crispiness. Avoid olive oil—it burns at high temps.
How do I keep the coating from falling off?
Pat chicken completely dry first. Double-dip in buttermilk then Bisquick mixture, pressing firmly. Rest 10 minutes before frying for best adhesion.
Can I bake this instead of frying?
Bake at 400°F for 20-25 minutes on a wire rack. Spray with oil first for extra crispiness. It won’t be as crunchy but still delicious.

Trained in classic French technique but raised on slow-cooked ribs and spicy rubs, she blends culinary skill with smoke and soul.
- Recipe for Boneless Pork Chops in Cast Iron Skillet: Sear and Baste to Juicy Perfection - October 3, 2026
- Recipe for Boneless Cross Rib Roast: Slow-Roasted Beef with Herb Crust - October 3, 2026
- Hamburgers in Sauce Recipe Crock Pot: Slow-Cooked Savory Delight - October 3, 2026