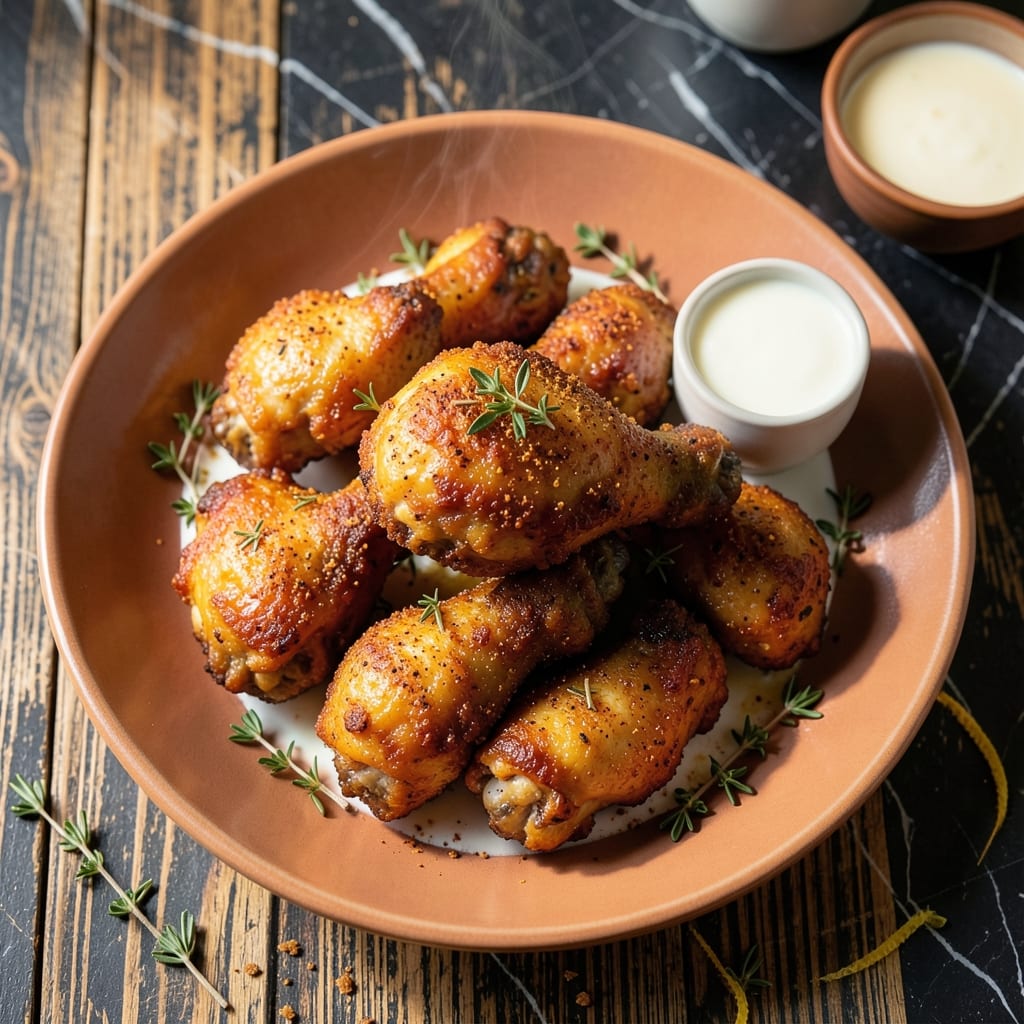
This evaporated milk batter creates the most crispy, golden-brown fried chicken you’ll ever make at home. It’s a technique I perfected after years of testing, and the results are undeniably superior.
The milk’s richness tenderizes the chicken while helping the coating cling tightly for an extra-crunchy exterior. Every bite delivers a moist interior with a shatteringly crisp shell that stays intact even after cooling.
Unlike traditional buttermilk, evaporated milk adds a subtle sweetness that balances the savory spices. It’s the secret to achieving that ideal contrast between tender meat and crunchy coating.
Serve it hot for the best texture, but even leftovers reheat beautifully. This method guarantees restaurant-quality results every time.
Ingredients for Fried Chicken Recipe with Evaporated Milk
Evaporated milk is the secret to ultra-crispy, moist fried chicken at home.
| Ingredient | Amount | Notes |
|---|---|---|
| Chicken Thighs and Drumsticks 🍗 | 3 ½ lb | Bone-in, skin-on for crispiness |
| Evaporated Milk 🥛 | 1 can | 12 oz can, undiluted |
| All-Purpose Flour 🌾 | 2 ½ cups | For dredging and coating |
| Cornstarch 🌽 | ½ cup | For extra crispiness |
| Paprika 🌶️ | 2 tbsp | Sweet or smoked variety |
| Garlic Powder 🧄 | 1 tbsp | Freshly ground preferred |
| Onion Powder 🧅 | 1 tbsp | For depth of flavor |
| Dried Thyme 🍃 | 1 tsp | Crushed between fingers |
| Dried Oregano 🌿 | 1 tsp | Mediterranean oregano preferred |
| Salt 🧂 | 2 tsp | Diamond Crystal kosher salt |
| Black Pepper 🌶️ | 1 tsp | Freshly ground for best flavor |
| Cayenne Pepper 🔥 | ½ tsp | Adjust to taste for heat |
| Vegetable Oil 🫒 | 4 cups | For deep frying, high smoke point |
| Large Egg 🥚 | 1 whole | For binding coating |
[recipe_ingredient_scaler]
The evaporated milk is non-negotiable here—it’s what gives the coating its unmatched crispness while keeping the meat juicy. Carnation is the most widely available brand, but any full-fat evaporated milk works. For the chicken, bone-in, skin-on thighs and drumsticks yield the best texture. Source from a trusted butcher or Whole Foods for high-quality, fresh poultry.
No evaporated milk? Whole milk reduced by half (simmer 2 cups to 1 cup) is a decent substitute, though the flavor won’t be identical. Swap cornstarch for arrowroot powder at a 1:1 ratio if needed. For the oil, peanut or canola oil can replace vegetable oil—just ensure a high smoke point. The spices can be adjusted, but paprika is essential for color and depth.
Fry in batches and keep warm in a 200°F oven while finishing. Leftovers stay crispy when reheated in a toaster oven or air fryer. Best consumed within 2-3 days for optimal texture. Store oil in a cool, dark place for reuse (up to 3 times).
Why You’ll Love This Recipe
- One Bowl Wonder: I mix the evaporated milk marinade right in the same bowl I’ll dredge the chicken—no extra dishes, just flavor.
- Crispy Meets Creamy: The evaporated milk tenderizes the chicken while the cornstarch gives it that shatteringly crisp crust I crave.
- Feeds a Crowd: Honestly, I’ve served this at picnics and weeknight dinners alike—thighs and drumsticks stretch far and disappear fast.
- Budget Friendly: Chicken thighs stay cheap, and a can of evaporated milk costs pennies but makes the coating cling like a dream.
Step-by-Step Instructions for Fried Chicken With Evaporated Milk
Master these steps for exceptional crispiness and juicy tenderness every time.
Step 1: Prepare the Seasoned Flour Coating
In a large bowl, whisk together the 2.5 cups all-purpose flour, 0.5 cup cornstarch, 2 tbsp paprika, 1 tbsp garlic powder, 1 tbsp onion powder, 1 tsp dried thyme, 1 tsp dried oregano, 2 tsp salt, 1 tsp black pepper, and 0.5 tsp cayenne pepper.
The cornstarch is essential for that ultra-crispy coating, while the spices create a balanced, aromatic flavor profile. Ensure the mixture is completely uniform with no visible streaks of individual spices.
Step 2: Create the Evaporated Milk Wash
In a separate bowl, whisk the 1 can evaporated milk with the 1 whole large egg until fully combined and smooth. The evaporated milk’s richness ensures the chicken stays moist during frying, while the egg provides binding power for the coating.
This wash should have the consistency of thin paint. If it appears too thick, whisk vigorously for another 30 seconds to achieve the proper texture. The mixture will look slightly pale and creamy.
Step 3: Coat the Chicken Thoroughly
Pat the 3.5 lb chicken thighs and drumsticks dry with paper towels to ensure maximum coating adhesion. Dip each piece into the evaporated milk wash, allowing excess to drip off for 5 seconds.
Immediately dredge the chicken in the seasoned flour mixture, pressing firmly with both hands to create an even, thick coating. Shake off any loose flour. Place the coated pieces on a wire rack to rest for 10 minutes—this allows the coating to set properly before frying.
Step 4: Fry to Golden Perfection
Heat the 4 cups vegetable oil in a deep, heavy-bottomed pot to 350°F. Use a thermometer for precision—this temperature ensures even cooking without burning the coating. The oil should be deep enough to submerge the chicken pieces by at least half.
Fry the chicken in batches to avoid overcrowding, which would lower the oil temperature. Cook for 12-15 minutes for drumsticks and 14-16 minutes for thighs, turning occasionally, until the coating is deep golden brown and the internal temperature reaches 165°F. The coating should be crispy and audibly crunch when touched.
Step 5: Drain and Rest Before Serving
Transfer the fried chicken to a wire rack set over a baking sheet to drain excess oil. This elevation prevents the coating from becoming soggy by allowing air circulation on all sides. Let the chicken rest for 5-10 minutes before serving.
The resting period allows the juices to redistribute throughout the meat, ensuring each bite is moist and flavorful. The coating should remain crispy even after draining, with no greasy residue when touched.
Pro Tips For Making Fried Chicken Recipe With Evaporated Milk
- Soak in Milk First: Let the chicken marinate in evaporated milk for at least 30 minutes—it tenderizes the meat and helps the coating stick better than any egg wash I’ve tried.
- Double Dredge: Dip the milk-soaked chicken in flour, then back in the milk, then flour again for an extra-crispy crust that actually stays put.
- Skip Cold Oil: I learned this the hard way—start frying only when the oil hits 350°F, or the coating absorbs grease and turns soggy instead of golden.
- Rest Before Serving: Give the fried chicken 5-10 minutes on a wire rack after frying—it keeps the crust crisp while the juices redistribute, so every bite is moist.
Essential Equipment for This Recipe
Deep Fry Essential
I swear by my 5.5-quart Dutch oven from Lodge for frying—it maintains steady 350°F oil temperature better than any pot I’ve tried. The heavy cast iron prevents hot spots that burn your coating. 🔥
Thermometer Matters
A candy/deep fry thermometer is non-negotiable. I use Taylor’s Classic model that clips to the pot. Without precise temp control, you risk undercooked meat or burnt crust. 350°F is the sweet spot for perfect frying.
Draining Solution
Place a wire cooling rack over a baking sheet to drain fried pieces. This setup keeps the coating crisp by allowing air circulation on all sides. I found mine at New Seasons Market for under $15.
Oil Management
Use a fine-mesh skimmer to remove stray flour bits between batches. These prevent burning that can impart off flavors. I keep a heat-resistant silicone brush handy to clean the thermometer between uses.
Store used oil in the original container once cooled completely. It’s good for 2-3 frying sessions before replacing.
Safety First
Keep a fire extinguisher rated for grease fires nearby—safety can’t be compromised. I also use long tongs for turning chicken to avoid oil splatters. Never leave hot oil unattended.
Nutrition Facts
Frequently Asked Questions
Why use evaporated milk instead of regular milk?
Evaporated milk has 60% less water than regular milk, creating a thicker wash that clings better to chicken. This results in a crispier coating that stays put during frying.
How do I prevent the coating from falling off?
Pat chicken completely dry before dipping, and let coated pieces rest for 10 minutes before frying. This helps the flour adhere properly to the evaporated milk wash.
Can I bake this instead of frying?
For oven-baked, use 400°F and place pieces on a wire rack over a baking sheet. Bake for 35-40 minutes, flipping halfway. The texture won’t be as crispy but still delicious.
What oil works best for frying?
Use oils with a high smoke point: vegetable, canola, or peanut oil. Avoid olive oil as it can burn at 350°F. Each batch needs about 4 cups of oil.

Trained in classic French technique but raised on slow-cooked ribs and spicy rubs, she blends culinary skill with smoke and soul.
- Recipe for Boneless Pork Chops in Cast Iron Skillet: Sear and Baste to Juicy Perfection - October 3, 2026
- Recipe for Boneless Cross Rib Roast: Slow-Roasted Beef with Herb Crust - October 3, 2026
- Hamburgers in Sauce Recipe Crock Pot: Slow-Cooked Savory Delight - October 3, 2026