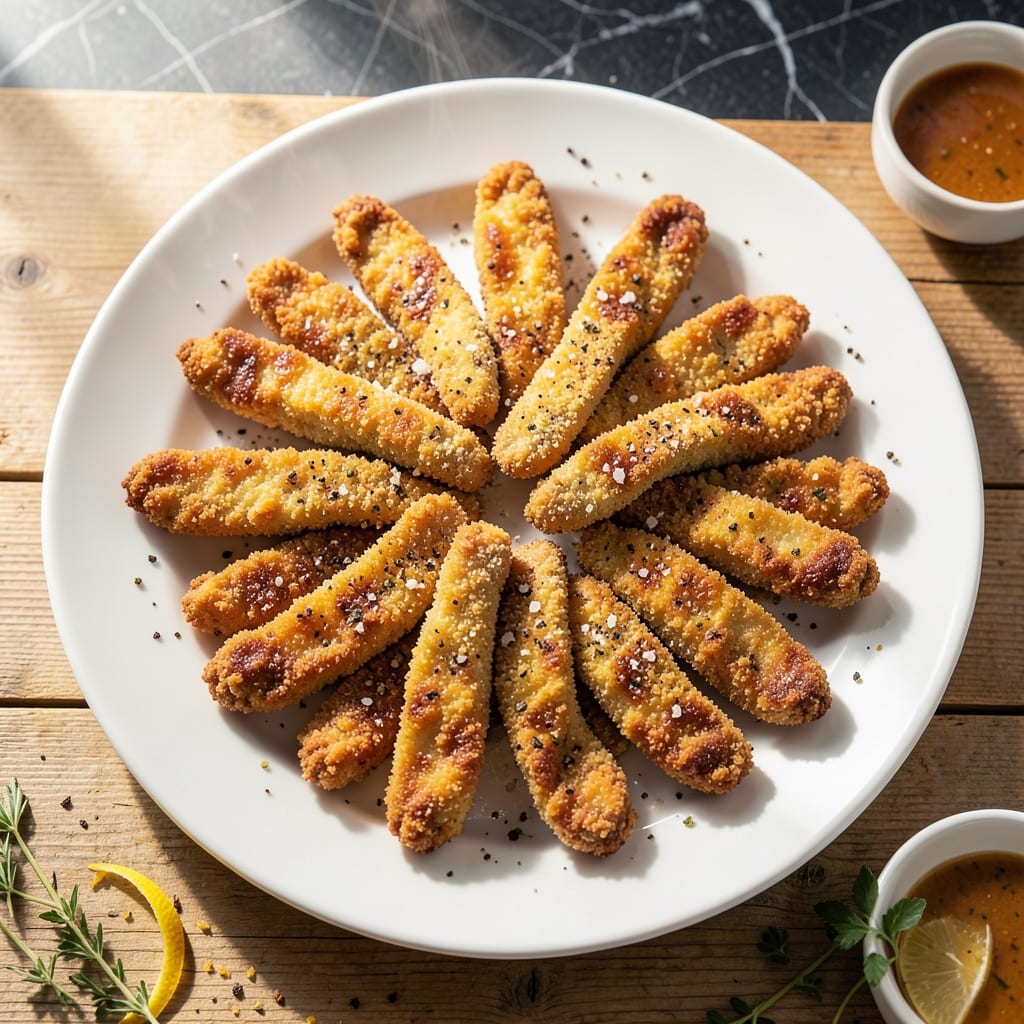
This egg-free method delivers tender chicken with a perfectly crispy coating every time. I developed this recipe after realizing many home cooks need a reliable dairy-free option without sacrificing texture or flavor.
The secret lies in a simple but effective batter using common pantry staples. No special equipment or hard-to-find ingredients—just a straightforward technique that ensures even browning and maximum crunch.
Each bite offers juicy meat encased in a golden, shatteringly crispy exterior. The results rival traditional fried chicken tenders, proving you don’t need eggs for exceptional quality.
Ideal for quick weeknight dinners or satisfying cravings without the dairy. This approach works consistently in any home kitchen.
Ingredients for Fried Chicken Tenders Recipe No Egg
Common pantry staples create these crispy, egg-free chicken tenders with ease.
| Ingredient | Amount | Notes |
|---|---|---|
| Chicken Breast 🍗 | 1 ½ lb | Boneless, skinless, cut into strips |
| All-Purpose Flour 🌾 | 1 ½ cups | Divided for dredging and batter |
| Cornstarch 🌽 | ½ cup | For extra crispiness |
| Baking Powder 🧂 | 1 tsp | Helps batter puff and crisp |
| Garlic Powder 🧄 | 1 tsp | For savory depth |
| Onion Powder 🧅 | 1 tsp | Balances the seasoning |
| Paprika 🌶️ | 1 tsp | Sweet or smoked variety |
| Salt 🧂 | 1 ½ tsp | Kosher or sea salt preferred |
| Black Pepper 🌶️ | 1 tsp | Freshly ground preferred |
| Plant-Based Milk 🥛 | 1 cup | Unsweetened, for batter liquid |
| Hot Sauce 🌶️ | 1 tbsp | Optional for tangy kick |
| Vegetable Oil 🫒 | 4 cups | For deep frying, high smoke point |
[recipe_ingredient_scaler]
The chicken is the foundation here. Boneless, skinless breasts cut into even strips ensure uniform cooking and maximum crispiness. Costco or Sam’s Club offer bulk options for larger batches. For the plant-based milk, unsweetened almond or soy milk works best—avoid flavored varieties as they can alter the taste. Cornstarch is non-negotiable for that shatteringly crisp coating.
Need a swap for the plant-based milk? Carbonated water or club soda creates an even lighter batter. No cornstarch? Arrowroot powder at the same ratio gets similar results. For the hot sauce, Frank’s RedHot is ideal, but any vinegar-based variety works. The paprika can be smoked for a deeper flavor profile—just ensure it’s fresh.
Store raw chicken in the coldest part of your fridge for up to 2 days. Frying oil can be reused once if filtered and stored in a cool, dark place. Cooked tenders keep for 3-4 days in the fridge, though they’re best fresh. Reheat in an oven or air fryer to restore crispiness.
Why You’ll Love This Recipe
- Ready in 20: I can get crispy tenders on the table faster than takeout arrives.
- Garlic-Powered Crunch: That garlic powder in the flour mix gives every bite a serious flavor punch.
- Kid-Approved Dinner: My picky nephew devours these—no egg means no texture complaints.
- Budget Stretcher: One pound of chicken breast makes enough for leftovers, and the pantry staples keep costs low.
Step-by-Step Instructions for Crispy Chicken Tenders
Master this egg-free method to achieve golden, crunchy tenders with a perfectly tender interior every time.
Step 1: Prepare the Chicken and Create the Wet Mixture
Cut the 1.5 lb Chicken Breast into 1-inch thick strips, patting each piece thoroughly dry with paper towels. This step is crucial—excess moisture prevents the coating from adhering properly and results in soggy breading.
In a shallow bowl, whisk together the 1 cup Plant-Based Milk and 1 tbsp Hot Sauce. The hot sauce not only adds a subtle tang but also helps tenderize the chicken. Let the strips soak in this mixture while you prepare the dry coating.
Step 2: Combine Dry Ingredients for Optimal Crispiness
In a separate large bowl, sift together 1.5 cups All-Purpose Flour, 0.5 cup Cornstarch, 1 tsp Baking Powder, 1 tsp Garlic Powder, 1 tsp Onion Powder, 1 tsp Paprika, 1.5 tsp Salt, and 1 tsp Black Pepper. The cornstarch is the secret to extra crispiness, while the baking powder helps the coating puff slightly during frying.
Whisk the dry ingredients until fully combined and free of lumps. This ensures even distribution of seasoning and a uniform texture that will crisp beautifully in the oil.
Step 3: Dredge and Double-Coat for Maximum Crunch
Remove each chicken strip from the wet mixture, allowing excess liquid to drip off briefly, then dredge it in the flour mixture. Press gently to ensure full coverage, then shake off any loose flour. For an extra-crispy coating, dip the floured strip back into the plant-based milk mixture, then dredge in the flour mixture a second time.
Place the coated tenders on a wire rack set over a baking sheet and let them rest for 10 minutes. This resting period allows the coating to set, which prevents it from falling off during frying and ensures a better crunch.
Step 4: Fry to Golden Perfection
Heat the 4 cups Vegetable Oil in a deep, heavy-bottomed pot or Dutch oven over medium-high heat until it reaches 350°F. Use a deep-fry or candy thermometer to monitor the temperature—this is critical for even cooking and proper crisping.
Working in batches to avoid overcrowding, carefully lower the tenders into the hot oil. Fry for 4-5 minutes per side until they are golden brown and the internal temperature reaches 165°F. Overcrowding the pot lowers the oil temperature, leading to greasy, undercooked tenders.
Step 5: Drain and Serve Immediately
Transfer the fried tenders to a wire rack or paper towel-lined plate to drain excess oil. The wire rack is preferred as it allows air to circulate underneath, preventing the coating from becoming soggy.
Serve the tenders immediately while hot and crispy. They should have a shatteringly crisp exterior giving way to juicy, tender chicken inside. If you need to keep them warm for a short period, place them on a wire rack in a 200°F oven for no more than 10 minutes.
Pro Tips For Making Fried Chicken Tenders Recipe No Egg
- Dry the Chicken: Pat the chicken breast pieces completely dry with paper towels before dredging—any moisture will make the flour coating slide right off.
- Boost the Crisp: Replace 2 tablespoons of the all-purpose flour with cornstarch in your dry mix. It makes the coating extra crunchy without needing egg as a binder.
- Skip the Overcrowding: Fry in batches with at least an inch of space between tenders, or the oil temp drops and you’ll end up with soggy, greasy chicken.
- Rest Before Frying: Let the coated tenders sit for 10 minutes before frying—this helps the flour adhere better and keeps the breading from falling off in the oil.
Wine and Beer Pairings for These Flavors
Crisp White Wines
A chilled Sauvignon Blanc from New Zealand cuts through the richness beautifully with its citrusy acidity. I love how the grapefruit notes complement the crispy coating while refreshing your palate between bites. 🍷
Light Lager Beers
An American lager like Sam Adams or Bud Light offers a clean, crisp contrast to the savory tenders. The light carbonation helps cleanse your palate without overwhelming the chicken’s flavor. These are easy to find at any Boston neighborhood market.
Sparkling Rosé
For a touch of elegance, try a dry sparkling rosé from Provence. The subtle berry notes and effervescence balance the crunchy texture perfectly. I discovered this pairing at a friend’s summer cookout last year.
Wheat Beers
A German Hefeweizen with its banana and clove notes provides an interesting contrast to the savory tenders. The slight sweetness complements the crispy coating without being overpowering. Look for Paulaner at your local Italian deli.
Hard Cider
For a non-beer option, a dry hard cider like Angry Orchard Crisp Apple works wonderfully. The apple notes pair surprisingly well with the chicken, and the acidity cuts through the richness. 💫
Nutrition Facts
Frequently Asked Questions
What can I use instead of plant-based milk?
Carbonated water or club soda work perfectly for a lighter, crispier batter. They create air pockets in the coating for extra crunch without dairy.
How do I keep them crispy after frying?
Place cooked tenders on a wire rack in a 200°F oven for up to 10 minutes. This prevents steam from making them soggy while keeping them warm.
Why did my coating fall off during frying?
Likely the chicken wasn’t dry before dredging or didn’t rest long enough. Pat strips thoroughly dry and let them rest 10 minutes after coating.

Trained in classic French technique but raised on slow-cooked ribs and spicy rubs, she blends culinary skill with smoke and soul.
- Recipe for Boneless Pork Chops in Cast Iron Skillet: Sear and Baste to Juicy Perfection - October 3, 2026
- Recipe for Boneless Cross Rib Roast: Slow-Roasted Beef with Herb Crust - October 3, 2026
- Hamburgers in Sauce Recipe Crock Pot: Slow-Cooked Savory Delight - October 3, 2026