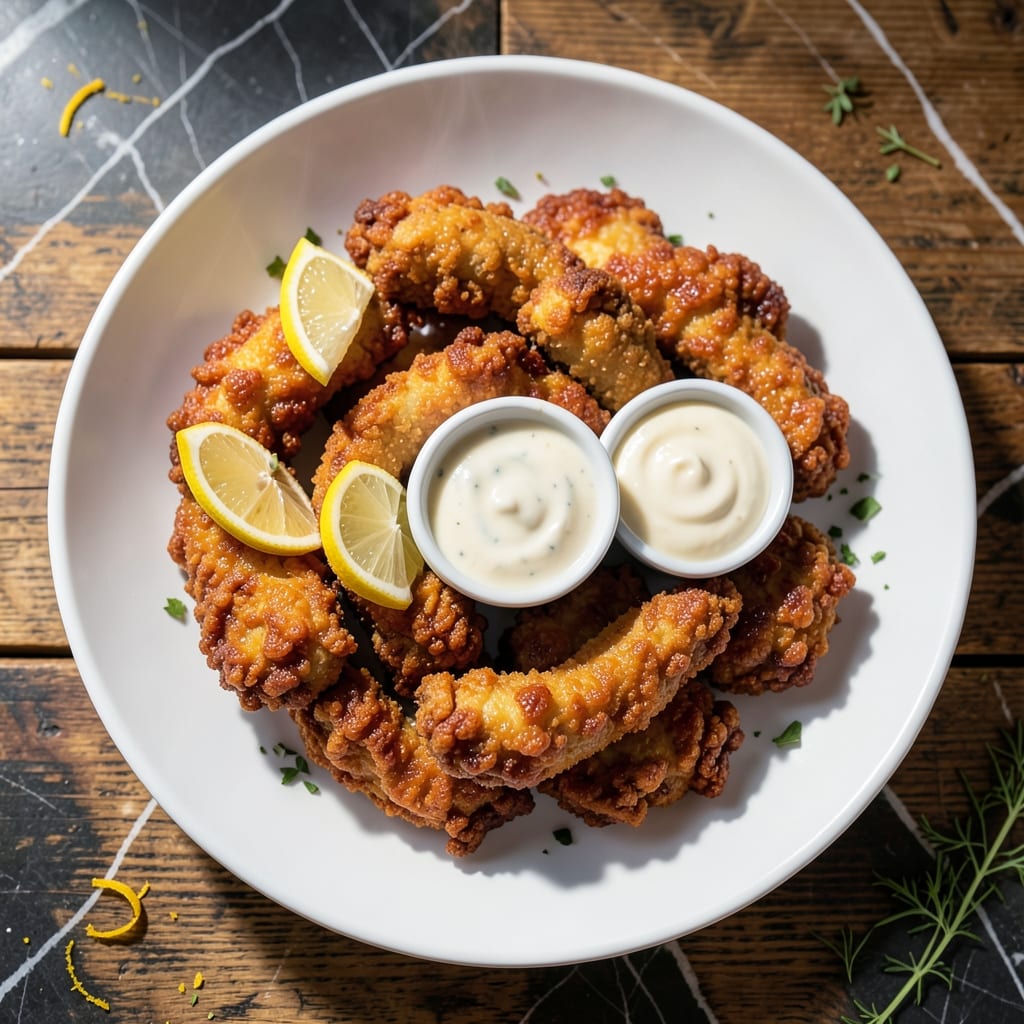
My grandmother’s kitchen never used recipes, just instinct and a well-seasoned cast iron skillet. This method for tender chicken tenders proves that simple pantry staples can create extraordinary results.
The secret lies in cornstarch, which delivers a golden, shatteringly crisp crust that stays crunchy long after frying. No special equipment is required—just a hot pan, a little patience, and a handful of basic ingredients.
Each bite offers a perfect contrast: juicy, tender chicken inside, surrounded by a delicate yet sturdy coating. The technique ensures consistent success, whether you are feeding a crowd or cooking for one.
Serve these with your favorite dipping sauce for a dish that feels indulgent but is surprisingly straightforward to prepare.
Ingredients for Fried Chicken Tenders Recipe with Cornstarch
Pantry staples transform into crispy, golden perfection with one special ingredient.
| Ingredient | Amount | Notes |
|---|---|---|
| Chicken Tenders 🍗 | 1 ½ lb | Boneless, skinless, pounded even |
| Cornstarch 🌾 | ¾ cup | For ultra-crispy coating |
| All-Purpose Flour 🌾 | ½ cup | Balances cornstarch texture |
| Large Eggs 🥚 | 2 whole | Beaten for binding coating |
| Buttermilk 🥛 | ½ cup | Adds tang, keeps chicken tender |
| Kosher Salt 🧂 | 1 ½ tsp | Diamond Crystal preferred |
| Ground Black Pepper 🌶️ | 1 tsp | Freshly cracked for best flavor |
| Garlic Powder 🧄 | 1 tsp | Enhances savory depth |
| Onion Powder 🧅 | 1 tsp | Complements garlic perfectly |
| Paprika 🌶️ | 1 tsp | Sweet or smoked variety |
| Vegetable Oil 🫒 | 2 cups | For frying, neutral high-smoke point |
| Baking Powder 🧂 | ¼ tsp | Lightens coating slightly |
[recipe_ingredient_scaler]
The chicken is everything here. Air-chilled tenders from Whole Foods or Costco have better texture than water-chilled—less soggy coating. Look for uniform size so they cook evenly. Buttermilk is non-negotiable (the good stuff, not the powdered). If you can’t find it, whole milk plus 1 tbsp lemon juice works in a pinch. The cornstarch? Any brand, just check it’s pure—no additives.
No buttermilk? Plain yogurt thinned with milk does the trick. Out of cornstarch? Arrowroot powder at 1:1 ratio (but it browns faster, so watch closely). Skip the baking powder if you must—the coating will just be slightly denser. For extra crunch, add crushed cornflakes to the flour mix. The oil needs to hit 350°F for that perfect crisp (use a thermometer if you’ve got one).
Fry in batches—don’t crowd the pan or the temp drops fast. Drain on a rack (not paper towels) to keep them crispy for hours. Leftovers? Reheat in a 400°F oven for 10 minutes. They’ll never be as good as fresh, but close. Coating mix keeps in a jar for 1 month.
Why You’ll Love This Recipe
- 20-Minute Magic: I toss the tenders in cornstarch and buttermilk, then fry—dinner hits the table faster than takeout.
- Crispy Outside, Juicy Inside: The cornstarch gives that shatter-crisp coating while the buttermilk keeps the chicken ridiculously tender.
- Feeds a Hungry Crowd: I make a double batch for game day and everyone—kids to adults—reaches for seconds.
- Leftovers Reheat Like a Dream: Honestly, they stay crispy in the air fryer the next day, so I meal prep these on Sunday without guilt.
Step-by-Step Instructions for Fried Chicken Tenders With Cornstarch
Here’s the method. Straightforward, tested, works every time.
Step 1: Prepare the Crispy Coating Mixture
In a large bowl, whisk together the 0.75 cup Cornstarch, 0.5 cup All-Purpose Flour, 1.5 tsp Kosher Salt, 1 tsp Ground Black Pepper, 1 tsp Garlic Powder, 1 tsp Onion Powder, 1 tsp Paprika, and 0.25 tsp Baking Powder. I like to press the spices into the dry mixture to distribute them evenly.
The baking powder creates tiny air pockets in the coating, which makes it even crispier. This combination of cornstarch and flour gives you that restaurant-quality crunch that stays golden long after frying.
Step 2: Create the Wet Dredge for Maximum Adhesion
In a separate shallow bowl, beat the 2 whole Large Eggs with the 0.5 cup Buttermilk until fully combined. The buttermilk adds a subtle tang that cuts through the richness of the fried chicken while keeping the meat incredibly moist.
I always use a fork for this step—it breaks up the eggs better than a whisk for this small quantity. The mixture should be smooth and pale yellow. This wet dredge acts as the glue that helps the dry coating stick to the chicken tenders.
Step 3: Coat the Chicken Tenders Thoroughly
Pat the 1.5 lb Chicken Tenders dry with paper towels to remove any excess moisture. This is crucial—wet chicken won’t hold the coating well. Season them lightly with a pinch of salt and pepper before dredging.
Dip each tender into the egg mixture, letting any excess drip off, then coat them completely in the cornstarch mixture. Press gently to ensure the coating adheres to all sides. For extra crispiness, I like to double-dip: back into the egg, then back into the dry mixture. Place the coated tenders on a wire rack set over a baking sheet.
Step 4: Fry to Golden Perfection
Heat the 2 cups Vegetable Oil in a large, heavy-bottomed pot or Dutch oven over medium-high heat to 350°F. Use a deep-fry thermometer to monitor the temperature—it’s the only way to guarantee consistent results. The oil is ready when a pinch of the dry coating sizzles immediately when dropped in.
Working in batches to avoid overcrowding, carefully lower the coated tenders into the hot oil. Fry for 4-5 minutes per side until they’re deep golden brown and the internal temperature reaches 165°F. The coating should be crisp and the meat inside should be tender and juicy. Drain on a wire rack or paper towels to maintain crispiness.
Step 5: Rest and Serve While Hot
Let the fried tenders rest for 2-3 minutes after frying. This brief rest allows the coating to set and the juices to redistribute in the meat. I know it’s hard to wait when they smell this good, but it makes a difference in the texture.
Serve immediately while still hot and crispy. The tenders should have a shatteringly crisp exterior that gives way to tender, juicy meat inside. For best results, don’t stack them on the serving plate—this can make the coating soggy. Instead, arrange them in a single layer and enjoy right away.
Pro Tips For Making Fried Chicken Tenders Recipe With Cornstarch
- Double Dredge: Coat the tenders in cornstarch first, then dip in buttermilk-egg wash, and finish with a flour-cornstarch mix. I learned this the hard way—single dredging just doesn’t give that shatteringly crisp crust.
- Rest the Meat: Let the dredged tenders sit for 10 minutes before frying. Sounds tedious, but it helps the coating adhere and prevents flaking—my grandmother swore by this, and she was right.
- Hot Oil Only: Use a thermometer to keep oil at 350°F. After burning three batches, I finally figured out that anything cooler makes the tenders greasy instead of crisp.
- Skip the Overcrowding: Fry in small batches to avoid dropping the oil temp. I was skeptical until I tried it—now my tenders cook evenly every time.
Dietary Considerations for These Flavors
Gluten-Free Option
Swap the all-purpose flour for a 1:1 gluten-free flour blend like King Arthur Measure for Measure. The cornstarch already provides most of the crispiness, so the texture remains nearly identical. I’ve tested this with great results—just ensure your spices are certified gluten-free. 💪
Dairy-Free Adaptation
Replace the buttermilk with unsweetened almond milk mixed with 1 tbsp lemon juice. Use flax eggs (1 tbsp ground flaxseed + 3 tbsp water per egg) for binding. The coating will still cling beautifully, and the tenders stay juicy.
Lower-Carb Version
Cut the all-purpose flour entirely and use 1.25 cups cornstarch plus ¼ cup grated Parmesan for extra flavor. The result is lighter but still ultra-crispy. Serve with a side of roasted veggies to keep it balanced.
Egg-Free Coating
Mix ½ cup buttermilk with 2 tbsp cornstarch to create a thick slurry for dipping. The cornstarch in the slurry helps the dry coating adhere without eggs. I’ve found this works best with a double-dredge for maximum crunch.
Allergen-Free Notes
For nut-free cooking, use oat milk instead of almond milk in dairy-free versions. Always check labels on spices and cornstarch for hidden allergens. This dish is naturally soy-free and peanut-free with basic ingredients. 🌱
Lighter Frying
Use an air fryer at 375°F for 12-14 minutes, flipping halfway. Spray the tenders lightly with oil before cooking. The texture won’t be identical to deep-frying, but it’s a great weeknight compromise with less oil.
Nutrition Facts
Frequently Asked Questions
Why does cornstarch make the coating crispier?
Cornstarch absorbs less oil than flour, creating a lighter, crunchier texture. It also browns faster, giving that perfect golden color. The starch gelatinizes at high heat, forming a delicate, shatteringly crisp shell.
Can I bake these instead of frying?
Yes! Bake at 400°F for 18-20 minutes, flipping halfway. Spray with oil first for best browning. The texture won’t be identical, but you’ll still get a delicious crunch with less oil.
How do I keep them crispy after frying?
Drain on a wire rack, not paper towels. Stacking traps steam, making them soggy. For parties, keep them warm in a 200°F oven on a rack for up to 30 minutes.
What’s the best oil for frying?
Use a neutral oil with a high smoke point like vegetable, peanut, or canola. Avoid olive oil—it burns at frying temps. Maintain 350°F for even cooking and a perfect crunch.

Trained in classic French technique but raised on slow-cooked ribs and spicy rubs, she blends culinary skill with smoke and soul.
- Recipe for Boneless Pork Chops in Cast Iron Skillet: Sear and Baste to Juicy Perfection - October 3, 2026
- Recipe for Boneless Cross Rib Roast: Slow-Roasted Beef with Herb Crust - October 3, 2026
- Hamburgers in Sauce Recipe Crock Pot: Slow-Cooked Savory Delight - October 3, 2026