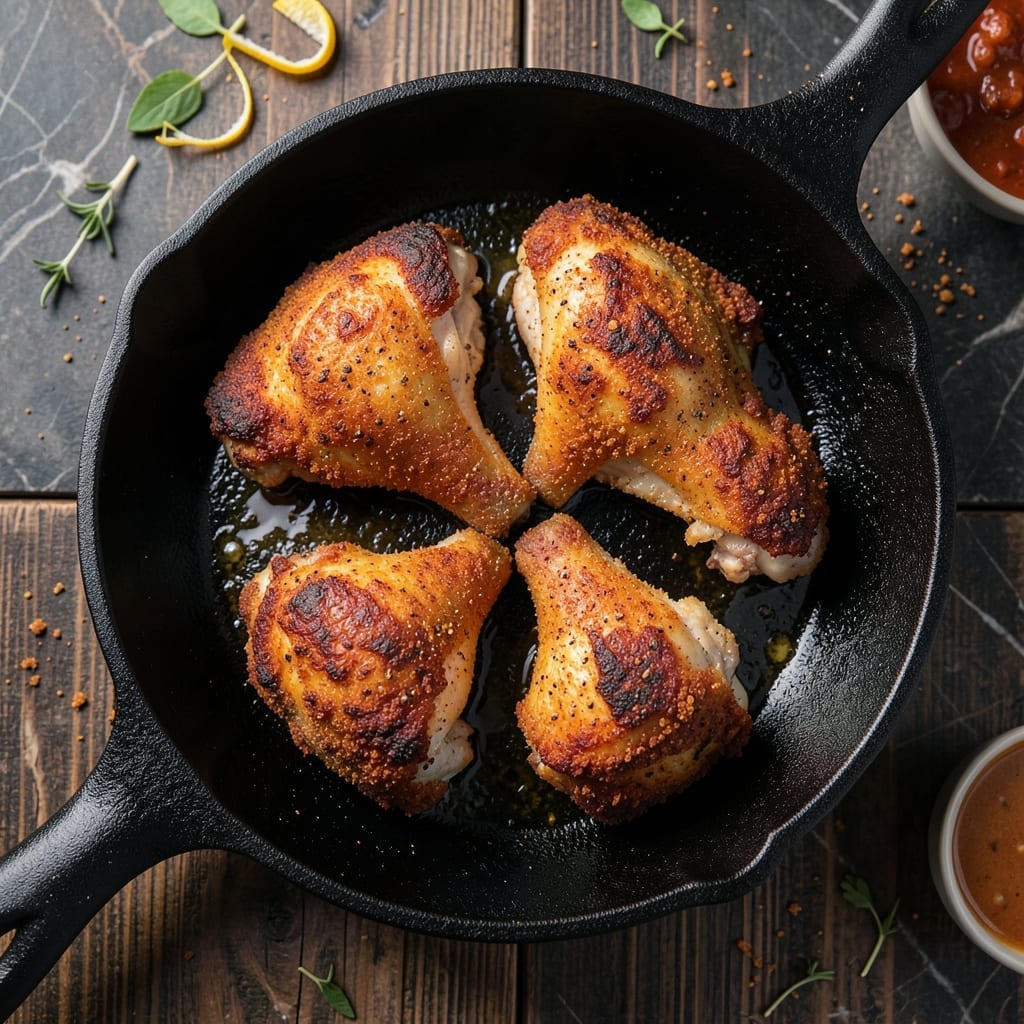
I’ve spent years perfecting fried chicken without buttermilk, and the secret swap delivers crispy, golden skin every time. This method uses a simple acid base to tenderize the meat while keeping the coating light and shatteringly crisp.
The technique is straightforward: marinate the thighs in a tangy mixture, then coat in seasoned flour before frying at the right temperature. No special equipment or hard-to-find ingredients—just a foolproof approach to achieving that ideal crunch.
What emerges is juicy, flavorful chicken with a coating so crispy it crackles with each bite. The skin stays intact, and the meat remains tender, proving buttermilk isn’t the only path to perfection.
Serve hot for the best texture, and watch it disappear. Here’s how to make it right.
Ingredients for Fried Chicken Thighs Recipe No Buttermilk
Simple, precise ingredients deliver that signature crispy coating without the buttermilk.
| Ingredient | Amount | Notes |
|---|---|---|
| Chicken Thighs 🍗 | 2 lb | Bone-in, skin-on preferred |
| All-Purpose Flour 🌾 | 2 cups | For dredging and coating |
| White Vinegar 💧 | ½ cup | Acid base for marinade |
| Water 💧 | ½ cup | Dilutes vinegar for marinade |
| Salt 🧂 | 1 ½ tbsp | Diamond Crystal kosher preferred |
| Black Pepper 🌶️ | 1 tbsp | Freshly ground for best flavor |
| Paprika 🌶️ | 2 tsp | Sweet or smoked variety |
| Garlic Powder 🧄 | 1 tbsp | Enhances savory depth |
| Onion Powder 🧅 | 1 tbsp | Balances seasoning blend |
| Cayenne Pepper 🔥 | ½ tsp | Adjust for heat preference |
| Peanut Oil 🫒 | 4 cups | For frying, high smoke point |
| Large Eggs 🥚 | 2 whole | For binding coating |
[recipe_ingredient_scaler]
The chicken thighs are non-negotiable for juiciness—bone-in, skin-on is ideal. Most supermarkets carry them pre-packaged, but Costco offers the best value for larger batches. For the acid base, white vinegar is standard, though apple cider vinegar works if that’s what you’ve got. The flour should be all-purpose; no need for specialty types here (the good stuff, not the self-rising kind).
No buttermilk? That’s the point—vinegar and water replicate the tang and tenderizing effect perfectly. Swap peanut oil for vegetable or canola oil if allergies are a concern. The spices can be adjusted: smoked paprika adds depth, while half the cayenne reduces heat. For gluten-free versions, rice flour or cornstarch blends work but may alter texture slightly.
Store raw chicken in the coldest part of your fridge for up to 2 days. The seasoned flour mix keeps in an airtight container for 1 month. Leftovers? They’ll lose crispiness but reheat well in a 375°F oven for about 10 minutes (worth the extra minute).
Why You’ll Love This Recipe
- No Buttermilk Needed: I love that I can skip the buttermilk entirely—just vinegar and water do the trick for tenderizing.
- Crispy Outside, Juicy Inside: The flour coating fries up golden while the thighs stay succulent. That first bite? Pure satisfaction.
- Feeds My Family: One batch makes enough for dinner plus leftovers, and honestly, it’s even better the next day in a sandwich.
- Pantry Staples Only: No special shopping required—just flour, vinegar, and salt transform ordinary thighs into something crave-worthy.
Step-by-Step Instructions for Fried Chicken Thighs No Buttermilk
Here’s the method. Straightforward, tested, works every time.
Step 1: Marinate the Chicken Thighs in Vinegar Solution
In a large bowl, whisk together the 0.5 cup white vinegar, 0.5 cup water, 1.5 tbsp salt, 1 tbsp black pepper, 2 tsp paprika, 1 tbsp garlic powder, 1 tbsp onion powder, and 0.5 tsp cayenne pepper until fully dissolved. The vinegar tenderizes the chicken while the spices infuse flavor.
Add the 2 lb chicken thighs and ensure each piece is fully coated. Cover and refrigerate for at least 4 hours or overnight. This acid marinade replaces buttermilk, delivering the same tenderizing effect while keeping the meat juicy throughout the frying process.
Step 2: Prepare the Flour Coating
Place the 2 cups all-purpose flour in a shallow dish. In a separate bowl, beat the 2 whole large eggs until well combined. The egg wash acts as the binding agent that allows the flour to adhere to the chicken, creating a thick, crispy crust.
Remove the chicken from the marinade and pat it dry with paper towels. This step is crucial—excess moisture prevents the coating from sticking properly. Discard the marinade after use.
Step 3: Coat the Chicken in Egg and Flour
Dip each piece of chicken into the beaten egg, ensuring it’s fully coated on all sides. Allow any excess egg to drip off before transferring it to the flour. Roll the chicken in the flour, pressing gently to adhere, then shake off any excess. Place the coated chicken on a wire rack set over a baking sheet.
Let the coated chicken rest for 10-15 minutes at room temperature. This resting period allows the coating to set, which prevents it from falling off during frying and ensures a more uniform crust.
Step 4: Fry to Golden Perfection
Heat the 4 cups peanut oil in a deep, heavy-bottomed pot or Dutch oven to 350°F. The high smoke point of peanut oil makes it ideal for deep frying. Use a deep-fry thermometer to monitor the temperature—fluctuations can affect the cooking time and final texture.
Carefully lower the chicken into the hot oil, working in batches to avoid overcrowding. Fry for 12-15 minutes, turning occasionally, until the chicken is golden brown and the internal temperature reaches 165°F. The crust should be deeply crispy, and the juices should run clear when pierced.
Step 5: Drain and Rest Before Serving
Transfer the fried chicken to a wire rack or paper towels to drain. This allows excess oil to drip off without making the crust soggy. Avoid stacking the pieces, as this can trap steam and soften the coating.
Let the chicken rest for 5-10 minutes before serving. This final rest ensures the juices redistribute throughout the meat, keeping it moist and flavorful. Serve immediately for the crispiest experience.
Pro Tips For Making Fried Chicken Thighs Recipe No Buttermilk
- Dry the Thighs: Pat the chicken thighs completely dry with paper towels before dredging—this guarantees the flour sticks better and creates a crispier crust.
- Vinegar Soak First: Soak the thighs in a mix of water and white vinegar for 20 minutes before cooking; it tenderizes the meat and keeps it juicy without buttermilk.
- Hot Oil, Steady Hand: Heat the oil to 350°F and maintain it—too low and the chicken absorbs oil, too high and the outside burns before the inside cooks.
- Double Dredge: Dip the thighs in the flour mix, then back in the vinegar-water, then flour again for an extra-crispy coating that holds up to frying.
Health Benefits of This Recipe
Protein Powerhouse
Chicken thighs are one of the most nutritious cuts, packed with high-quality protein—about 28 grams per 3.5 oz serving. This supports muscle repair and keeps you full longer. I love that this recipe preserves all that protein without any compromise. 💪
Healthy Fats Balance
While frying adds some fat, chicken thighs contain monounsaturated and polyunsaturated fats that benefit heart health. The skin-on version provides more flavor and helps retain moisture during cooking. Just enjoy in moderation as part of a balanced diet.
Vitamin B Boost
This dish delivers a solid dose of B vitamins, including B6 and B12, which are essential for energy metabolism and brain function. A single serving provides about 20% of your daily B12 needs. These nutrients help your body convert food into fuel efficiently.
Mineral Richness
Chicken thighs are rich in iron and zinc, minerals that support immune function and wound healing. A 3.5 oz serving provides about 10% of your daily iron and 24% of your daily zinc. These minerals are especially important for active lifestyles.
Low Carb Option
Without buttermilk, this recipe keeps the carb count in check. The flour coating adds some carbs, but you can reduce them by using almond flour or a gluten-free blend. I often serve this with a fresh salad to keep the meal balanced. 🥗
Energy Sustaining
The combination of protein and healthy fats in this dish provides steady energy throughout the day. Unlike refined carbs that cause energy crashes, the nutrients in chicken thighs help maintain stable blood sugar levels. Perfect for busy days in Portland with Lily!
Nutrition Facts
Frequently Asked Questions
What can I use instead of buttermilk?
A vinegar-water mix works perfectly. Use 0.5 cup white vinegar and 0.5 cup water for this recipe. The acid tenderizes just like buttermilk.
How do I keep the coating from falling off?
Pat the thighs completely dry before dredging. Let the coated pieces rest for 10-15 minutes to set the crust before frying. This creates a stronger bond.
Can I bake instead of fry?
Yes, but the texture will differ. Bake at 400°F for 25-30 minutes on a wire rack for crispier results. Flip halfway through for even browning.
Why did my chicken turn out greasy?
Your oil temperature was likely too low. Maintain 350°F and fry in small batches. Use a thermometer to monitor the heat consistently.

Trained in classic French technique but raised on slow-cooked ribs and spicy rubs, she blends culinary skill with smoke and soul.
- Recipe for Boneless Pork Chops in Cast Iron Skillet: Sear and Baste to Juicy Perfection - October 3, 2026
- Recipe for Boneless Cross Rib Roast: Slow-Roasted Beef with Herb Crust - October 3, 2026
- Hamburgers in Sauce Recipe Crock Pot: Slow-Cooked Savory Delight - October 3, 2026