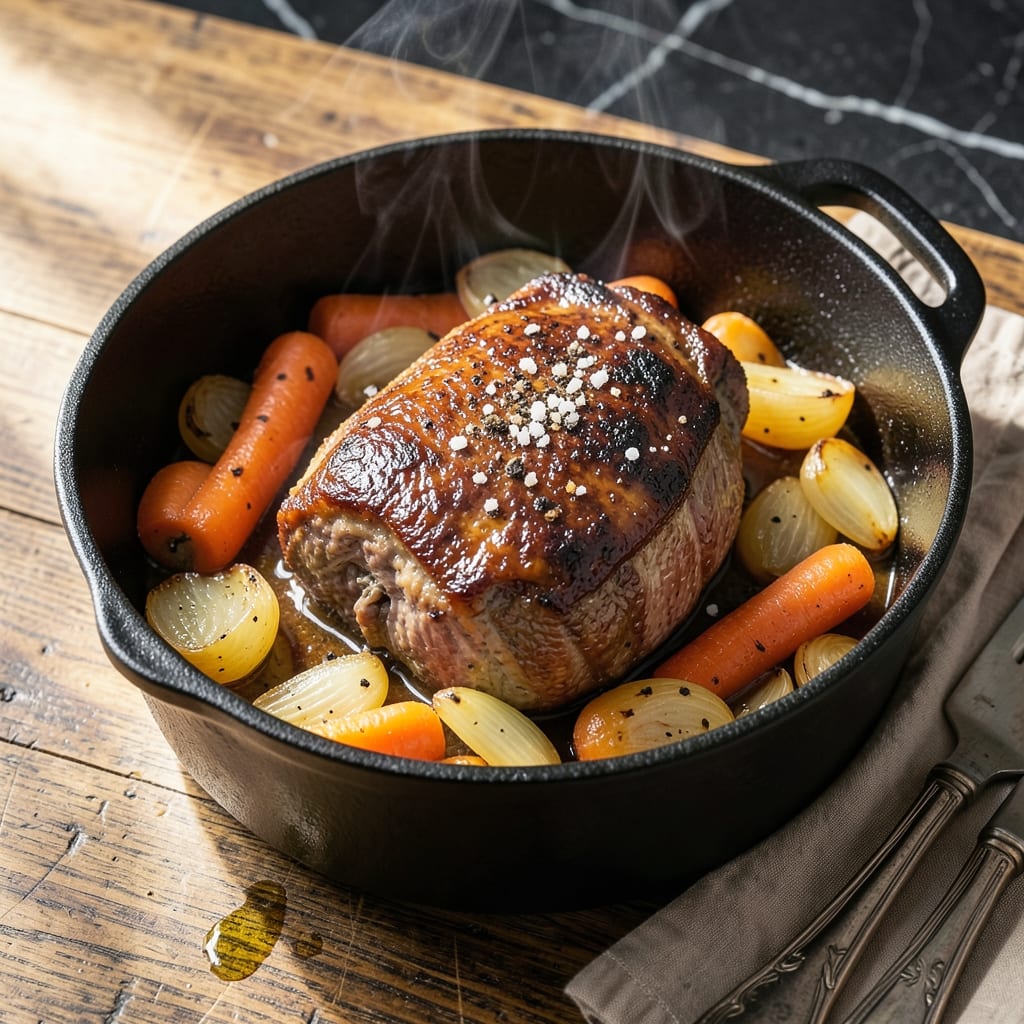
This oven-braised pot roast delivers tender, fall-apart meat with deep herb-infused flavors, all while keeping it entirely gluten free.
By using certified gluten-free ingredients and a simple slow-roasting technique, you’ll achieve that perfect melt-in-your-mouth texture without any compromise on taste or safety.
The process is straightforward: sear the roast, layer in aromatics, then let the oven work its magic. The result is a dish that’s rich, hearty, and naturally gluten free.
Ideal for family dinners or cozy weekend meals, this method ensures every bite is packed with flavor and that promised tenderness.
Ingredients for Gluten Free Pot Roast Recipe Oven
Certified gluten-free ingredients ensure this oven-braised dish stays safe and delicious for everyone.
| Ingredient | Amount | Notes |
|---|---|---|
| Chuck Roast 🥩 | 3 lb | Well-marbled, trimmed of excess fat |
| Kosher Salt 🧂 | 2 tsp | Diamond Crystal preferred for consistency |
| Black Pepper 🌶️ | 1 tsp | Freshly ground for optimal flavor |
| Olive Oil 🫒 | 2 tbsp | Divided for searing and aromatics |
| Yellow Onions 🧅 | 2 whole | Large, cut into thick wedges |
| Carrots 🥕 | 3 whole | Peeled, cut into 3-inch pieces |
| Celery Stalks 🌿 | 3 whole | Cut into 3-inch pieces |
| Garlic Cloves 🧄 | 6 cloves | Smashed for maximum flavor release |
| Fresh Thyme Sprigs 🌿 | 4 whole | Plus extra for garnish |
| Fresh Rosemary Sprigs 🌿 | 2 whole | Woody stems removed if desired |
| Bay Leaves 🍃 | 2 pieces | Dried, for depth of flavor |
| Gluten-Free Beef Broth 🥣 | 3 cups | Certified gluten-free brand required |
| Dry Red Wine 🍷 | 1 cup | Bold variety like Cabernet Sauvignon |
| Tomato Paste 🍅 | 2 tbsp | Certified gluten-free for safety |
[recipe_ingredient_scaler]
The chuck roast is non-negotiable for that fall-apart texture. Look for well-marbled pieces at Whole Foods or Costco—the fat renders down during the long braise, keeping the meat moist. Certified gluten-free beef broth is critical here; Pacific Foods or Imagine brands are reliable. For the wine, any bold dry red works, but avoid cooking wines—they’re often salted and lack depth.
No red wine? Substitute an extra cup of gluten-free beef broth with 1 tbsp balsamic vinegar. If you can’t find fresh thyme or rosemary, use dried at one-third the amount—just add them earlier in the cook time to rehydrate. The tomato paste adds richness, but if you’re out, 2 tbsp ketchup (gluten-free) in a pinch will work, though the flavor profile changes slightly.
This roast tastes even better the next day. Store leftovers in an airtight container for up to 4 days in the fridge or freeze for 3 months. The fat solidifies when chilled, making it easy to skim off before reheating (worth the extra minute).
Why You’ll Love This Recipe
- I’ll be real: this makes enough for Sunday dinner and leftovers for sandwiches all week.
- Set It and Forget It: Honestly, I just season the chuck roast, sear it, and let the oven do the work—no babysitting required.
- Melt-in-Your-Mouth Tender: The slow oven time turns the roast and onions into something so fork-tender, it practically falls apart.
- Feeds the Whole Crew: I’ll be real: this makes enough for Sunday dinner and leftovers for sandwiches all week.
Step-by-Step Instructions for Gluten Free Pot Roast Oven
Achieve fall-apart tenderness with this foolproof oven-braising method for herb-infused perfection.
Step 1: Sear the Chuck Roast
Pat the 3 lb chuck roast dry with paper towels, then season all sides aggressively with the 2 tsp kosher salt and 1 tsp black pepper. This ensures a perfect crust and deep seasoning throughout the meat.
Heat 1 tbsp olive oil in a large Dutch oven over medium-high heat until shimmering. Sear the roast on all sides for 3-4 minutes per side until a deep, rich brown crust forms. The roast should release easily from the pan when ready to turn—this indicates proper caramelization.
Step 2: Sauté the Aromatics
Remove the roast and set aside. Reduce heat to medium and add the remaining 1 tbsp olive oil. Add the 2 whole yellow onions, 3 whole carrots, and 3 whole celery stalks, cooking for 5-6 minutes until the onions soften and edges brown.
Stir in the 6 cloves garlic cloves, 2 tbsp tomato paste, 4 whole fresh thyme sprigs, 2 whole fresh rosemary sprigs, and 2 pieces bay leaves. Cook for 1-2 minutes until the tomato paste darkens slightly and becomes fragrant—this builds a flavor base for the braising liquid.
Step 3: Deglaze and Braise
Pour in the 1 cup dry red wine, scraping up all browned bits from the bottom of the pan with a wooden spoon. Let it simmer for 2-3 minutes until reduced by half. This step captures all the concentrated flavors from searing.
Return the roast to the pot and add the 3 cups gluten-free beef broth. The liquid should come about ⅔ up the sides of the roast. Bring to a gentle simmer, then cover tightly with a lid.
Step 4: Slow-Braise to Tenderness
Transfer the Dutch oven to a preheated 325°F oven. Braise for 2.5-3 hours until the roast is fork-tender and shreds easily when pierced. I recommend checking at the 2.5-hour mark—your oven may run slightly hot or cool.
The braising liquid should be bubbling gently, not boiling vigorously. If it’s reducing too quickly, add a splash of water. The roast is done when a fork slides in with no resistance and the meat pulls apart effortlessly.
Step 5: Rest and Serve
Carefully remove the roast and place it on a serving platter. Skim excess fat from the braising liquid if desired, then strain the vegetables and herbs, pressing to extract all their flavor into the sauce. Slice or shred the roast against the grain.
Serve the roast with the reduced braising liquid spooned over the top. The meat should be meltingly tender, with the rich, herb-infused sauce soaking into every bite. Garnish with extra thyme if desired.
Pro Tips For Making Gluten Free Pot Roast Recipe Oven
- Sear the Chuck: Use high heat and about 2 tablespoons of olive oil to get a deep brown crust on all sides of the chuck roast—this builds flavor even gluten-free recipes can’t skip.
- Salt Generously: I learned this the hard way: chuck roast needs more kosher salt than you think, especially since gluten-free cooking can taste flat without it.
- Don’t Rush the Onions: Cook the yellow onions until they’re soft and golden, about 8-10 minutes—skipping this step leaves them harsh and underdeveloped.
- Cover Tightly: After searing, cover the pot roast completely with foil or a lid to trap steam; otherwise, the meat dries out in the oven.
Make-Ahead Tips for This Recipe
Prep Ahead Strategy
Trim and season your 3 lb chuck roast the night before, then store it uncovered in the fridge. This helps the surface dry out, ensuring a better sear. I also chop all vegetables and measure spices, storing them in separate containers. 💡
Braising Liquid Prep
Mix your 3 cups gluten-free beef broth and 1 cup dry red wine in advance. Store in an airtight pitcher in the fridge. This saves time and lets flavors meld slightly—Pacific Foods broth works perfectly here.
Dutch Oven Ready
If using a Dutch oven, place it on the stovetop the morning of cooking to bring to room temperature. Cold cast iron can cause hot spots. I use my Lodge enameled Dutch oven for even heat distribution.
Herb Prep Tip
Tie your 4 thyme sprigs, 2 rosemary sprigs, and 2 bay leaves with kitchen twine for easy removal later. This prevents stray leaves in your finished dish and makes cleanup simpler.
Make-Ahead Cooking
You can fully cook this dish 1-2 days ahead. After braising, cool the roast in its liquid, then refrigerate. The flavors deepen overnight, and it reheats beautifully at 325°F for 20-30 minutes. 🔥
Freezer Friendly
Portion leftovers into freezer-safe containers with some braising liquid. They’ll keep for 3 months. Thaw overnight in the fridge before reheating on the stovetop with a splash of water.
Nutrition Facts
Frequently Asked Questions
Can I use a slow cooker instead of the oven?
Yes, after searing and deglazing, transfer everything to a slow cooker. Cook on low for 8-10 hours or high for 5-6 hours until fork-tender. The texture will be similar, though oven braising gives slightly better flavor concentration.
What if my sauce is too thin?
Remove the roast and simmer the liquid uncovered on the stovetop for 10-15 minutes. For a quicker fix, mix 1 tbsp cornstarch with 1 tbsp water and stir in while simmering. It’ll thicken in 1-2 minutes.
Is chuck roast the only cut that works?
Chuck is ideal for its marbling, but brisket or bottom round also work well. Avoid lean cuts like eye of round—they’ll turn dry during the long cook time. Stick to tougher, well-marbled cuts for best results.

Trained in classic French technique but raised on slow-cooked ribs and spicy rubs, she blends culinary skill with smoke and soul.
- Recipe for Boneless Pork Chops in Cast Iron Skillet: Sear and Baste to Juicy Perfection - October 3, 2026
- Recipe for Boneless Cross Rib Roast: Slow-Roasted Beef with Herb Crust - October 3, 2026
- Hamburgers in Sauce Recipe Crock Pot: Slow-Cooked Savory Delight - October 3, 2026