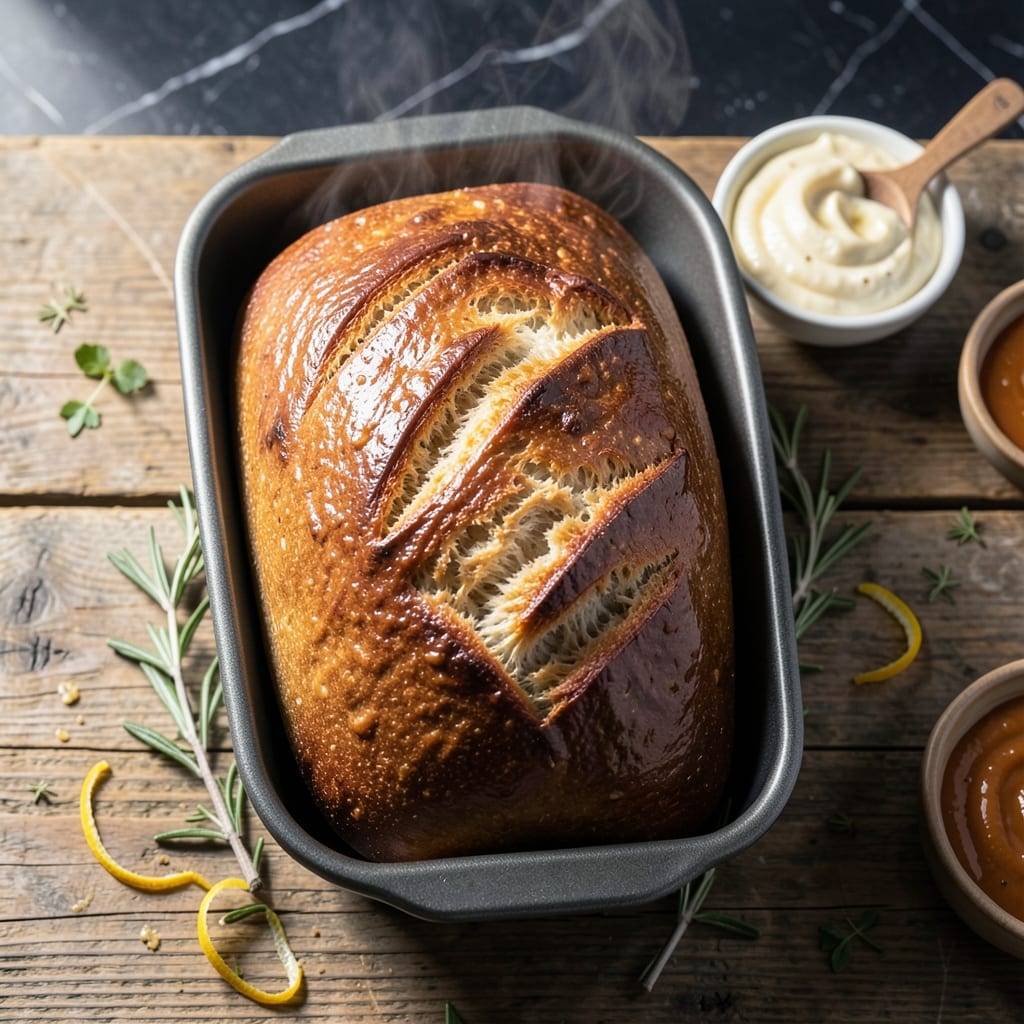
Achieving artisan sourdough without gluten or hands-on kneading is absolutely possible with a bread machine. This method combines the tang of traditional sourdough with the convenience of automated mixing and rising.
I developed this recipe after testing multiple gluten-free flour blends and starter combinations. The key is maintaining proper hydration ratios and machine settings to ensure a good rise without collapse.
The result is a loaf with that signature sourdough crust and open crumb, all while requiring minimal effort. David and I have tested this across different machines to perfect the timing and texture.
You’ll get a loaf that rivals any bakery’s gluten-free offering, with that distinctive tang and chewy texture sourdough lovers crave.
Ingredients for Gluten Free Sourdough Bread Recipe Bread Machine
Eleven ingredients deliver that artisan tang with bread machine ease. No kneading, no guesswork.
| Ingredient | Amount | Notes |
|---|---|---|
| Gluten-Free All-Purpose Flour Blend 🌾 | 3 cups | Plus extra for dusting pan |
| Active Gluten-Free Sourdough Starter 🍞 | 1 cup | Fed and bubbly, 100% hydration |
| Xanthan Gum 🧪 | 1 ½ tsp | Omit if blend contains |
| Salt 🧂 | 1 ½ tsp | Fine sea salt preferred |
| Sugar 🍚 | 1 tbsp | Granulated, feeds starter activity |
| Large Eggs 🥚 | 2 whole | Room temperature for binding |
| Unsalted Butter 🧈 | 2 tbsp | Melted and cooled |
| Warm Water 💧 | 1 ¼ cups | 110°F, not hot |
| Apple Cider Vinegar 🍏 | 1 tbsp | Enhances tang and rise |
| Psyllium Husk Powder 🌿 | 2 tsp | Key for elastic texture |
| Olive Oil 🫒 | 1 tbsp | For greasing pan |
[recipe_ingredient_scaler]
The gluten-free flour blend is critical here. King Arthur Measure for Measure or Bob’s Red Mill 1-to-1 are reliable choices—avoid single-flour options like almond or coconut. Your sourdough starter must be active and fed within 4-12 hours of use (it should be bubbly with a slightly sour aroma). Psyllium husk powder is non-negotiable for structure; find it in the supplement aisle at Whole Foods or online.
No psyllium husk? Ground flaxseed at half the amount works in a pinch, though texture will differ. The xanthan gum can be omitted only if your blend already contains it—check the label. For a vegan version, replace eggs with 1/4 cup unsweetened applesauce. The apple cider vinegar enhances tang but white vinegar works too. Room temperature ingredients ensure even mixing in the machine.
Store unused starter in the fridge, feeding weekly. Baked loaves keep 3-4 days wrapped at room temperature or freeze for 3 months. Slice before freezing for easy toasting. The flour blend should be kept in an airtight container to prevent moisture absorption.
Why You’ll Love This Recipe
- Hands-Off Baking: The bread machine does all the work—just measure, pour, and press start.
- Tangy Perfection: That active gluten-free sourdough starter gives it a rich, complex flavor that’s hard to resist.
- Meal Prep Hero: I slice and freeze loaves to have fresh bread ready for sandwiches or toast anytime.
- Budget Stretcher: A bag of gluten-free flour and my starter make multiple loaves for pennies per slice.
Step-by-Step Instructions for Gluten Free Sourdough Bread Bread Machine
Master the art of hands-off gluten-free sourdough with this precise bread machine method.
Step 1: Prepare the Bread Machine Pan and Activate Binders
Begin by greasing the bread machine pan with the 1 tbsp Olive Oil, ensuring all surfaces are lightly coated. This prevents sticking and promotes even browning. In a small bowl, whisk together the 2 tsp Psyllium Husk Powder and 1.25 cups Warm Water.
Let this mixture sit for 2-3 minutes until it thickens into a gel-like consistency. This step is crucial as the psyllium husk mimics gluten’s elasticity, giving your bread the structure it needs to rise properly without collapsing.
Step 2: Combine Wet Ingredients in the Pan
Add the 1 cup Active Gluten-Free Sourdough Starter to the prepared pan, followed by the psyllium gel mixture. Then incorporate the 2 whole Large Eggs, 2 tbsp Unsalted Butter (melted and cooled), and 1 tbsp Apple Cider Vinegar. The vinegar enhances the sourdough’s tang and aids in the rise.
Use a spatula to gently stir these wet ingredients together in the pan. Ensure everything is well combined but avoid overmixing, which can introduce too much air and lead to dense bread. The mixture should look smooth and slightly bubbly from the starter.
Step 3: Incorporate Dry Ingredients and Initiate the Cycle
In a separate bowl, whisk together the 3 cups Gluten-Free All-Purpose Flour Blend, 1.5 tsp Xanthan Gum, 1.5 tsp Salt, and 1 tbsp Sugar. If your flour blend already contains xanthan gum, omit it to prevent gummy texture.
Sprinkle the dry mixture evenly over the wet ingredients in the bread machine pan. Select the gluten-free setting on your machine (typically a 1 hour 40 minute to 2 hour cycle with a single rise). Start the cycle and allow the machine to mix and knead the dough.
Step 4: Monitor and Adjust During the Kneading Phase
After 5-7 minutes of kneading, check the dough’s consistency. It should form a smooth, slightly tacky ball that pulls away from the sides of the pan. If it appears too dry, add additional warm water 1 tbsp at a time, up to ¼ cup.
If the dough is too sticky, sprinkle in 1-2 tbsp of additional Gluten-Free All-Purpose Flour Blend. The dough will be softer than traditional wheat dough but should still hold its shape. Avoid opening the lid frequently, as temperature fluctuations can affect the rise.
Step 5: Complete the Cycle and Cool Properly
Allow the bread machine to complete the full gluten-free cycle, including the bake phase. The bread is done when the internal temperature reaches 205-210°F and the top is deep golden brown with a hollow sound when tapped.
Once the cycle finishes, carefully remove the pan from the machine and let the bread cool in the pan for 5 minutes. Then transfer it to a wire rack to cool completely for at least 1 hour. This cooling period is essential to prevent a gummy crumb, as gluten-free bread continues to set as it cools.
Pro Tips For Making Gluten Free Sourdough Bread Recipe Bread Machine
- Warm Your Starter: Pull your gluten-free sourdough starter out of the fridge 12 hours before baking and feed it—cold starter won’t rise properly in the machine, and I learned this the hard way with a few dense loaves.
- Measure Xanthan Precisely: Use a kitchen scale for the xanthan gum: 1 teaspoon per cup of flour blend is the sweet spot. Too much makes the bread gummy, and after ruining a batch with a heavy hand, I now weigh it every time.
- Skip the Overproof: Resist the urge to let the dough rise too long in the machine—gluten-free batter should just dome slightly above the pan, about 1-1.5 hours max, or it’ll collapse when baked.
- Add Sugar Last: Hold off on adding sugar until the liquid ingredients are mixed—this prevents the yeast in your starter from activating too early and burning out before the bake cycle even starts.
Flavor Customization for This Dish
Herb-Infused Variation
Add 2 tbsp fresh rosemary or 1 tbsp dried Italian seasoning to the dry ingredients for a fragrant herb loaf. I love this version with sundried tomatoes folded in during the final kneading stage. David says it tastes like a fancy bakery loaf. 🌿
Cheesy Garlic Delight
Mix ½ cup shredded cheddar and 1 tsp garlic powder into the flour blend. The cheese melts beautifully during baking, creating gooey pockets throughout. For extra richness, sprinkle 2 tbsp grated Parmesan on top before the final rise.
Sweet Cinnamon Swirl
After the first kneading, add 2 tbsp brown sugar and 1 tbsp cinnamon mixed with 1 tbsp softened butter. Program your machine for a dough cycle, then shape and bake manually for a sweet breakfast treat.
Seeded Crunch
Stir in ¼ cup pumpkin seeds and 2 tbsp sunflower seeds with the wet ingredients. The seeds add texture and nutrition. I source mine from Central Market bulk section for freshness. For best results, toast the seeds lightly before adding. 💛
Spiced Pumpkin
Replace ¼ cup water with ¼ cup pumpkin puree and add 1 tsp pumpkin pie spice. This fall-inspired loaf has a beautiful orange hue and warm spice notes. Perfect for holiday gatherings or cozy weekend breakfasts.
Honey Oat
Substitute 1 tbsp honey for the sugar and add ½ cup gluten-free oats to the dry mix. The honey adds subtle sweetness while the oats provide hearty texture. This was a hit when I tested it on Emma and Jack. ✨
Nutrition Facts
Frequently Asked Questions
Can I use a regular sourdough starter?
No, you must use a gluten-free starter to avoid contamination. Regular starters contain gluten from wheat flour and will compromise your bread. Maintain a separate gluten-free starter for best results.
Why did my loaf collapse after baking?
This usually happens if the dough was too wet or didn’t have enough structure. Ensure your psyllium husk gel thickens properly and measure flour accurately. Let it cool completely before slicing.
How do I know when my starter is ready?
Your starter should be bubbly, doubled in size, and smell tangy within 4-12 hours of feeding. If it’s sluggish, feed it again with equal parts flour and water until it becomes active.
Can I make this without a gluten-free setting?
Yes, use the dough cycle then bake manually at 375°F for 35-40 minutes. Check doneness with a toothpick—it should come out clean.

Trained in classic French technique but raised on slow-cooked ribs and spicy rubs, she blends culinary skill with smoke and soul.
- Recipe for Boneless Pork Chops in Cast Iron Skillet: Sear and Baste to Juicy Perfection - October 3, 2026
- Recipe for Boneless Cross Rib Roast: Slow-Roasted Beef with Herb Crust - October 3, 2026
- Hamburgers in Sauce Recipe Crock Pot: Slow-Cooked Savory Delight - October 3, 2026