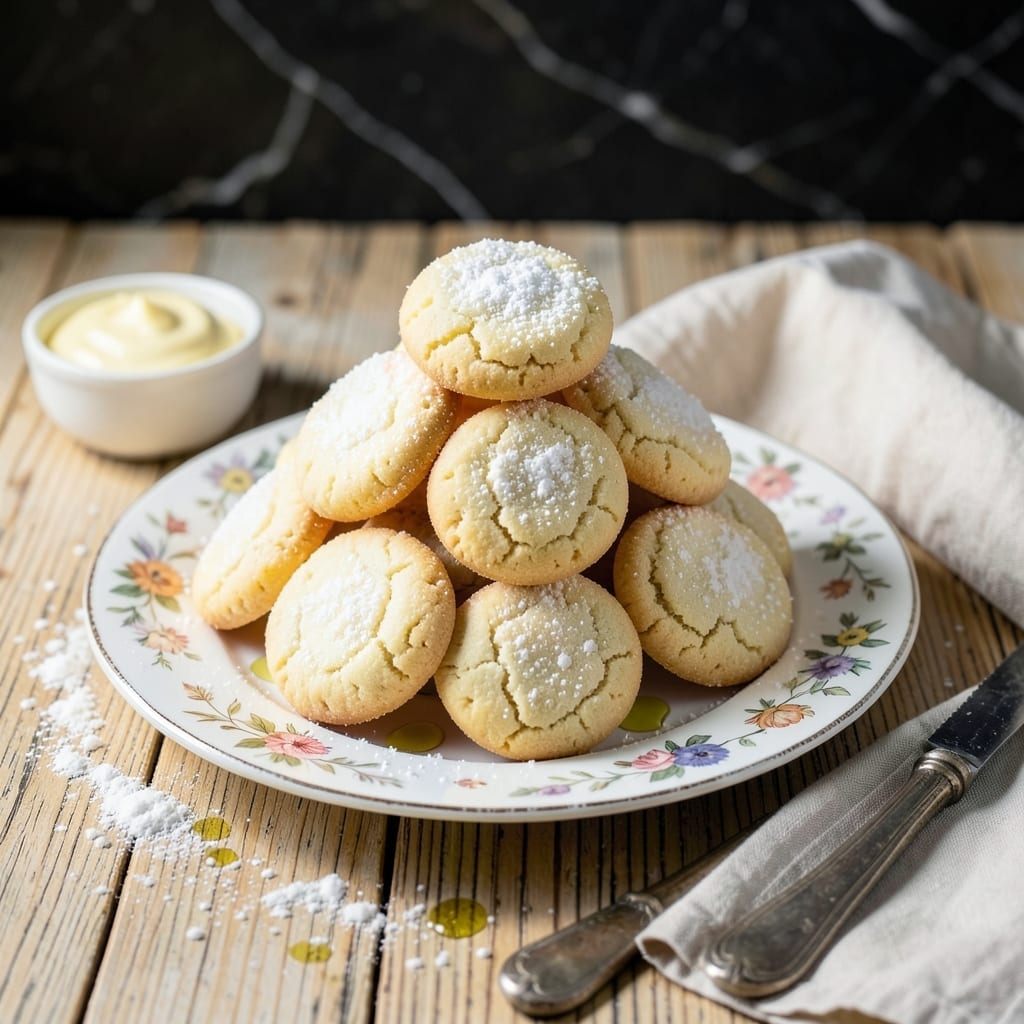
This recipe delivers buttery cookies with the perfect balance of sweetness and festive sparkle. The dough comes together quickly with simple ingredients.
Each batch yields soft, tender cookies topped with edible glitter for a touch of celebration. The baking time is precise for even golden edges.
Ingredients for Grammy Pammy Sugar Cookie
Simple ingredients yield buttery, tender cookies with a festive, glittery finish for any celebration.
| Ingredient | Amount | Notes |
|---|---|---|
| All-Purpose Flour 🌾 | 3 cups | Sifted for smooth texture |
| Unsalted Butter 🧈 | 1 cup | Room temperature, softened |
| Granulated Sugar 🍚 | 1 ¼ cups | Fine white sugar preferred |
| Large Egg 🥚 | 1 whole | Room temperature for mixing |
| Vanilla Extract 💧 | 2 tsp | Pure extract, not imitation |
| Baking Powder 🧂 | 1 tsp | Fresh for best rise |
| Salt 🧂 | ½ tsp | Fine table salt |
| Edible Glitter ✨ | 2 tbsp | For decorative topping |
| Powdered Sugar 🍚 | ½ cup | For dusting, optional |
| Heavy Cream 🥛 | 1 tbsp | For dough consistency |
[recipe_ingredient_scaler]
The butter is the foundation here—use high-quality unsalted like Plugrá or Kerrygold for superior flavor and texture. Sifted all-purpose flour ensures a smooth, even crumb. King Arthur Flour is my go-to for consistent results. Room temperature ingredients blend uniformly, so don’t skip that step. The edible glitter (find it at Michaels or Baking supply stores) adds that signature sparkle without altering taste.
No edible glitter? Crushed colored sugar crystals or sprinkles work beautifully. For a richer vanilla flavor, use vanilla bean paste. If you’re out of baking powder, baking soda plus cream of tartar (1:2 ratio) can substitute. The powdered sugar dusting is optional but adds a professional finish—use a fine-mesh sieve for even distribution.
Store dough wrapped tightly in plastic for up to 3 days in the fridge, or freeze for 3 months. Baked cookies keep in an airtight container for 1 week. Freeze decorated cookies on a tray first, then layer between parchment to prevent glitter from sticking.
Why You’ll Love This Recipe
- I’ll be real: half the batch gets eaten raw (the egg’s fresh, I promise), and the rest bakes into golden perfection.
- One Bowl Wonder: I just dump, mix, and roll—no fancy gadgets, just butter, sugar, and vanilla doing the heavy lifting.
- Buttery Vanilla Bliss: That real butter and vanilla extract? Honestly, it’s the reason my kitchen smells like a bakery.
- Holiday or Tuesday: Between us, I’ve made these for Christmas parties and random Tuesday cravings with equal success.
Step-by-Step Instructions for Buttery Sugar Cookies with Edible Glitter
Follow this precise method to achieve perfectly tender cookies with a delicate sparkle finish.
Step 1: Cream Butter and Sugar to Aerate Properly
In a stand mixer fitted with the paddle attachment, beat the 1 cup Unsalted Butter and 1.25 cups Granulated Sugar on medium speed for 4-5 minutes. The mixture should become pale and noticeably fluffy as air incorporates.
This creaming process is critical for structure—the sugar crystals create tiny air pockets that expand during baking, yielding that characteristic tender crumb. Scrape the bowl halfway through to ensure even mixing.
Step 2: Incorporate Egg, Vanilla and Dry Ingredients
Add the 1 whole Large Egg and 2 tsp Vanilla Extract, mixing on low speed until fully emulsified. In a separate bowl, whisk together the 3 cups All-Purpose Flour, 1 tsp Baking Powder, and 0.5 tsp Salt.
Gradually add the dry ingredients to the butter mixture on low speed, mixing just until the dough comes together. Add the 1 tbsp Heavy Cream if the dough appears crumbly—the moisture helps bind everything without toughening the texture.
Step 3: Chill and Roll for Even Thickness
Divide the dough into two discs, wrap in plastic, and refrigerate for 1-2 hours. Chilled dough handles better and prevents excessive spreading during baking. Roll each disc on a floured surface to ¼-inch thickness.
Use cookie cutters to create uniform shapes, spacing them 2 inches apart on parchment-lined baking sheets. For consistent baking, aim for similar sizes—this ensures even cooking throughout each batch.
Step 4: Bake to Golden Edges
Preheat oven to 350°F. Bake one sheet at a time for 10-12 minutes, or until the edges are just beginning to turn light golden brown. The centers should still appear slightly soft—they’ll firm up as they cool.
Rotate the sheet halfway through baking for even color and texture. Underbaking slightly preserves tenderness, while overbaking leads to dry, crumbly results.
Step 5: Decorate with Sparkling Finish
Cool cookies on the baking sheet for 5 minutes before transferring to a wire rack. While still warm, lightly brush the tops with water or milk, then sprinkle with 2 tbsp Edible Glitter for a festive shimmer.
For an optional final touch, dust with 0.5 cup Powdered Sugar through a fine-mesh sieve once completely cooled. The glitter adheres best when applied to slightly tacky surfaces, creating that signature grammys pammy sparkle.
Pro Tips For Making Grammy Pammy Sugar Cookie
- Chill the Dough: After mixing, wrap the dough and refrigerate for at least 1 hour—I learned this the hard way when my first batch spread into flat, sad pancakes.
- Use Room-Temp Butter: Take the unsalted butter out 30-60 minutes before baking; it creams better with the sugar and keeps the cookies tender instead of dense.
- Measure Flour Right: Spoon the all-purpose flour into your measuring cup and level it off—scooping directly from the bag packs it down and makes cookies tough.
- Rotate the Pans: Halfway through baking, switch the trays top-to-bottom and front-to-back so every cookie gets that perfect golden edge, no dark spots.
Essential Equipment for This Dish
Stand Mixer Essentials
A stand mixer with paddle attachment is non-negotiable for proper creaming. I rely on my KitchenAid 5-Quart—it handles the thick dough without straining. The paddle’s flat edges scrape the bowl clean, ensuring even mixing of butter and sugar. 💛
Precision Rolling Tools
For consistent ¼-inch thickness, use adjustable rolling pin guides. I love the Joseph Joseph set with removable rings. A marble pastry board stays cool, preventing dough from sticking during warm kitchen sessions.
Baking Sheet Must-Haves
Half-sheet pans (18×13 inches) with 1-inch rims are ideal. I prefer Nordic Ware for even heat distribution. Always line with parchment paper or Silpat mats to prevent cookies from browning too quickly on the bottom.
Cooling Rack System
A multi-tier wire rack saves counter space while cooling batches efficiently. I use OXO’s expandable rack—it handles 4 dozen cookies at once. Elevating cookies prevents steam from making them soggy on the bottom.
Decorating Supplies
For the glitter application, keep a fine-mist spray bottle with water and a small offset spatula handy. A fine-mesh sieve ensures even powdered sugar dusting. I store all decorating tools in a dedicated baking caddy for easy access.
Measurement Accuracy
Invest in a digital kitchen scale for precise ingredient weighing. I use Escali Primo—it measures in 0.1g increments. For volume measurements, stainless steel measuring cups from Cuisinox nest neatly and last forever.
Nutrition Facts
Frequently Asked Questions
Can I use salted butter instead?
Yes, but reduce added salt to ¼ tsp. Salted butter contains about ¼ tsp salt per ½ cup, so adjust to avoid an overly salty taste.
How thin should I roll the dough?
Roll to ¼-inch thickness for soft, chewy cookies. Thinner dough bakes faster and may become crispy, while thicker dough yields cake-like texture.
Why did my cookies spread too much?
Likely the dough wasn’t chilled long enough. Refrigerate for at least 1-2 hours to firm up the butter. Also, ensure your oven is preheated to 350°F.
Can I skip the edible glitter?
Substitute with colored sprinkles or a light dusting of powdered sugar for a simpler finish. The cookies will still taste delicious!

Trained in classic French technique but raised on slow-cooked ribs and spicy rubs, she blends culinary skill with smoke and soul.
- Recipe for Boneless Pork Chops in Cast Iron Skillet: Sear and Baste to Juicy Perfection - October 3, 2026
- Recipe for Boneless Cross Rib Roast: Slow-Roasted Beef with Herb Crust - October 3, 2026
- Hamburgers in Sauce Recipe Crock Pot: Slow-Cooked Savory Delight - October 3, 2026