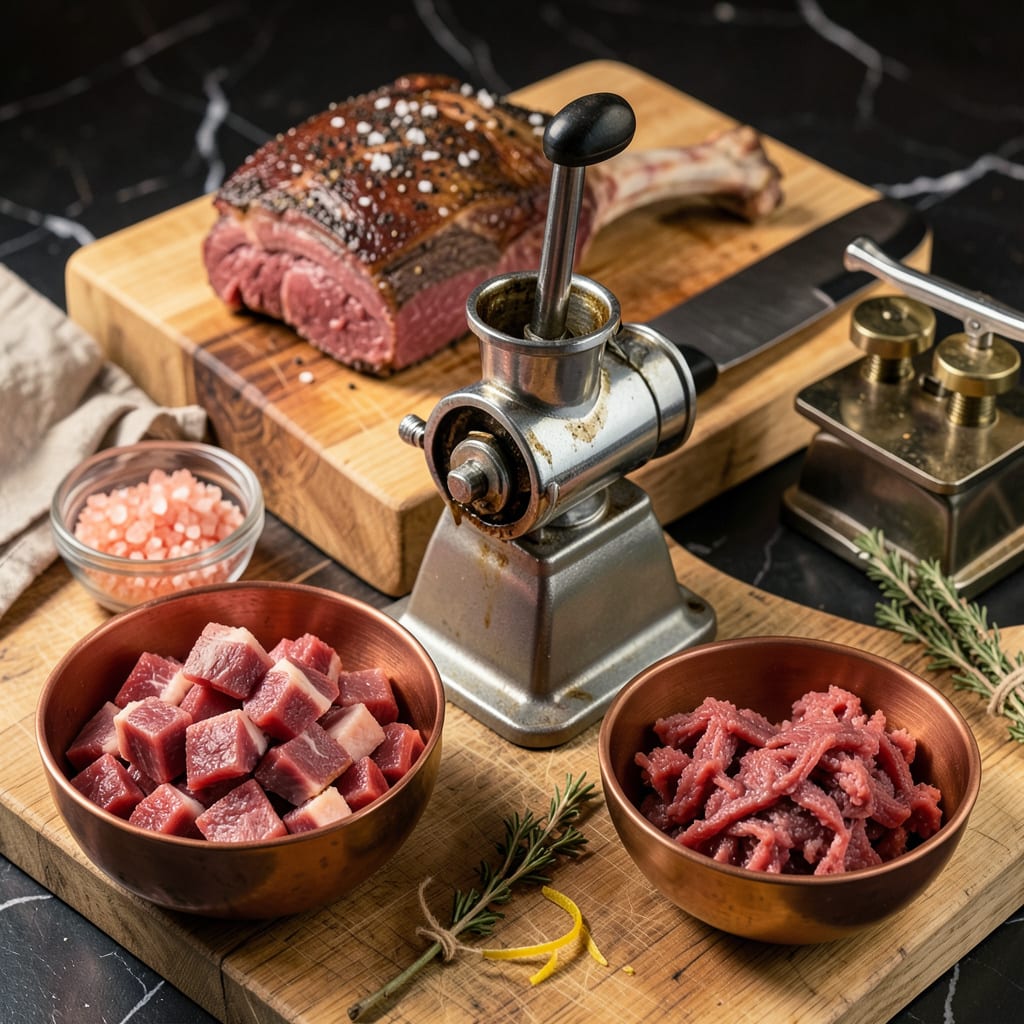
I’ll never forget the first time I tasted a burger made with freshly ground meat—it was like discovering a whole new level of flavor. There’s something about the texture and juiciness that store-bought ground beef just can’t match. After years of experimenting with different cuts and techniques, I’ve perfected a method that anyone can master at home.
Grinding your own meat isn’t just about better burgers (though they are incredibly juicier), it’s about control. You choose the exact cut, fat ratio, and even mix in seasonings during the process. I started doing this when I realized how much difference freshness makes—especially for dishes like meatloaf or stuffed peppers where texture matters.
The process is simpler than you might think. With just a few pieces of equipment and some basic food safety knowledge, you can transform affordable cuts into restaurant-quality ground meat. I’ll walk you through everything from selecting the right cuts to storing your freshly ground meat properly.
Once you try this, you’ll never go back to pre-ground meat. The difference in flavor and texture is that dramatic. Whether you’re making burgers, meatballs, or tacos, starting with freshly ground meat elevates every dish to something special.
📚 In This Guide
- What You’ll Need
- Instructions
- Tips and Common Mistakes
What Youll Need
- ● Meat: 2–5 lbs of fresh, chilled cuts (chuck, sirloin, or brisket work best). Pro tip: Keep it 35–40°F for clean grinding.
- ○ Meat grinder: Electric (300+ watts) or manual (heavy-duty clamp style). Optional: Grinder attachments for stand mixers (e.g., KitchenAid).
- ● Grinding plates: 3/16″ (fine, for burgers) or 3/8″ (coarse, for stews). Bonus: A stuffing tube for sausages.
- ● Sharp knife & cutting board: For trimming fat/silver skin before grinding.
- ● Mixing bowl: Stainless steel or glass (avoid plastic—it absorbs odors).
- ○ Food scale: Optional but handy for precise 80/20 meat-fat ratios.
- ● Parchment paper/wax paper: For wrapping patties or storing ground meat.
- ○ Gloves: Optional (nitrile or latex) for hygiene and grip.
- ● Ice packs: Keep meat cold during prep—critical for food safety!
Instructions for Grinding Your Own Meat
Here’s how to transform whole cuts into perfect ground meat with professional results every time.
Select and Prepare Your Meat
Start with cold, high-quality meat straight from the refrigerator. I recommend using a 70/30 lean-to-fat ratio for burgers—chuck roast works beautifully as it has ideal marbling. For leaner applications like meatballs, opt for 85/15 using sirloin or round.
Trim away any large silver skin or connective tissue, but leave the fat—it’s essential for flavor and moisture. Cut the meat into 1-inch cubes that will feed easily into your grinder. Spread the cubes on a baking sheet and freeze for 20-30 minutes until very firm but not rock solid. This semi-frozen state makes grinding safer and produces cleaner cuts.
Set Up Your Grinder Properly
Assemble your meat grinder according to manufacturer instructions, ensuring all parts are securely locked in place. I always run a few pieces of bread through first to clear any residual debris and lubricate the mechanism. Choose your grinding plate—3/8-inch for classic burger texture or 1/4-inch for finer applications like meatloaf.
Place a large mixing bowl under the grinder outlet to catch the ground meat. For food safety, keep another bowl of ice nearby to nestle your collection bowl in—this maintains the meat’s temperature during processing. Never overfill the grinder hopper; work in batches to prevent motor strain and ensure even grinding.
Grind the Meat in Batches
Feed the semi-frozen meat cubes into the grinder at a steady, moderate pace. Don’t force the meat through—let the grinder do the work. I find that pushing with the plunger using gentle, consistent pressure yields the best results. The ground meat should emerge in clean, separate strands rather than a mushy paste.
After each batch, check the meat’s temperature—it should remain below 40°F throughout the process. If the meat or grinder becomes warm, pause and chill everything for 10 minutes before continuing. For ultimate tenderness, grind the meat twice through the fine plate, but this isn’t necessary for most applications.
Handle and Store the Ground Meat
Once ground, immediately portion the meat into 1-pound packages for burgers or ½-pound packages for smaller applications. Gently shape into patties or loaves without overworking—the less you handle the meat, the more tender your final product will be. Use a light touch when forming; compacted meat makes dense, tough burgers.
For immediate use, cook within 2 hours of grinding. For storage, wrap portions tightly in plastic wrap, then in freezer paper, removing as much air as possible. Properly wrapped, your homemade ground meat will maintain peak quality in the freezer for 3-4 months. Always label packages with the date and cut of meat used.
Tips and Common Mistakes
Grinding your own meat transforms your cooking, but these key details make all the difference between good and exceptional results.
Temperature Control: The 20-30 minute freeze in Step 1 isn’t arbitrary—it’s the sweet spot where meat firms up enough for clean grinding without becoming rock-hard. I’ve found that exactly 25 minutes works perfectly in most home freezers. If your cubes are still soft after 30 minutes, extend by 5-minute increments until they hold their shape when pressed. This prevents the grinder from working too hard and ensures those beautiful, separate meat strands rather than a paste.
Equipment Strategy: In Step 2, that bowl of ice isn’t just for show. I nestle my collection bowl in ice and swap it out every two batches to maintain the critical below-40°F temperature. Here’s what nobody tells you—even premium grinders can heat up quickly, especially with fatty cuts like chuck. If you notice the meat emerging warmer than it went in, that’s your cue to pause and chill everything for the full 10 minutes before continuing.
Texture Secret: For Step 3, the grinding plate size makes a surprising difference. I always use the 3/8-inch plate for burgers because it creates the ideal balance—enough surface area for caramelization when cooking, but still tender. The 1/4-inch plate is perfect when you need a finer texture for meatloaf or meatballs, but be warned: it requires more pressure on the plunger and can warm the meat faster. For ultimate tenderness in burgers, I do run the meat through the 3/8-inch plate twice, which gives that steakhouse-quality texture.
Handling Technique: When portioning in Step 4, resist the urge to tightly pack your 1-pound packages. Gently shape the meat into loose patties or logs—this prevents the dense, tough texture that comes from overworking. I use a kitchen scale for precision, but you can also eyeball it: a baseball-sized portion equals about 1 pound of ground meat. The two-hour window for immediate cooking isn’t just about safety; it’s when the meat’s texture is absolutely perfect for forming into burgers or meatballs.
Pro Tips for Grinding Your Own Meat
- Grinding your own meat transforms your cooking, but these key details make all the difference between good and except…
- Temperature Control: The 20-30 minute freeze in Step 1 isn’t arbitrary—it’s the sweet spot where meat firms up enough…
- Equipment Strategy: In Step 2, that bowl of ice isn’t just for show. I nestle my collection bowl in ice and swap it o…
Frequently Asked Questions
Got questions about grinding your own meat? You’re not alone! Here are the most common ones—answered simply and honestly.
Is grinding your own meat really worth the effort?
Absolutely! Store-bought ground meat often contains fillers, preservatives, or multiple cuts mixed together. Grinding at home gives you full control over fat content, freshness, and quality—plus, the flavor difference in burgers or meatballs is night and day. A small time investment for a big payoff!
How long does freshly ground meat last in the fridge?
Freshly ground meat stays safe for 1–2 days in the fridge (40°F or below). For longer storage, freeze it in airtight containers or vacuum-sealed bags for 3–4 months. Pro tip: Portion it before freezing for easy thawing!
Can I grind meat without a meat grinder?
Yes! A food processor (pulse in batches) or a sharp chef’s knife (chop finely) works in a pinch. For best texture, partially freeze the meat first (20–30 mins) to firm it up. Avoid over-processing, or you’ll get a paste instead of crumbles.
Why does my homemade ground meat turn out mushy or slimy?
This usually happens if the meat is too warm when grinding or over-handled. Chill your equipment and meat beforehand, and avoid pressing too hard. Also, trim excess connective tissue—it can create a gummy texture. Clean your grinder thoroughly after use to prevent bacteria buildup!
What’s the best fat-to-lean ratio for burgers?
For juicy, flavorful burgers, aim for 80% lean meat to 20% fat (e.g., chuck roast). Leaner mixes (90/10) work for meatloaf or meatballs but can dry out on the grill. Experiment with cuts like brisket or short rib for richer flavor!
Grinding your own meat isn’t just a trend—it’s a game-changer for flavor, freshness, and control over what goes into your meals. 🍔 With the right tools and a little practice, you’ll be crafting juicier burgers, tastier meatballs, and healthier dishes in no time. Ready to take the plunge?
Start small: pick up a quality meat grinder or use your food processor, grab some fresh cuts, and experiment with blends. Your taste buds (and dinner guests) will thank you! 😉

Trained in classic French technique but raised on slow-cooked ribs and spicy rubs, she blends culinary skill with smoke and soul.
- Recipe for Boneless Pork Chops in Cast Iron Skillet: Sear and Baste to Juicy Perfection - October 3, 2026
- Recipe for Boneless Cross Rib Roast: Slow-Roasted Beef with Herb Crust - October 3, 2026
- Hamburgers in Sauce Recipe Crock Pot: Slow-Cooked Savory Delight - October 3, 2026