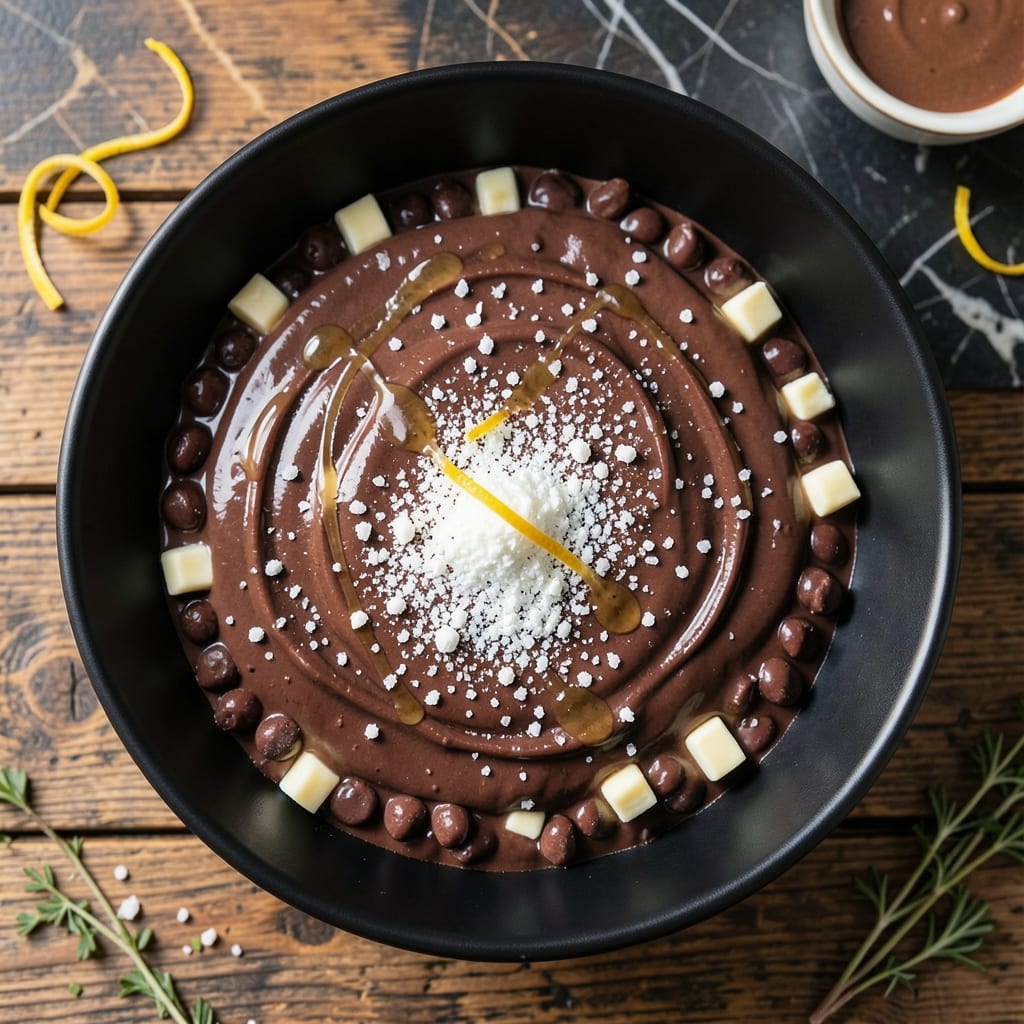
I’ve tested this creation in my tiny Boston kitchen more times than I’d like to admit, always chasing that perfect classic chocolate flavor. The first attempt was a disaster—grainy, dull, and nothing like the iconic bar. But persistence paid off.
This version captures the smooth, rich taste of the original using simple ingredients and precise technique. The key is temperature control and patience—no shortcuts here. Every step builds depth and that signature velvety texture.
What emerges is a homemade treat that rivals the store-bought favorite, with a satisfaction that comes from making it yourself. The aroma alone will transport you back to childhood candy runs.
No fancy equipment required—just a good thermometer and a little focus. The results are worth every minute.
Ingredients for Hershey Bar
Just a handful of quality ingredients to nail that nostalgic chocolate bar magic at home.
| Ingredient | Amount | Notes |
|---|---|---|
| Semi-Sweet Chocolate Chips 🍫 | 12 oz | High-quality, at least 50% cacao |
| Unsalted Butter 🧈 | ½ cup | Cut into small cubes |
| Granulated Sugar 🥄 | ¼ cup | Fine granulated preferred |
| Powdered Milk 🥛 | ¼ cup | Dry, instant variety |
| Vanilla Extract 🌿 | 1 tsp | Pure, not imitation |
| Salt 🧂 | ¼ tsp | Fine sea salt or table salt |
| Heavy Cream 🥛 | 2 tbsp | Full-fat for richness |
| Cocoa Powder 🍫 | 2 tbsp | Unsweetened, natural variety |
| Lecithin Granules 🌾 | ½ tsp | Soy or sunflower, optional emulsifier |
| Espresso Powder ☕ | ¼ tsp | Enhances chocolate depth |
[recipe_ingredient_scaler]
The chocolate chips are non-negotiable—Ghirardelli or Guittard give that smooth melt you need. Butter should be European-style if possible (higher fat content), but standard Land O’Lakes works. I always grab my chips from Trader Joe’s for the price-to-quality ratio. Avoid chocolate with added wax or stabilizers; it’ll throw off the texture completely (the label should list cacao as the first ingredient).
No semi-sweet chips? Chopped chocolate bars at 1:1 ratio—just make sure they’re the same cacao percentage. Swap powdered milk for coconut milk powder if you need dairy-free. Vanilla can be skipped in a pinch, but it flattens the flavor. Need to boost richness? Add an extra tablespoon of butter. Espresso powder is subtle but worth it—don’t skip unless you’re out.
Store the finished bars in an airtight container with parchment between layers. They’ll keep at room temp for 1 week or in the fridge for 2 weeks. Freeze for 3 months if you somehow resist eating them all immediately (unlikely, but possible).
Why You’ll Love This Recipe
- No-Fuss Mixing: I dump everything in one bowl—chocolate chips, butter, sugar—melt, mix, and pour. No fancy steps.
- Rich Chocolate Hit: The semi-sweet chips and vanilla create that deep, nostalgic Hershey’s flavor I can’t resist.
- Gift in Minutes: I’ve wrapped these as last-minute teacher gifts and no one guessed how easy they were.
- Pantry Staple: Between us, I always have these ingredients on hand, so a fresh batch is never more than 20 minutes away.
Step-by-Step Instructions for Homemade Chocolate Bars
This method delivers that nostalgic chocolate bar texture with a gourmet touch.
Step 1: Melt and Temper the Chocolate Base
In a microwave-safe bowl, combine the 12 oz Semi-Sweet Chocolate Chips and 0.5 cup Unsalted Butter cut into small cubes. Microwave in 30-second bursts, stirring between each, until 80% melted—you’ll see small lumps remaining.
Remove from the microwave and let the residual heat melt the remaining chocolate, stirring until completely smooth and glossy. This controlled melting prevents seizing and ensures a silky texture. The mixture should look like liquid chocolate with no visible butter separation.
Step 2: Incorporate Dry Ingredients for Structure
Whisk together the 0.25 cup Granulated Sugar, 0.25 cup Powdered Milk, 2 tbsp Cocoa Powder, 0.25 tsp Salt, and 0.25 tsp Espresso Powder in a separate bowl. The espresso powder might seem unusual, but it amplifies the chocolate depth without adding coffee flavor.
Gradually sift this dry mixture into the melted chocolate while stirring constantly. You’ll notice the mixture thicken slightly—this is the powdered milk and sugar absorbing the liquid. Continue until fully incorporated and the texture becomes velvety and uniform.
Step 3: Emulsify and Flavor the Mixture
Add the 1 tsp Vanilla Extract and 2 tbsp Heavy Cream to the chocolate mixture. The vanilla should be pure extract, not imitation, for that authentic depth of flavor. Stir gently but thoroughly to maintain the emulsion.
Now sprinkle in the 0.5 tsp Lecithin Granules—this optional emulsifier ensures your chocolate bars won’t separate or develop a dull finish. Stir for an additional 2 minutes until the mixture achieves a glossy, pourable consistency with no graininess.
Here’s the thing—if the mixture seems too thick at this point, warm it for 10-15 seconds in the microwave. If too thin, let it sit at room temperature for 5 minutes to thicken slightly.
Step 4: Set and Portion the Chocolate
Pour the mixture into a parchment-lined 8×8-inch baking dish, spreading it evenly with a spatula. The surface should be completely smooth with no air bubbles—tap the dish gently on the counter to release any trapped air.
Refrigerate for at least 2 hours or until completely firm. You’ll know it’s ready when the edges pull away slightly from the pan and the center feels solid when gently pressed. Don’t rush this step—proper setting ensures clean cuts and that classic snap when broken.
Real talk: if your kitchen is warm, consider freezing for 1 hour instead to speed up the process without affecting texture.
Step 5: Cut and Finish Like a Pro
Remove the set chocolate from the fridge and let it sit at room temperature for 10 minutes to soften slightly. This prevents cracking when cutting. Use a sharp knife to score the chocolate into 4 equal portions for serving.
For that authentic chocolate bar appearance, I like to make shallow crosshatches on each piece before the final set. Store in an airtight container at room temperature for up to 2 weeks, though I promise they won’t last that long.
Pro Tips For Making Hershey Bar
- Melt Slowly: Use low heat and stir constantly when melting the chocolate chips and butter—high heat will scorch the chocolate, and you’ll end up with a grainy, seized mess. I learned this the hard way after ruining two batches.
- Toast the Powdered Milk: Lightly toasting the powdered milk in a dry pan for 2-3 minutes adds a subtle depth of flavor that makes the bars taste more complex. Sounds weird, but it works.
- Skip Cheap Chocolate: Splurge on a good brand of semi-sweet chocolate chips—cheap ones often have waxy coatings that don’t melt smoothly. After burning three batches with off-brand chips, I finally figured out why.
- Chill Before Cutting: Let the mixture set in the fridge for at least an hour before slicing. My grandmother swore by this, and she was right: clean cuts every time, no crumbly edges.
Common Mistakes When Making This Recipe
Overheating the Chocolate
Never microwave chocolate beyond 80% melted—those last lumps disappear with residual heat. Burning chocolate creates a grainy, bitter texture that ruins the entire batch. I learned this the hard way in my tiny Boston kitchen. 🔥
Skipping the Emulsifier
Without lecithin granules or proper stirring, your mixture may separate. The fat and liquid components need help staying together. Just 2 minutes of vigorous stirring prevents a dull, greasy finish.
Impatient Setting Time
Rushing the 2-hour refrigeration leads to soft, misshapen bars. Warm kitchens may need freezing for 1 hour. Test firmness by pressing the center gently—it should feel solid.
Using Low-Quality Chocolate
Cheap chocolate chips with stabilizers or wax create a waxy texture. Stick with Ghirardelli or Guittard for that signature smooth melt. I always grab mine from Trader Joe’s for the best value.
Incorrect Measuring
Scooping powdered ingredients directly from the bag packs them down. Always spoon and level for accuracy. Even 1 extra tablespoon of powdered milk can throw off the texture.
Cutting Too Soon
Let the chocolate soften at room temperature for 10 minutes after refrigeration. Cutting while cold causes cracking. Use a hot knife for cleaner edges if needed.
Nutrition Facts
Frequently Asked Questions
Can I use milk chocolate instead of semi-sweet?
Yes, but reduce sugar by 2 tablespoons since milk chocolate is sweeter. The texture may be slightly softer, but it still works beautifully.
Why is espresso powder included?
It deepens the chocolate flavor without tasting like coffee. Just 0.25 tsp makes a noticeable difference in richness.
How do I fix grainy chocolate?
Add 1 tsp of warm heavy cream and stir vigorously for 2 minutes. If that fails, start over—grainy chocolate won’t smooth out.
Can I make this dairy-free?
Swap butter for coconut oil and use dairy-free chocolate chips. Replace powdered milk with coconut milk powder.

Trained in classic French technique but raised on slow-cooked ribs and spicy rubs, she blends culinary skill with smoke and soul.
- Recipe for Boneless Pork Chops in Cast Iron Skillet: Sear and Baste to Juicy Perfection - October 3, 2026
- Recipe for Boneless Cross Rib Roast: Slow-Roasted Beef with Herb Crust - October 3, 2026
- Hamburgers in Sauce Recipe Crock Pot: Slow-Cooked Savory Delight - October 3, 2026