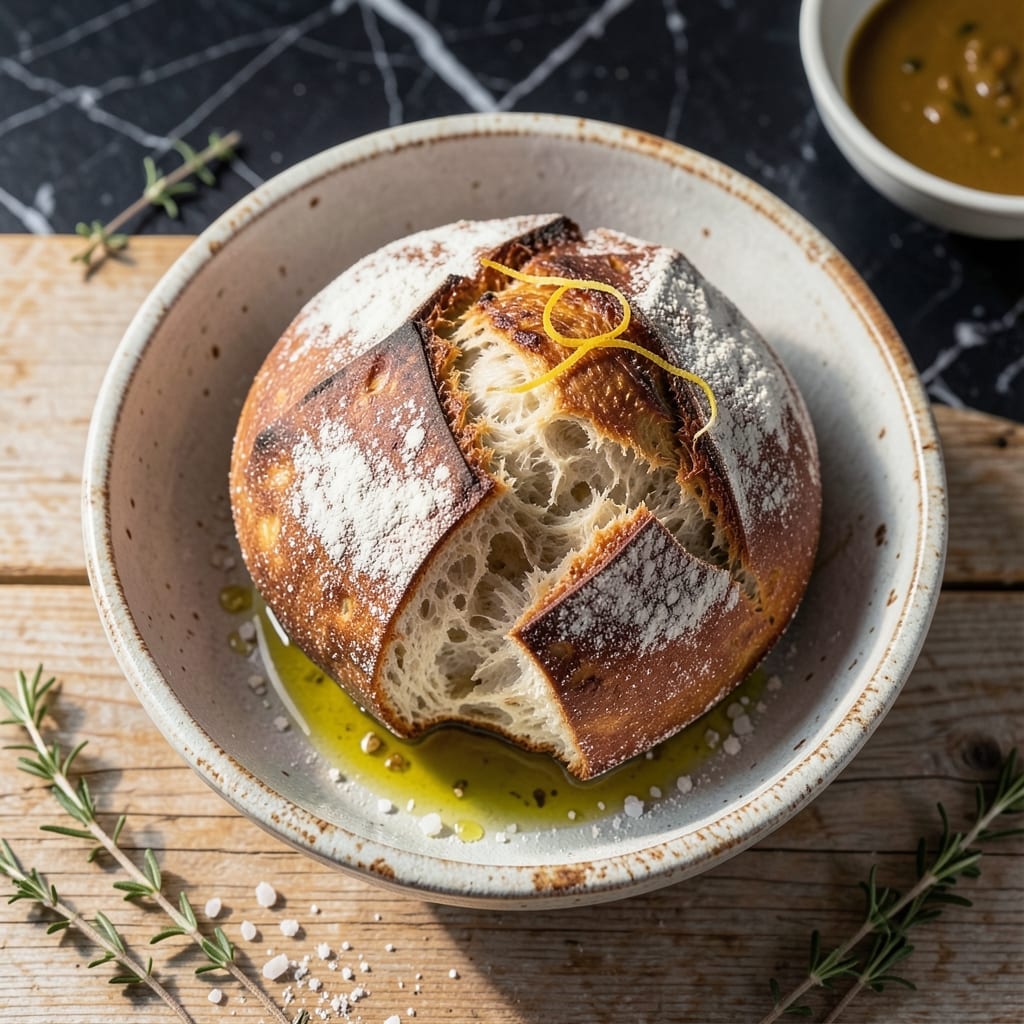
There’s nothing like the aroma of fresh-baked bread filling your kitchen. This recipe brings authentic Italian flavor to your table with minimal effort.
Using instant yeast means you can skip the long rise times typically associated with bread-making. The result is a crusty exterior with a soft, airy interior—just like Nonna used to make.
The dough comes together quickly, requiring only 10 minutes of prep before its first rise. You’ll be rewarded with a golden loaf that’s perfect for sandwiches or serving with olive oil.
With just a handful of simple ingredients, you can create a homemade bread that rivals any bakery. The secret is in the technique, not the complexity.
Ingredients for Homemade Italian Bread Recipe with Instant Yeast
Simple ingredients, artisan results. Just flour, yeast, and a little patience.
| Ingredient | Amount | Notes |
|---|---|---|
| All-Purpose Flour 🌾 | 4 cups | Plus extra for dusting |
| Warm Water 💧 | 1 ½ cups | 110-115°F ideal temperature |
| Instant Yeast 🍞 | 2 ¼ tsp | One packet, active dry works too |
| Granulated Sugar 🍚 | 2 tbsp | Feeds the yeast for rise |
| Extra-Virgin Olive Oil 🫒 | 2 tbsp | Plus extra for bowl |
| Kosher Salt 🧂 | 2 tsp | Diamond Crystal preferred |
| Honey 🍯 | 1 tbsp | Optional for golden crust |
| Cornmeal 🌽 | ¼ cup | For dusting baking sheet |
| Semolina Flour 🌾 | 2 tbsp | Optional for authentic texture |
| Fresh Rosemary 🌿 | 1 tbsp | Chopped, optional for flavor |
| Garlic Powder 🧄 | 1 tsp | Optional for depth |
[recipe_ingredient_scaler]
The flour is the foundation here. King Arthur all-purpose is my go-to—consistent quality, perfect protein content. Instant yeast (I use SAF Red) means no proofing, just mix and go. For the water, a thermometer is helpful but not essential—if it feels warm like bathwater, you’re good. The olive oil? California Olive Ranch everyday EVOO is great and affordable.
No instant yeast? Active dry works at the same ratio—just let it bloom in the warm water first. Swap honey for sugar if you want, but don’t skip the sweetener entirely; it’s not just for flavor but helps the yeast activate. Out of cornmeal? Extra flour on the baking sheet works fine. For a more rustic loaf, add 1/4 cup whole wheat flour to the mix.
Dough rises best in a warm, draft-free spot (I use my turned-off oven with the light on). Leftovers? Slice and freeze for 3 months. The bread stays fresh for 2-3 days wrapped in a towel—never plastic, or the crust gets soggy.
Why You’ll Love This Recipe
- No Fuss Rising: Instant yeast means I skip the proofing step—just mix and go.
- Golden Crust: That olive oil brush gives it a crisp, buttery edge every time.
- Sandwich Hero: I slice it thin for paninis or tear chunks for soup-dunking.
- Pantry Staple: Flour, water, yeast—I always have these on hand for fresh bread anytime.
Step-by-Step Instructions for Homemade Italian Bread
Here’s my method for achieving bakery-style results with minimal effort and maximum flavor.
Step 1: Activate the Yeast and Prepare the Dough
In a large mixing bowl, combine the 1.5 cups Warm Water, 2.25 tsp Instant Yeast, 2 tbsp Granulated Sugar, and 1 tbsp Honey. Stir gently and let sit for 5 minutes until you see a foamy layer forming on top—that’s your confirmation the yeast is active and ready to work.
Add the 2 tbsp Extra-Virgin Olive Oil and 2 tsp Kosher Salt, then gradually mix in the 4 cups All-Purpose Flour. I use a wooden spoon at first, then switch to my hands once it becomes too thick to stir. The dough will be shaggy and slightly sticky—that’s exactly what you want at this stage.
Step 2: Knead Until Smooth and Elastic
Turn the dough out onto a lightly floured surface. Knead for 8-10 minutes by hand, pushing the dough away with the heel of your hand, then folding it back over itself. If it sticks, dust lightly with more flour, but don’t add too much—you want a soft, slightly tacky dough.
You’ll know it’s ready when the dough feels smooth, elastic, and springs back when you press your finger into it. This development of gluten is what gives your bread its structure. I like to set a timer for this step to ensure I don’t under- or over-knead.
Step 3: First Rise Until Doubled in Size
Lightly oil a clean bowl with some Extra-Virgin Olive Oil, place the dough inside, and turn it to coat all sides. Cover with a damp towel or plastic wrap and let it rise in a warm, draft-free place for 30-45 minutes, or until it has doubled in volume.
Pro tip: If your kitchen is cool, place the bowl near (but not on) a preheating oven to speed up the process. The dough should look puffy and jiggle slightly when you gently shake the bowl. This first rise is crucial for developing that airy, open crumb we love in artisan bread.
Step 4: Shape, Second Rise, and Prepare for Baking
Punch down the risen dough to release the air, then turn it out onto your work surface. Shape it into a round loaf or oval shape, tucking the edges under to create surface tension. This tension helps the bread hold its shape during baking and gives you that beautiful, professional-looking dome.
Place the shaped dough on a baking sheet dusted with 0.25 cup Cornmeal or 2 tbsp Semolina Flour. If using, sprinkle 1 tbsp Fresh Rosemary and 1 tsp Garlic Powder over the top for extra flavor. Cover and let it rise for another 20-30 minutes until it’s puffy and nearly doubled again.
Step 5: Bake to Golden Perfection
Preheat your oven to 400°F during the last 10 minutes of the second rise. Just before baking, use a sharp knife or razor to score the top of the dough with a shallow X or a few diagonal slashes. This allows the bread to expand properly in the oven.
Bake for 25-30 minutes until the crust is deep golden brown and the loaf sounds hollow when tapped on the bottom. Transfer to a wire rack and let it cool for at least 20 minutes before slicing—this prevents a gummy texture and lets the flavors fully develop.
Pro Tips For Making Homemade Italian Bread Recipe With Instant Yeast
- Test Your Yeast: Mix a pinch of instant yeast with a teaspoon of sugar in warm water first—I learned this the hard way after a few loaves that refused to rise.
- Use Room-Temp Water: Skip the hot tap; 100-110°F water activates the yeast without killing it, and I finally got consistent results once I started using a thermometer.
- Don’t Over-Flour: Resist the urge to dust too much flour on the counter during kneading, or your bread will turn dense—I was skeptical until I tried it, but less really is more here.
- Brush with Oil: After shaping, lightly coat the dough with olive oil before the first rise to prevent a dry crust from forming, which makes a real difference in texture.
Troubleshooting Great homemade italian bread recipe with instant yeast
Dough Won’t Rise
If your dough isn’t rising after 45 minutes, check your yeast first. Instant yeast expires quickly, so I always test mine by mixing it with warm water and a pinch of sugar. If it doesn’t foam within 5 minutes, it’s dead. Also, your kitchen might be too cold—try placing the bowl in your turned-off oven with the light on. 🌡️
Dense Bread Texture
This usually means under-kneading or not enough rise time. I learned from Nonna that you must knead until the dough passes the windowpane test—stretch a small piece until it’s thin enough to see light through. If it tears, keep kneading for another 2-3 minutes.
Crust Too Thick
Scoring the dough before baking is essential. Use a razor blade or sharp knife to make ¼-inch deep cuts in a pattern. This allows the bread to expand properly. I also mist my oven with water just before baking to create steam, which helps develop a thinner, crispier crust.
Bread Collapses After Baking
This happens when the bread isn’t fully baked inside. Even if it looks golden, use a thermometer to check for an internal temperature of 190-200°F. If it’s not there, return it to the oven for another 5-10 minutes. Also, let it cool completely on a rack before slicing.
Yeasty Taste
Overproofing is often the culprit. Stick to the recommended rise times—30-45 minutes for the first rise and 20-30 minutes for the second. If your kitchen is warm, reduce these times by 10-15 minutes. The dough should spring back slowly when poked, not collapse.
Crust Too Dark
Your oven might be running hot. I recommend using an oven thermometer to verify the temperature. If it’s accurate, tent the bread with foil after 15 minutes of baking. Also, avoid placing the baking sheet too close to the heating element—middle rack works best. 💡
Nutrition Facts
Frequently Asked Questions
Can I use active dry yeast instead?
Yes, use the same amount but let it bloom in warm water with sugar for 5 minutes first. Instant yeast dissolves directly, while active dry needs this activation step for best results.
Why is my bread dense?
Under-kneading or insufficient rise time are common culprits. Knead until smooth and elastic, then let it rise until doubled. The windowpane test helps confirm proper gluten development.
How do I store leftovers?
Wrap cooled bread in a clean towel and keep at room temperature for 2-3 days. For longer storage, slice and freeze for up to 3 months. Avoid plastic bags to prevent soggy crust.

Trained in classic French technique but raised on slow-cooked ribs and spicy rubs, she blends culinary skill with smoke and soul.
- Recipe for Boneless Pork Chops in Cast Iron Skillet: Sear and Baste to Juicy Perfection - October 3, 2026
- Recipe for Boneless Cross Rib Roast: Slow-Roasted Beef with Herb Crust - October 3, 2026
- Hamburgers in Sauce Recipe Crock Pot: Slow-Cooked Savory Delight - October 3, 2026