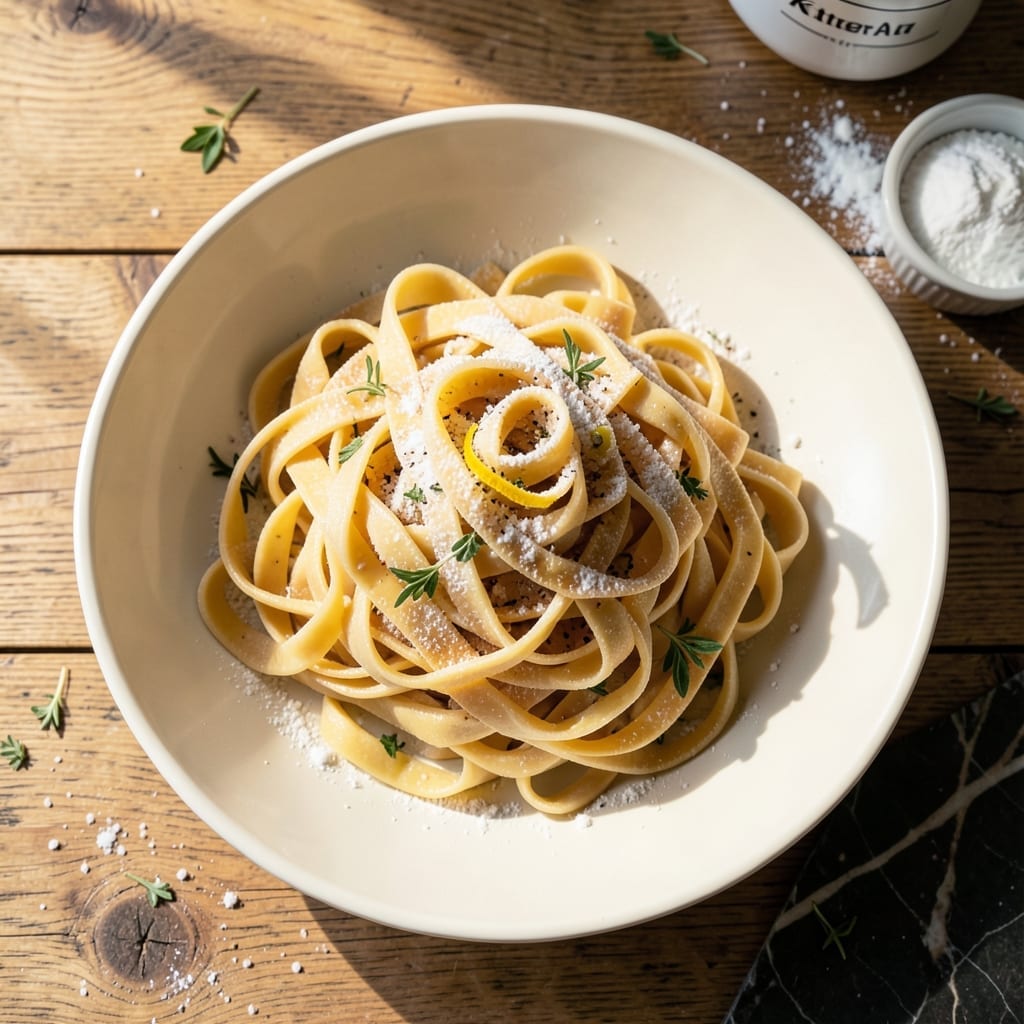
My grandmother never wrote down her pasta recipe, but I’ve decoded her technique for silky, homemade sheets using a KitchenAid mixer. No culinary school required—just patience and the right attachments.
This method takes the guesswork out of dough consistency and the labor out of rolling. The stand mixer does the kneading, while the pasta roller attachment ensures uniform thickness every time.
After resting, the dough transforms into smooth, elastic sheets ready for cutting into any shape you desire. The result is pasta with the perfect bite and a texture that store-bought can’t match.
From flour to fork in under an hour, this approach makes fresh pasta achievable for any home cook. Here’s how to get it right.
Ingredients for Homemade Pasta Recipe Kitchenaid
Six simple ingredients transform into silky, elastic sheets with professional texture and bite.
| Ingredient | Amount | Notes |
|---|---|---|
| All-Purpose Flour 🌾 | 3 cups | 00 flour preferred for authenticity |
| Large Eggs 🥚 | 4 whole | Room temperature for even mixing |
| Extra-Virgin Olive Oil 🫒 | 1 tbsp | High quality for richness |
| Fine Sea Salt 🧂 | 1 tsp | Diamond Crystal preferred for consistency |
| Semolina Flour 🌾 | ½ cup | For texture and dusting |
| Water 💧 | 1 tbsp | Adjust as needed for humidity |
[recipe_ingredient_scaler]
The flour is the foundation. 00 flour (found at Eataly or specialty markets) gives the most authentic texture, but King Arthur all-purpose works beautifully too. Room temperature eggs emulsify more smoothly—just pull them out 30 minutes before starting. For the olive oil, California Olive Ranch or any cold-pressed extra-virgin will add depth without overpowering.
No 00 flour? Standard all-purpose is perfectly fine—just avoid cake flour. Out of semolina? Bread flour at half the amount adds similar chew. The eggs are non-negotiable for structure, but if you’re in a pinch, 3 whole eggs plus 2 yolks creates an even richer dough. Skip the water entirely if your eggs are large or the air is humid.
Fresh pasta cooks in 2-3 minutes, so prep your sauce first. The dough rests best at room temperature, covered with plastic, for 30 minutes. Uncooked sheets can be refrigerated for 24 hours or frozen (dusted with semolina) for 1 month.
Why You’ll Love This Recipe
- KitchenAid Magic: I just dump the eggs and flour in, let the mixer do the work, and boom—pasta dough in minutes.
- Rich, Eggy Bite: That deep golden color from the eggs and olive oil makes every forkful taste luxuriously fresh.
- Freezer Friendly: I double the batch, roll it out, and stash half for those nights I’m too tired to cook.
- Penny-Pincher Win: A handful of flour and eggs costs less than a box of dried pasta, and the taste is no contest.
Step-by-Step Instructions for Homemade Pasta With Kitchenaid
Here’s the method. Straightforward, tested, works every time with your stand mixer.
Step 1: Combine Dry Ingredients in Mixer Bowl
Attach the dough hook to your stand mixer. Add the 3 cups All-Purpose Flour and 1 tsp Fine Sea Salt to the bowl and mix on low speed for 10 seconds to combine evenly. This initial mixing ensures the salt distributes uniformly throughout the flour.
Make a well in the center of the flour mixture. The well should be deep enough to hold all the wet ingredients without spilling over the sides. This technique prevents the eggs from running down the sides of the bowl, which would leave flour pockets in your dough.
Step 2: Incorporate Wet Ingredients Gradually
Add the 4 whole Large Eggs, 1 tbsp Extra-Virgin Olive Oil, and 1 tbsp Water to the well. Mix on low speed for 30 seconds until the liquid is partially absorbed. You’ll see the mixture transform from a shaggy mess to a rough dough.
Increase the speed to medium and knead for 8-10 minutes. The dough should pull away from the sides of the bowl and form a smooth, elastic ball. If it feels too dry, add water 1 teaspoon at a time; if too sticky, sprinkle in a bit of the 0.5 cup Semolina Flour reserved for dusting.
Step 3: Rest the Dough for Optimal Texture
Turn the dough out onto a lightly floured surface and knead by hand for 1-2 minutes to ensure even texture. The dough should feel smooth and slightly tacky but not sticky. This brief hand-kneading step guarantees uniform elasticity.
Shape the dough into a ball, wrap it tightly in plastic wrap, and let it rest at room temperature for 30 minutes. This resting period relaxes the gluten strands, making the dough easier to roll out and preventing shrinkage during the rolling process.
Step 4: Roll and Cut the Pasta Sheets
Divide the rested dough into 4 equal portions. Working with one portion at a time (keep the rest covered to prevent drying), flatten it slightly with your hands. Set your pasta roller to the widest setting and feed the dough through twice, folding it in half between passes.
Reduce the roller setting by one notch and repeat the process, without folding, until you reach the desired thickness (typically setting 5-6 for most pasta shapes). Dust the dough lightly with the 0.5 cup Semolina Flour to prevent sticking. Cut the sheets to your preferred length or shape using the pasta cutter attachment or a sharp knife.
Pro Tips For Making Homemade Pasta Recipe Kitchenaid
- Knead Just Enough: Stop the mixer as soon as the dough comes together—overworking it in the KitchenAid makes the pasta tough. I learned this the hard way after my first three batches came out chewy.
- Use Room-Temp Eggs: Pull your eggs out 30 minutes before starting. Cold eggs cause the olive oil to clump, and the dough won’t incorporate evenly.
- Skip the Dusting Flour: Resist the urge to heavily flour your work surface—too much extra all-purpose flour changes the texture. A light dusting of semolina is all you need to prevent sticking.
- Rest the Dough: Let the dough sit wrapped in plastic for at least 30 minutes. This relaxes the gluten so it rolls out smooth instead of springing back like a rubber band.
Perfect Pairings for These Flavors
Sauce Pairings
Fresh pasta demands a light touch. I love a simple brown butter sauce with sage leaves—just 4 tbsp butter and 8 fresh sage leaves cooked until nutty. The richness complements the delicate egg flavor without overpowering it. 💛
Classic Combinations
For a traditional approach, toss your sheets with San Marzano tomatoes, fresh basil, and a drizzle of extra-virgin olive oil. The acidity cuts through the pasta’s richness. Add freshly grated Parmigiano-Reggiano at the table for depth.
Creamy Options
A carbonara-style sauce with 2 eggs, ½ cup Pecorino Romano, and 4 oz pancetta creates a velvety coating. The egg in the pasta and sauce creates a double richness that’s unforgettable. Honestly, it’s my go-to for impressing guests.
Vegetable Pairings
Sauté 2 cups asparagus tips in olive oil with 2 minced garlic cloves for 3-4 minutes. The crisp-tender veggies add texture contrast. Alternatively, blanched peas with mint and lemon zest brighten up the dish beautifully. 🌱
Wine Pairings
Italian whites shine here. A chilled Pinot Grigio from Friuli cuts through the richness, while a Vermentino from Sardinia offers citrus notes that complement the pasta’s eggy depth. Avoid heavy reds that might overwhelm the delicate flavors.
Nutrition Facts
Frequently Asked Questions
Do I need a special attachment for rolling?
Yes, you’ll need a pasta roller attachment for your stand mixer. The roller clamps onto the mixer’s hub and flattens the dough into uniform sheets. Most brands offer these as part of a pasta kit.
Why does my dough keep tearing during rolling?
Tearing usually means the dough is too dry or hasn’t rested enough. Let it rest for the full 30 minutes and add water 1 teaspoon at a time if it feels stiff. Dust with semolina to prevent sticking.
Can I make this without a stand mixer?
Mix by hand in a large bowl, then knead on a floured surface for 10-12 minutes until smooth. The texture will be just as good, but it requires more effort.
How thin should the pasta sheets be?
For most shapes, aim for setting 5-6 on the roller. This creates sheets about 1-2mm thick—thin enough for tender pasta but sturdy enough to hold shape.

Trained in classic French technique but raised on slow-cooked ribs and spicy rubs, she blends culinary skill with smoke and soul.
- Recipe for Boneless Pork Chops in Cast Iron Skillet: Sear and Baste to Juicy Perfection - October 3, 2026
- Recipe for Boneless Cross Rib Roast: Slow-Roasted Beef with Herb Crust - October 3, 2026
- Hamburgers in Sauce Recipe Crock Pot: Slow-Cooked Savory Delight - October 3, 2026