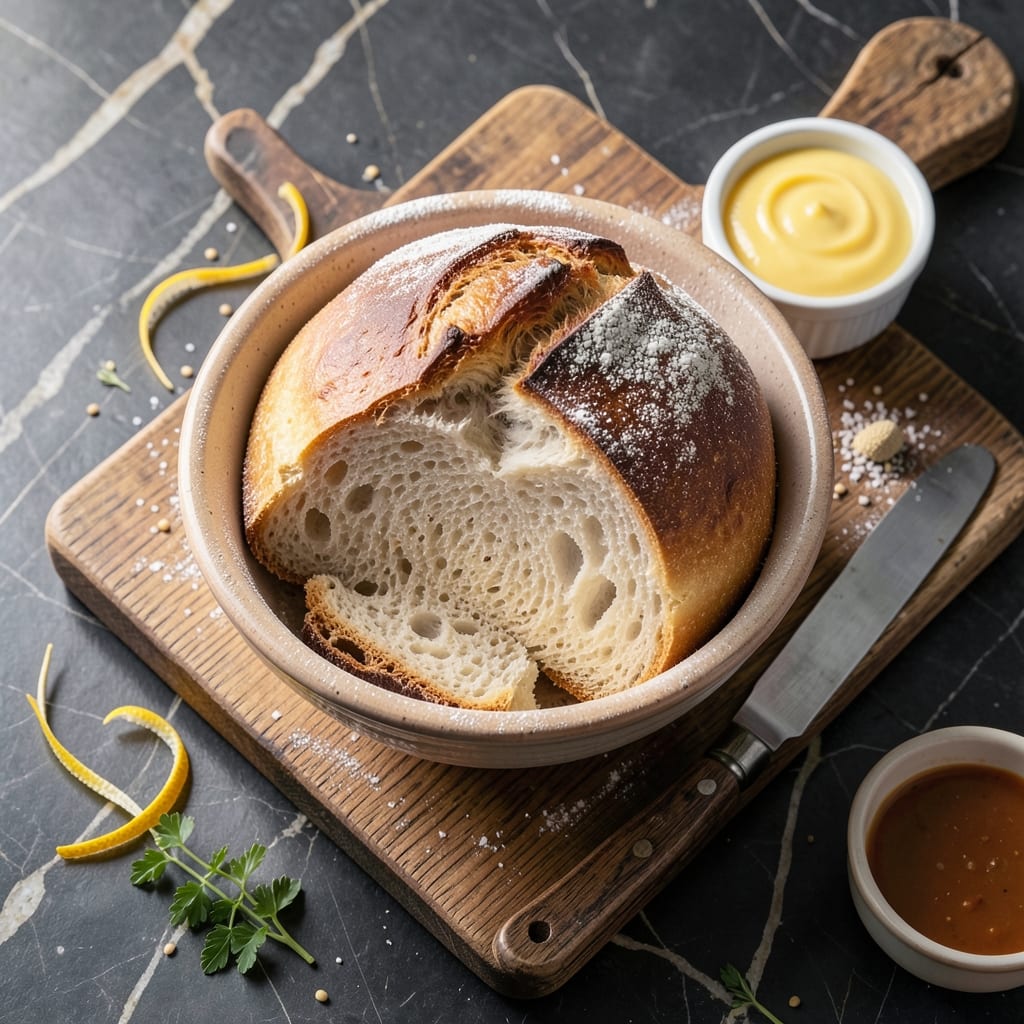
There’s nothing quite like the aroma of freshly baked bread filling your kitchen. Standing on a step stool in my grandmother’s kitchen in Sicily, I learned that the secret to perfect white bread lies in patience and precision.
This recipe delivers a golden crust and airy crumb through a proven fermentation process. The yeast develops complex flavors while creating that signature soft texture we all love.
With simple ingredients and clear timing, you’ll achieve bakery-quality results at home. The dough rises twice to ensure maximum lightness and flavor development.
Enjoy warm slices with butter or use as the foundation for your favorite sandwiches. The satisfaction of homemade bread is unmatched.
Ingredients for Homemade White Bread Recipe with Yeast
Simple, quality ingredients transform into bakery-style white bread with ease.
| Ingredient | Amount | Notes |
|---|---|---|
| Bread Flour 🌾 | 4 cups | High protein for structure |
| Active Dry Yeast 🍞 | 2 ¼ tsp | One packet, proofed in warm water |
| Granulated Sugar 🍚 | 2 tbsp | Feeds the yeast activation |
| Kosher Salt 🧂 | 1 ½ tsp | Fine grain for even distribution |
| Whole Milk 🥛 | 1 cup | Warmed to 110°F for yeast |
| Unsalted Butter 🧈 | 2 tbsp | Melted and cooled |
| Large Egg 🥚 | 1 whole | Room temperature for binding |
| Water 💧 | ¼ cup | Warm, for yeast proofing |
| Olive Oil 🫒 | 1 tbsp | For bowl greasing |
| Honey 🍯 | 1 tbsp | Optional for added sweetness |
[recipe_ingredient_scaler]
The flour is your foundation here. King Arthur Bread Flour is my go-to—consistent protein content every time. Yeast needs to be fresh; check the expiration date on the packet. Whole milk adds richness to the crumb, but you can swap it if needed. Warm the milk gently—too hot kills the yeast, too cold won’t activate it (the sweet spot is around 110°F).
Out of bread flour? All-purpose works at a 1:1 ratio, though the texture won’t be quite as chewy. No milk? Water plus a tablespoon of melted butter mimics the fat content. Forgot to warm the milk? Microwave in 10-second bursts. The honey is optional but adds a subtle sweetness that balances the salt. If using instant yeast, skip the proofing step entirely.
Store flour in an airtight container to keep pests out—lasts 6-8 months. Yeast keeps in the fridge for a year unopened. The baked loaf stays fresh for 3-4 days wrapped tightly, or freeze slices for up to 3 months (toast straight from frozen).
Why You’ll Love This Recipe
- I’ll be real: it lasts for days if I wrap it tight, and toasted leftovers taste even better.
- One Bowl Wonder: I mix everything right in the same bowl—no fancy equipment, just bread flour, yeast, and a little sugar to wake it up.
- Buttery Soft Crumb: The whole milk gives it this rich, tender texture that store-bought just can’t match.
- Sandwich Superstar: Honestly, it’s my go-to for lunchbox PB&Js, garlic bread, or even fancy bruschetta.
Step-by-Step Instructions for Homemade White Bread
Here’s the method I use for perfect loaves with a crisp crust and soft interior every time.
Step 1: Activate the Yeast and Warm the Liquids
In a small bowl, combine the 2.25 tsp Active Dry Yeast with the 0.25 cup Water warmed to 110°F and the 2 tbsp Granulated Sugar. Let it sit for 5-7 minutes until the mixture becomes frothy and bubbly—this confirms your yeast is alive and active.
While waiting, warm the 1 cup Whole Milk to the same 110°F temperature. This gentle warmth kickstarts the yeast without killing it. I use a thermometer for precision, but if you don’t have one, the liquid should feel just warm to the touch, not hot.
Melt the 2 tbsp Unsalted Butter and let it cool slightly. You’ll add this to the milk mixture once it’s ready.
Step 2: Mix and Knead the Dough
In a large mixing bowl, combine the activated yeast mixture, warm milk, melted butter, the 1 whole Large Egg, and the 1 tbsp Honey. Whisk until the honey is fully incorporated and the mixture looks smooth.
Add 2 cups of the Bread Flour and the 1.5 tsp Kosher Salt, mixing until a shaggy dough forms. Gradually add the remaining 2 cups Bread Flour, ½ cup at a time, until the dough pulls away from the sides of the bowl.
Turn the dough out onto a lightly floured surface and knead for 8-10 minutes until smooth and elastic. The dough should be slightly tacky but not sticky—add a sprinkle of flour if needed, but don’t overdo it, or your bread will be dense.
Step 3: First Rise Until Doubled
Lightly grease a large bowl with the 1 tbsp Olive Oil, then place the kneaded dough inside, turning to coat all sides. Cover the bowl with a clean kitchen towel or plastic wrap.
Let the dough rise in a warm, draft-free place for 1 to 1½ hours, or until it has doubled in size. I like to place mine near a slightly warm oven (turned off, but with residual heat). You’ll know it’s ready when it springs back slowly when gently pressed with your finger.
This rise develops the gluten structure, giving your bread that perfect airy crumb. Don’t rush this step—patience here ensures a light, fluffy texture.
Step 4: Shape, Second Rise, and Bake
Punch down the risen dough to release excess air, then turn it out onto a lightly floured surface. Shape it into a loaf by flattening into a rectangle and rolling it up tightly, pinching the seam to seal.
Place the shaped dough seam-side down in a greased 9×5-inch loaf pan. Cover and let rise again for 30-45 minutes until the dough domes about 1 inch above the rim of the pan.
Preheat your oven to 375°F. Bake the loaf for 25-30 minutes until the top is deep golden brown and the bread sounds hollow when tapped. If the top browns too quickly, tent with foil for the remaining time.
Step 5: Cool and Enjoy
Remove the bread from the pan and let it cool on a wire rack for at least 20 minutes before slicing. This cooling period allows the crumb to set—slicing too soon can make the bread gummy.
Resist the temptation to skip this step. The texture improves as it cools, and you’ll be rewarded with a loaf that slices beautifully with a perfect, tender crumb.
Pro Tips For Making Homemade White Bread Recipe With Yeast
- Proof the Yeast: Always dissolve the active dry yeast in warm whole milk (about 110°F) with a pinch of sugar first—I learned this the hard way after killing three batches with water that was too hot.
- Use Bread Flour: Skip all-purpose flour; the higher protein in bread flour actually changes the outcome, giving you that chewy, elastic crumb that makes sandwiches worth eating.
- Salt Last: Mix the kosher salt in after the yeast has started bubbling, or it can slow down the activation—sounds weird, but it works.
- Double the Rise: Let the dough rise until it’s truly doubled in size, even if it takes an extra 20 minutes—your future self will thank you when the loaf comes out light instead of dense.
Make-Ahead Tips for This Dish
Overnight Dough Prep
After kneading, place your dough in a greased bowl, cover tightly with plastic wrap, and refrigerate overnight for 8-12 hours. This slow fermentation develops deeper flavor and makes for an easier morning bake. I do this often for Sunday family dinners. ❄️
Morning Rise Boost
Remove the cold dough from the fridge and let it sit at room temperature for 1-1.5 hours before shaping. The dough will finish rising as it warms, saving you time while still delivering perfect texture. Just watch for it to double in size.
Pre-Shape and Chill
Shape your dough into a loaf, place it in the greased pan, cover, and refrigerate for up to 24 hours. The next day, let it warm at room temperature for 30-45 minutes before baking. This method works great for fresh bread with minimal morning effort.
Freezer-Friendly Dough
After the first rise, punch down the dough, shape into a loaf, wrap tightly in plastic, and freeze for up to 1 month. Thaw overnight in the fridge, then let rise at room temperature for 1-2 hours before baking. I always keep a batch ready for unexpected guests.
Baked Loaf Storage
Once completely cooled, wrap your loaf in plastic and store at room temperature for 2-3 days. For longer storage, slice and freeze individual pieces in a zip-top bag for up to 3 months. Toast directly from frozen for fresh taste. 💡
Day-Old Bread Revival
If your bread starts to dry out, wrap it in foil and warm in a 350°F oven for 10 minutes. Alternatively, sprinkle with water and microwave for 15-20 seconds. This brings back that just-baked softness.
Nutrition Facts
Frequently Asked Questions
Why does my bread turn out dense?
Insufficient kneading or rising time is usually the culprit. Knead for 8-10 minutes to develop gluten, and allow 1-1½ hours for the first rise until doubled. Cold environments can slow rising, so find a warm spot.
Can I use all-purpose flour instead of bread flour?
Yes, but the texture will be slightly less chewy. Use the same 4 cups measurement. Bread flour’s higher protein creates better structure, but all-purpose works in a pinch.
How do I know when the bread is fully baked?
Look for a deep golden brown crust and a hollow sound when tapped. The internal temperature should reach 190-200°F. If it browns too fast, tent with foil.
Can I make this dough in a bread machine?
Add ingredients in the order recommended by your machine, using the dough setting. After kneading, remove and shape before the final rise and bake.

Trained in classic French technique but raised on slow-cooked ribs and spicy rubs, she blends culinary skill with smoke and soul.
- Recipe for Boneless Pork Chops in Cast Iron Skillet: Sear and Baste to Juicy Perfection - October 3, 2026
- Recipe for Boneless Cross Rib Roast: Slow-Roasted Beef with Herb Crust - October 3, 2026
- Hamburgers in Sauce Recipe Crock Pot: Slow-Cooked Savory Delight - October 3, 2026