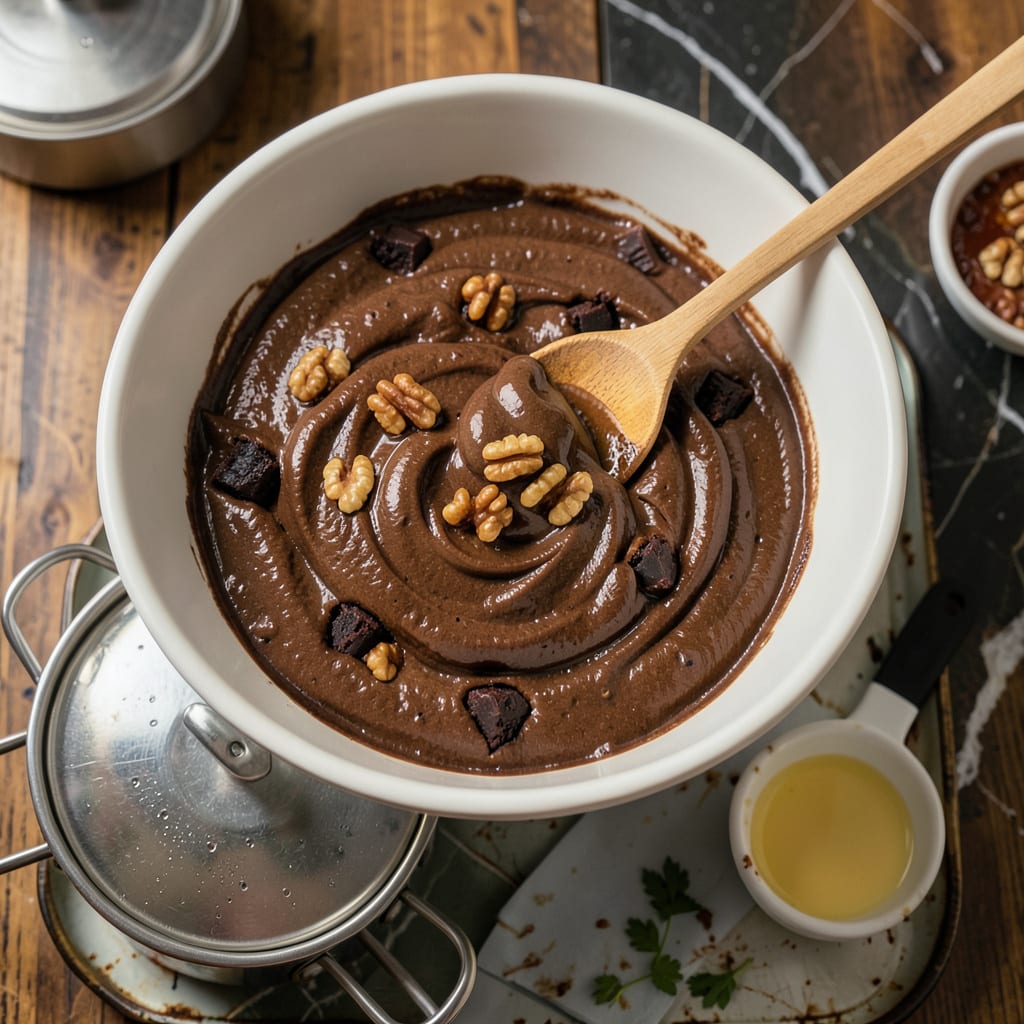
No oven? No problem. I’ve been cooking brownies in a microwave for years when I’m short on time or equipment, and the results are shockingly good. This method delivers fudgy, rich brownies with that classic box-mix taste—just without the oven. The key is getting the batter consistency right and knowing exactly how long to zap them.
Here’s the thing—microwave brownies cook differently than oven-baked ones. You’ll need a microwave-safe dish (I swear by my 8×8 glass pan) and a watchful eye. The batter goes in just like normal, but the cooking happens in short bursts. We’re talking 3-5 minutes total, with checks in between to avoid rubbery edges or undercooked centers.
What you end up with is a pan of brownies that are dense, moist, and packed with chocolate flavor. They won’t have that crispy top crust you get from an oven, but the texture is spot-on—especially if you let them cool for 10 minutes before cutting. I actually prefer these for ice cream sundaes because they stay extra fudgy.
Fair warning: Microwaves vary, so your first batch might need tweaking. But once you nail the timing for your machine, you’ll never stress about oven access again. Let’s get that chocolate fix going—no preheating required.
📚 In This Guide
- What You’ll Need
- Instructions
- Tips and Common Mistakes
What Youll Need
- ● 1 box (18–20 oz) brownie mix – Your favorite brand (check for microwave-safe instructions if available).
- ● ⅓ cup vegetable oil or melted butter – For that rich, fudgy texture.
- ● ¼ cup water – Helps bind everything together.
- ● 1 large egg – Essential for structure (or use a flax egg for vegan options).
- ● Microwave-safe dish (8×8″ or similar) – Glass or ceramic works best (no metal!).
- ○ Microwave-safe parchment paper – Optional but helps with easy removal.
- ● Mixing bowl + whisk/spoon – For blending ingredients smoothly.
- ● Microwave (800W+ recommended) – Lower wattage? Add 1–2 minutes to cook time.
- ● Toothpick or knife – To test doneness (clean = ready!).
- ○ Optional mix-ins: ½ cup chocolate chips, nuts, or caramel swirls for extra decadence.
- ● Cooling rack – Lets brownies set properly (5–10 minutes).
Instructions for Microwave Box Brownies
Let me walk you through this surprisingly simple process—no oven required, just your microwave and a few tricks.
Prepare the Batter Properly
Start by preparing your box brownie mix exactly as the package directs, using the ingredients listed on the box. I always recommend using a large mixing bowl to give yourself plenty of room to stir without making a mess. The batter should be smooth with no dry spots—this ensures even cooking in the microwave.
Here’s the thing—microwaves cook differently than ovens, so you want the batter slightly thicker than usual. If your mix calls for water, consider reducing it by 1-2 tablespoons to prevent a gummy texture. Stir for at least 1 minute to fully incorporate all ingredients and develop that classic fudgy consistency.
Choose and Prepare Your Microwave-Safe Dish
Select a microwave-safe dish that’s about 8×8 inches—this is the ideal size for even cooking. I like using glass dishes because they distribute heat more evenly than plastic. Lightly grease the dish with butter or nonstick spray, then line it with parchment paper if you want easy removal later.
Pour the prepared batter into your dish, spreading it evenly with a spatula. Make sure it’s level in the dish—uneven batter leads to some parts cooking faster than others. Tap the dish gently on the counter a few times to remove any air bubbles that could create uneven texture in your finished brownies.
Microwave in Short Intervals for Even Cooking
Place the dish in your microwave and cook on medium power (50-70%) for 3-minute intervals. This gentle approach prevents the edges from burning while the center remains undercooked. After each interval, give the dish a quarter turn to ensure even cooking—microwaves have hot spots that can cause uneven results.
You’ll know it’s working when you see the edges start to pull away from the sides of the dish and the top looks set but still slightly shiny. Most standard box mixes will take between 6-9 minutes total, but start checking at the 6-minute mark. The brownies are done when a toothpick inserted in the center comes out with just a few moist crumbs—not wet batter.
Let Them Rest for the Perfect Texture
This might be the hardest part—you need to let your brownies rest in the dish for at least 10 minutes after microwaving. I know they smell amazing and you’re eager to dive in, but this resting time allows the structure to set properly. If you cut into them too soon, they’ll be more like pudding than brownies.
While they’re resting, you’ll notice the texture firms up considerably. The residual heat continues cooking the brownies gently from the inside out. After resting, run a knife around the edges if needed, then cut into squares. Serve warm for that perfect gooey texture, or let cool completely for cleaner slices that hold their shape.
Tips and Common Mistakes
Microwave brownies can be surprisingly tricky, but these key insights will help you avoid common pitfalls and achieve perfect results every time.
Batter Consistency: When preparing your batter in Step 1, pay close attention to the thickness. The instructions suggest reducing water by 1-2 tablespoons, and I’ve found this makes all the difference. Your batter should be thick enough to hold its shape when you spread it, but not so stiff that it won’t level out. Stirring for the full 1 minute ensures all ingredients are fully incorporated and helps develop that signature fudgy texture we all love.
Microwave Power Settings: The 3-minute intervals at medium power (50-70%) in Step 3 are absolutely crucial. I learned this the hard way after burning several batches at full power. Medium power allows the brownies to cook through evenly without scorching the edges. Remember to rotate the dish a quarter turn after each interval—this compensates for those pesky microwave hot spots that can create uneven cooking.
Doneness Test: At the 6-minute mark, start checking your brownies carefully. The edges should pull away slightly from the dish, and the top should look set but still have a subtle shine. When you insert a toothpick, you want to see just a few moist crumbs—not wet batter. This is the sweet spot between undercooked and overdone. Trust me, those few moist crumbs are what give you that perfect fudgy center.
Resting Period: The 10-minute resting time in Step 4 might seem like torture when your kitchen smells amazing, but it’s non-negotiable. This is when the brownies finish setting up—cutting too soon will give you a pudding-like texture instead of proper brownies. I like to set a timer so I’m not tempted to dive in early. You’ll notice the texture firms up significantly during this time, making for cleaner cuts when you’re ready to serve.
Pro Tips for Cook Box Brownies Without An Oven
- Microwave brownies can be surprisingly tricky, but these key insights will help you avoid common pitfalls and achieve…
- Batter Consistency: When preparing your batter in Step 1, pay close attention to the thickness. The instructions sugg…
- Microwave Power Settings: The 3-minute intervals at medium power (50-70%) in Step 3 are absolutely crucial. I learned…
Frequently Asked Questions
Can I use a regular microwave-safe bowl instead of a mug or cake pan?
Yes! Any microwave-safe bowl or dish (glass or ceramic) works, but choose one at least 6–8 inches wide for even cooking. Avoid plastic—it can warp or melt. Pro tip: Grease the sides lightly for easy release!
How do I know when the brownies are done without an oven timer?
Microwave times vary, but start checking at 2–3 minutes. The edges should pull away slightly, and a toothpick inserted in the center should come out with moist crumbs (not wet batter). Overcooking = dry brownies!
What if I don’t have a microwave? Can I use a stovetop or slow cooker?
For a stovetop, use a greased pan over low heat (covered, 20–25 mins). For a slow cooker, line it with parchment, cook on High for 1.5–2 hours. Both methods need extra patience!
Why did my brownies turn out rubbery or gummy?
This usually happens from overmixing the batter or uneven microwave heat. Stir just until combined, and pause to rotate the dish halfway through cooking. Let them rest 5 minutes post-microwave—they’ll firm up!
Can I add mix-ins like chocolate chips or nuts?
Yes! Fold in up to ½ cup of chips, nuts, or marshmallows after mixing the batter. Heavier add-ins (like walnuts) may sink—sprinkle some on top before microwaving for extra crunch!
Who knew you could whip up rich, fudgy brownies without ever turning on the oven? 🍫✨ With just a microwave, a mug (or bowl), and a few pantry staples, you’ve got a warm, gooey treat ready in minutes—no fancy equipment required. Whether you’re in a dorm, craving a late-night snack, or just avoiding the heat, this hack proves baking isn’t limited to traditional methods.
Now that you’ve mastered the basics, why not experiment? Try mixing in chocolate chips, a swirl of peanut butter, or a pinch of espresso powder for extra depth. Tag us in your creations—we’d love to see your microwave brownie wins! Happy (no-oven) baking! 😊

Trained in classic French technique but raised on slow-cooked ribs and spicy rubs, she blends culinary skill with smoke and soul.
- Recipe for Boneless Pork Chops in Cast Iron Skillet: Sear and Baste to Juicy Perfection - October 3, 2026
- Recipe for Boneless Cross Rib Roast: Slow-Roasted Beef with Herb Crust - October 3, 2026
- Hamburgers in Sauce Recipe Crock Pot: Slow-Cooked Savory Delight - October 3, 2026