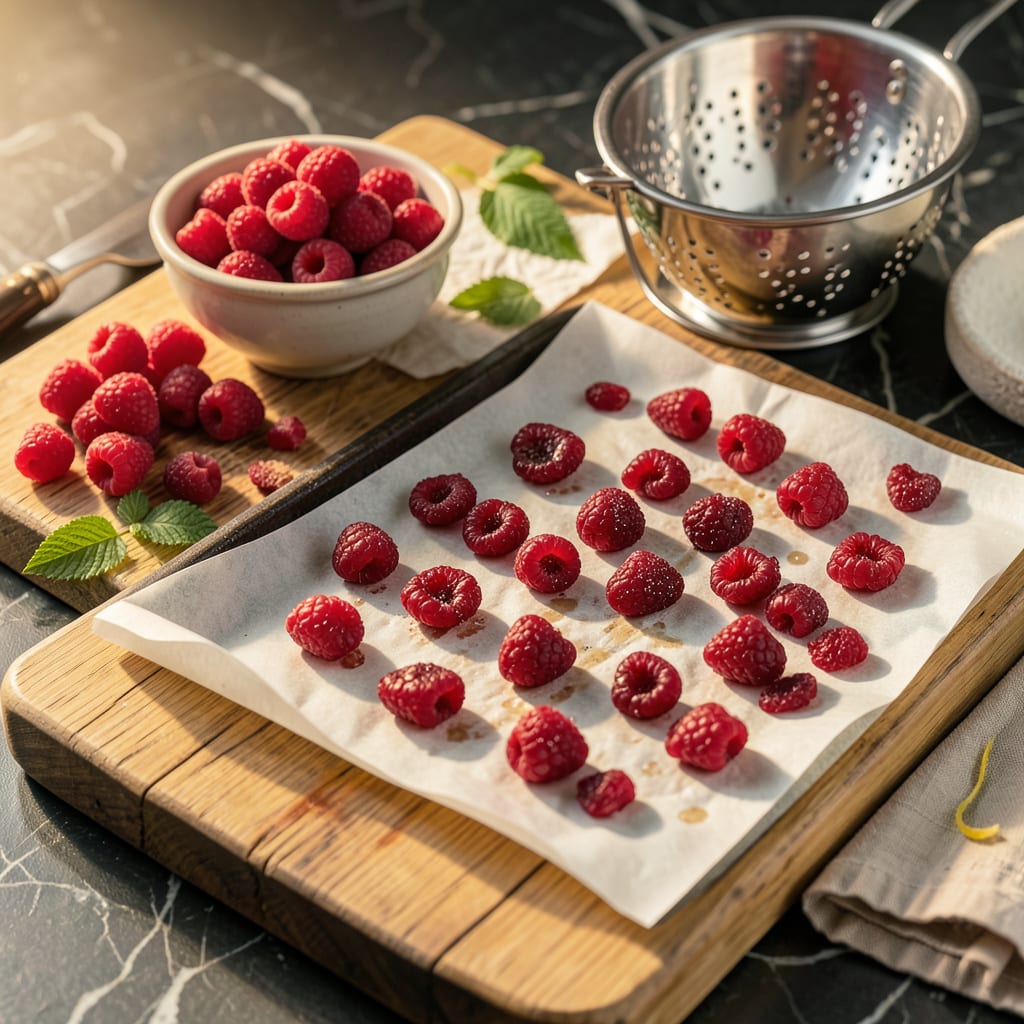
I’ll be real with you—dehydrating raspberries in your oven is one of those kitchen tricks that feels like magic. You start with plump, juicy berries and end up with concentrated little flavor bombs that last for months. No fancy equipment needed, just your trusty oven and some patience. The first time I tried this, I burned two batches before nailing the perfect chewy-but-not-crunchy texture.
Here’s the thing—raspberry selection matters more than you’d think. Look for firm, slightly underripe berries (they dehydrate better than mushy ones). A quick rinse and pat dry, then slice them in half if they’re large. The oven does most of the work at a low, steady 170°F, transforming those berries into intense, jammy bites over 4-6 hours. I like to prop the door open slightly with a wooden spoon for airflow.
What you’re left with are ruby-red raspberry chips that pack all the bright, tangy flavor of fresh berries in a shelf-stable form. They’re perfect for snacking straight from the jar, but I love tossing them into granola, blending into smoothies, or steeping in hot water for instant fruit tea. The best part? No preservatives, no added sugar—just pure raspberry essence.
Fair warning: your kitchen will smell amazing while these dehydrate, and you’ll want to eat them all immediately. But if you can resist, they’ll keep in an airtight container for up to 6 months. Between you and me, they never last that long in my house. Now let’s get those berries prepped!
📚 In This Guide
- What You’ll Need
- Instructions
- Tips and Common Mistakes
What Youll Need
- ● Fresh raspberries – 4–6 cups (about 1–1.5 lbs), ripe but firm (avoid mushy berries)
- ● Baking sheet – 1–2 (standard 12×17-inch), preferably with a rim to catch juices
- ● Parchment paper or silicone baking mat – 1 sheet (to prevent sticking)
- ○ Sharp knife or kitchen shears (optional, for halving larger berries)
- ○ Oven thermometer (optional but highly recommended for accuracy—ovens lie! 😉)
- ● Cooling rack – 1 (to let berries crisp up post-baking)
- ○ Lemon juice (optional) – 1 tbsp (to preserve color and add tang)
- ○ Fine-mesh strainer (optional, for rinsing berries gently)
- ● Air-tight container – 1 (for storage, like a mason jar or plastic bin)
Instructions
This foolproof method transforms fresh raspberries into perfectly chewy, flavor-packed snacks with minimal effort.
Select and Prepare the Raspberries
Start by choosing firm, plump raspberries that are fully ripe but not overripe. I look for berries that are deep red in color with no signs of mold or excessive softness. Give them a gentle rinse under cool water to remove any dirt or debris, then pat them completely dry with paper towels.
The key here is dryness—any remaining moisture will extend your drying time significantly. I like to spread them out on a clean kitchen towel for 10 minutes after patting to ensure they’re bone-dry. This step makes all the difference between chewy and mushy results.
Prep the Baking Sheets and Oven
Line two large baking sheets with parchment paper or silicone baking mats. I prefer silicone mats because they allow better air circulation around the berries. Arrange the raspberries in a single layer, making sure they don’t touch each other—this prevents them from steaming instead of drying.
Preheat your oven to its lowest setting, ideally 170°F. If your oven doesn’t go that low, set it to 200°F and prop the door open slightly with a wooden spoon. The goal is consistent, low heat that removes moisture without cooking the berries. Place the oven rack in the middle position for even air flow.
Begin the Drying Process
Place the baking sheets in the preheated oven and set a timer for 1 hour. After that first hour, carefully flip each raspberry using tongs or your fingers. You’ll notice they’ve already started to shrink and develop a slightly leathery texture on the bottom side.
Return them to the oven and continue drying for another 1-2 hours, checking and flipping every 30 minutes. The berries are ready when they’re about half their original size and have a chewy, leathery texture with no visible moisture when cut open. They should still be slightly pliable, not brittle.
Cool and Store Properly
Remove the raspberries from the oven and let them cool completely on the baking sheets—this usually takes about 30 minutes. They’ll continue to firm up slightly as they cool. Test a few by cutting them in half to ensure there’s no moisture inside.
Once completely cool, transfer them to an airtight container. I use glass jars with tight-fitting lids. Store them in a cool, dark place where they’ll keep for up to 2 weeks. For longer storage, you can refrigerate them for up to 1 month or freeze them for 6 months. The texture will be perfect every time!
Tips and Common Mistakes for Perfectly Dehydrated Raspberries
These simple but powerful techniques will help you achieve consistently chewy, flavorful results every time you make this snack.
Drying Secret: The 10-minute air-drying step in Step 1 isn’t just helpful—it’s essential! I’ve found that skipping this or rushing it can add up to an extra hour of oven time. For best results, spread the berries on a clean towel in a single layer and let them sit undisturbed. You’ll know they’re ready when they feel completely dry to the touch with no damp spots.
Oven Temperature Control: When working with the 170°F setting in Step 2, remember that oven thermostats can be unreliable at low temperatures. I always use an oven thermometer to verify the actual temperature. If your oven runs hot, you might need to prop the door open slightly even at 170°F to maintain that perfect low-and-slow environment.
The Flip Technique: During the 1-2 hour drying period in Step 3, be gentle when flipping the raspberries at each 30-minute interval. I use silicone-tipped tongs to avoid piercing the delicate berries. This careful handling prevents them from breaking apart or sticking to the baking sheet, which can happen when they become slightly tacky during the drying process.
Storage Wisdom: The 30-minute cooling time in Step 4 isn’t just about letting them firm up—it’s crucial for preventing condensation in your storage container. I’ve ruined batches by sealing them too soon, which creates moisture that leads to mold. Wait until they’re completely cool to the touch before transferring to airtight containers for that perfect 2-week shelf life.
Pro Tips for Dehydrate Raspberries In Oven
- These simple but powerful techniques will help you achieve consistently chewy, flavorful results every time you make …
- Drying Secret: The 10-minute air-drying step in Step 1 isn’t just helpful—it’s essential! I’ve found that skipping th…
- Oven Temperature Control: When working with the 170°F setting in Step 2, remember that oven thermostats can be unreli…
Frequently Asked Questions
How long does it take to dehydrate raspberries in the oven?
Dehydrating raspberries typically takes 4–6 hours at 170°F (77°C), but timing varies based on berry size, moisture, and oven airflow. Check every 2 hours—they’re done when leathery but not crispy. Pro tip: Rotate trays halfway for even drying!
Can I dehydrate raspberries without a dehydrator?
Your oven works great—just use the lowest temperature setting (or prop the door open slightly for airflow). For alternatives, try an air fryer (135°F for 3–4 hours) or even sun-drying (if humidity is below 60%).
Why are my dehydrated raspberries sticky?
Stickiness means they’re not fully dried. Raspberries are high in natural sugars, so extend drying time by 1–2 hours at 170°F. For extra crispiness, pat them dry before baking or dust lightly with cornstarch pre-dehydration.
How do I store dehydrated raspberries to keep them fresh?
Store in airtight containers (mason jars or vacuum-sealed bags) in a cool, dark place for up to 6 months. Add a silica gel packet to absorb moisture. For longer shelf life, freeze them for 1 year!
Can I dehydrate frozen raspberries?
Yes! Thaw and pat very dry first—excess moisture extends drying time. Expect 6–8 hours at 170°F. Frozen berries may shrink more but retain flavor. Bonus: Great for off-season dehydrating!
Dehydrating raspberries in your oven is a simple, rewarding way to preserve their sweet-tart flavor for months! 🍓 With just a few tools and patience, you’ll have chewy, nutrient-packed snacks perfect for trail mix, baking, or munching straight from the jar. Now that you’ve mastered the basics, experiment with spices like cinnamon or citrus zest for extra flair—or try dehydrating other berries for variety.
Ready to level up? Check out our guide on storing dehydrated fruits to keep your raspberries fresh and delicious for the long haul!

Trained in classic French technique but raised on slow-cooked ribs and spicy rubs, she blends culinary skill with smoke and soul.
- Recipe for Boneless Pork Chops in Cast Iron Skillet: Sear and Baste to Juicy Perfection - October 3, 2026
- Recipe for Boneless Cross Rib Roast: Slow-Roasted Beef with Herb Crust - October 3, 2026
- Hamburgers in Sauce Recipe Crock Pot: Slow-Cooked Savory Delight - October 3, 2026