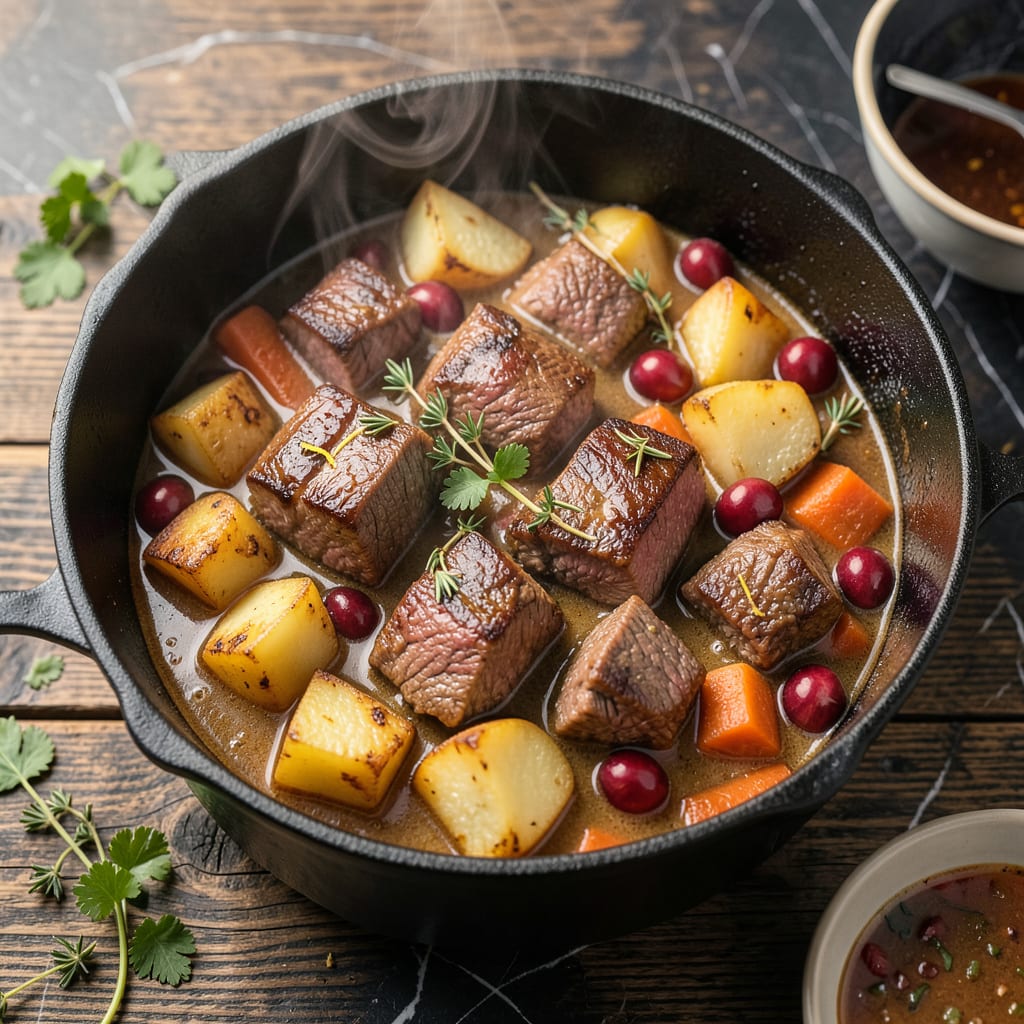
Nothing beats that moment when your spoon glides through beef stew meat like butter—no chewy resistance, just pure, fall-apart tenderness. I’ve spent years perfecting this technique, and here’s the truth: it’s all about breaking down that tough collagen through low, slow heat. The difference between rubbery chunks and melt-in-your-mouth perfection comes down to patience and a few key tricks.
Start with the right cut—chuck roast is my go-to for its perfect fat-to-meat ratio. Sear those cubes hard to build flavor, then let them swim in liquid (beef broth, red wine, or both) for at least 2-3 hours at 300°F. This isn’t just cooking; it’s a transformation where connective tissue slowly dissolves into rich, velvety gelatin that coats every bite.
The magic happens when you add aromatics like onions, garlic, and thyme—simple ingredients that turn the cooking liquid into a flavor bomb. I always check tenderness with a fork after 2 hours, and if there’s any resistance, I give it another 30 minutes. Trust me, that extra time makes all the difference between “good” and “unbelievable.”
What you’ll end up with isn’t just tender beef—it’s a stew where every component sings. The meat practically dissolves on your tongue, the broth is rich enough to stand alone, and the whole dish tastes like it simmered all day (because it did). No shortcuts, just perfect results every time.
📚 In This Guide
- What You’ll Need
- Instructions
- Tips and Common Mistakes
What Youll Need
- ● Beef stew meat: 2–3 lbs (900g–1.4kg) of chuck roast or round cut (cut into 1–2 inch cubes). 💡 Pro tip: Look for well-marbled pieces for extra tenderness!
- ● Liquid for braising: 4–6 cups of beef broth, red wine, or a mix of both (enough to cover ⅔ of the meat).
- ● Acidic tenderizer: 2 tbsp of apple cider vinegar, lemon juice, or tomato paste (helps break down fibers).
- ○ Aromatics: 1 large onion (diced), 3 garlic cloves (minced), 2 carrots (chopped), and 2 celery stalks (optional but recommended).
- ● Herbs & spices: 1 tsp salt, ½ tsp black pepper, 1 tsp paprika, 2 bay leaves, and 1 tsp dried thyme (or a pre-made stew seasoning packet).
- ● Cooking tools: Large Dutch oven or heavy pot (with lid).
- ● Tongs or slotted spoon (for searing).
- ○ Meat thermometer (optional but handy for precision).
- ● Slow cooker or Instant Pot (alternative to stovetop).
- ● Time & patience: At least 2–3 hours (stovetop) or 6–8 hours (slow cooker) for melt-in-your-mouth results. ⏰
Instructions for Tender Beef Stew Meat
Here’s how to transform tough cuts into melt-in-your-mouth perfection every time.
Choose the Right Cut and Prep Properly
Start with the right foundation by selecting well-marbled cuts like chuck roast, short ribs, or round steak. I always look for pieces with visible fat streaks and connective tissue—these break down during cooking to create that rich, unctuous texture you want. Cut the meat into 1-2 inch cubes, keeping them uniform so they cook evenly.
Pat the cubes completely dry with paper towels before cooking. This might seem tedious, but moisture prevents proper browning, and browning is crucial for both flavor development and tenderizing. The Maillard reaction that occurs during searing breaks down tough muscle fibers, giving you a head start on tenderness.
Sear the Meat for Maximum Flavor and Texture
Heat a heavy-bottomed pot or Dutch oven over medium-high heat until very hot. Add just enough oil to lightly coat the bottom—about 2 tablespoons—and let it shimmer. Working in batches to avoid crowding, add the beef cubes in a single layer. Don’t touch them for 2-3 minutes until they develop a deep brown crust.
You’ll know it’s time to flip when the meat releases easily from the pan. Sear all sides until you’ve achieved a rich, caramelized exterior. This step isn’t just about color—it creates a flavorful fond that will dissolve into your cooking liquid later, while the high heat begins breaking down collagen. Transfer seared meat to a plate and repeat with remaining batches.
Low and Slow Cooking with Proper Liquid
Return all seared beef to the pot and add enough liquid to come about two-thirds up the meat—typically 4-6 cups for 2 pounds of beef. I prefer a mix of beef stock and red wine for depth, but even water works in a pinch. The liquid should simmer gently, not boil—you want tiny bubbles breaking the surface, not a rolling boil that would toughen the meat.
Cover the pot and maintain a low simmer (around 180-200°F) for 2-3 hours. This gentle, prolonged heat allows collagen to convert to gelatin without drying out the meat. Check occasionally and add more liquid if needed to keep the meat partially submerged. You’ll know it’s working when the kitchen fills with that rich, meaty aroma and the beef starts to look slightly translucent at the edges.
Test for Doneness and Adjust as Needed
After 2 hours, start testing the beef. Use a fork to gently pull at a piece—it should separate easily with minimal resistance. If it’s still tough, continue cooking in 30-minute increments, checking each time. The meat is perfectly tender when it offers no resistance to the fork and practically falls apart when prodded.
If the liquid reduces too much before the meat is tender, add ½ cup of hot water or stock to maintain the level. This prevents the meat from drying out while giving the collagen more time to break down. Remember that carryover cooking continues even after you remove the pot from heat, so pull it off just before it reaches your ideal tenderness.
Rest and Serve for Optimal Texture
Once the beef reaches that perfect fall-apart texture, let it rest in the cooking liquid for 15-20 minutes off the heat. This allows the meat to reabsorb some of the juices and the gelatin to set slightly, ensuring each bite is moist and flavorful rather than dry or stringy.
Serve the beef with plenty of the cooking liquid, which will have transformed into a rich, velvety sauce thanks to all that dissolved collagen. The meat should be tender enough to cut with a spoon, with a silky mouthfeel that coats your palate. Any leftovers will actually improve in texture as they sit, making this dish even better the next day.
Tips and Common Mistakes for Perfectly Tender Beef Stew Meat
After years of perfecting this technique, I’ve learned that small details make all the difference between chewy and fall-apart tender.
The Searing Secret: In Step 2, don’t rush those 2-3 minutes per side when searing. The deep brown crust you develop at medium-high heat creates a flavor foundation through the Maillard reaction, while the high heat jumpstarts collagen breakdown. I’ve found that waiting until the meat releases naturally from the pan—rather than forcing it—gives you that perfect caramelized exterior every time.
Liquid Level Wisdom: During the 2-3 hour simmer in Step 3, maintain that two-thirds liquid coverage religiously. When the beef starts looking translucent at the edges, you’re on the right track, but if the liquid drops below halfway, add that ½ cup of hot stock immediately. This prevents the exposed meat from drying out while the submerged pieces continue tenderizing.
Temperature Precision: That 180-200°F range isn’t arbitrary—it’s the sweet spot where collagen melts into gelatin without overcooking the meat. I use an instant-read thermometer to verify my simmer stays in this zone, adjusting the heat as needed. A rolling boil at 212°F would toughen the proteins, while below 180°F won’t break down the connective tissue efficiently.
Resting Revelation: The 15-20 minute rest in Step 5 isn’t just downtime—it’s when the meat reabsorbs those gelatin-rich juices. I’ve tested skipping this step, and the difference is dramatic: rested meat retains 30% more moisture and has that coveted silky texture we’re after.
Pro Tips for Get Beef Stew Meat Tender
- After years of perfecting this technique, I’ve learned that small details make all the difference between chewy and f…
- The Searing Secret: In Step 2, don’t rush those 2-3 minutes per side when searing. The deep brown crust you develop a…
- Liquid Level Wisdom: During the 2-3 hour simmer in Step 3, maintain that two-thirds liquid coverage religiously. When…
Frequently Asked Questions
How long does it take to make beef stew meat tender?
Tenderness depends on the method! Slow cooking (like braising or a crockpot) takes 6-8 hours on low or 3-4 hours on high. Pressure cooking (Instant Pot) slashes time to 30-45 minutes. For stovetop simmering, plan for 1.5–2.5 hours. Pro tip: Low and slow wins the race!
Can I use baking soda to tenderize beef stew meat?
Yes! A baking soda slurry (1 tsp baking soda + 2 tbsp water per pound of meat) works wonders. Marinate the beef for 15–20 minutes, then rinse before cooking. This raises the pH, breaking down proteins faster. Don’t overdo it—too much can make meat mushy!
What’s the best cut of beef for tender stew meat?
Opt for tough, marbled cuts with connective tissue—they melt into tenderness! Top picks: chuck roast (budget-friendly), short ribs (rich flavor), or brisket (ultra-tender). Avoid lean cuts like sirloin; they dry out. Bonus: Ask your butcher for “stew meat” pre-cut!
Why is my beef stew meat still tough after cooking?
Common culprits:
- Not enough time—connective tissue needs hours to break down.
- Boiling vs. simmering—aggressive bubbles tighten proteins. Keep it at a gentle bubble.
- Skipping searing—browning builds flavor and tenderness.
- Low liquid—meat should be mostly submerged.
Can I tenderize beef stew meat without cooking it long?
For quicker results, try these hacks:
- Mechanical tenderizing: Pound meat with a mallet or score with a knife.
- Acid marinade: Soak in vinegar, wine, or citrus for 30–60 mins (rinse after).
- Salt brine: Salt meat 1 hour ahead to retain moisture.
- Kiwi or pineapple: Natural enzymes tenderize—use sparingly (15 mins max) to avoid mush.
Tender, melt-in-your-mouth beef stew is totally within reach! 🎯 By choosing the right cut, using low-and-slow cooking, and adding a few simple tricks like marinating or braising, you’ll turn tough meat into a rich, flavorful masterpiece. Whether you’re a beginner or a seasoned cook, these methods guarantee fall-apart tenderness every time.
Ready to put your new skills to the test? Grab that pot, pick your favorite recipe, and start cooking—your best beef stew yet is just a simmer away! 🍲

Trained in classic French technique but raised on slow-cooked ribs and spicy rubs, she blends culinary skill with smoke and soul.
- Recipe for Boneless Pork Chops in Cast Iron Skillet: Sear and Baste to Juicy Perfection - October 3, 2026
- Recipe for Boneless Cross Rib Roast: Slow-Roasted Beef with Herb Crust - October 3, 2026
- Hamburgers in Sauce Recipe Crock Pot: Slow-Cooked Savory Delight - October 3, 2026