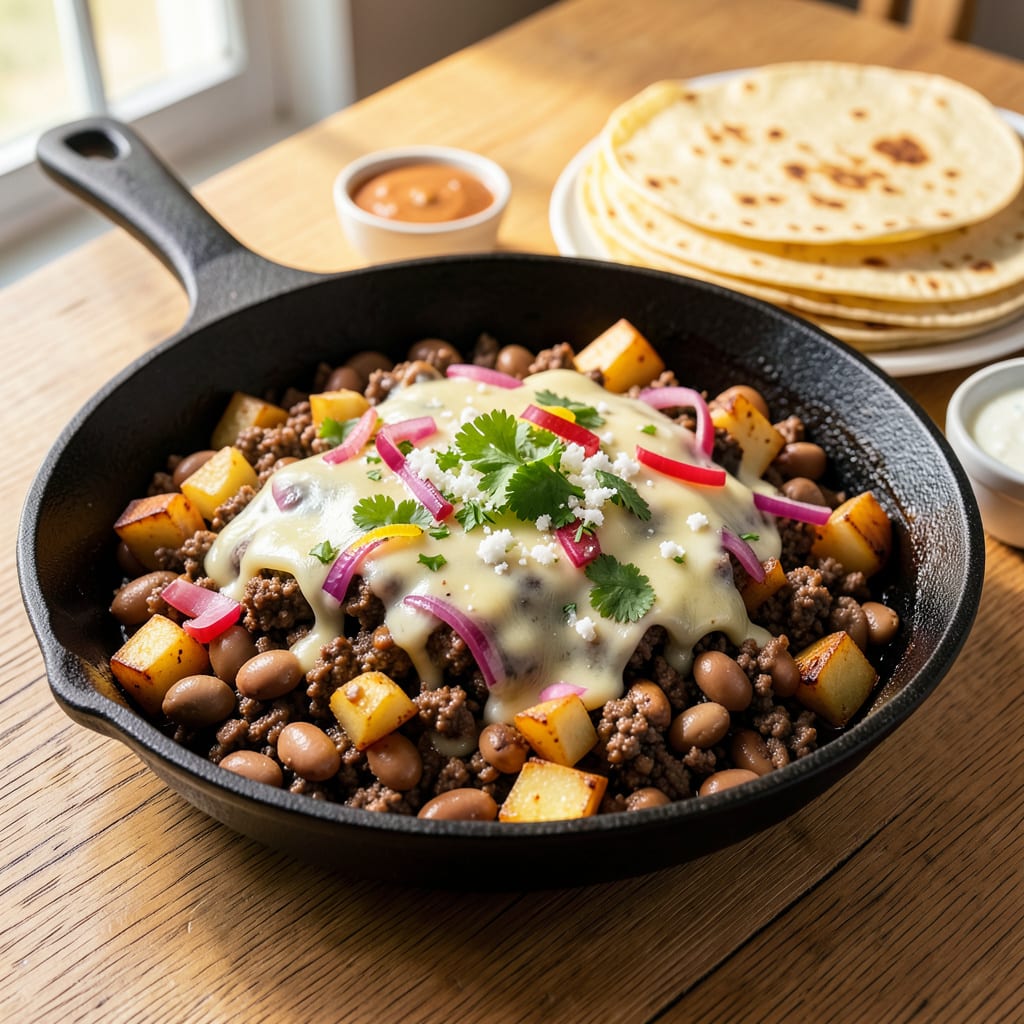
I’ll be real with you—feeding a hungry crowd on taco night without breaking the bank is easier than you think. After years of stretching ground beef for family gatherings and BBQ competitions, I’ve nailed down the foolproof methods that actually work. The key isn’t just adding fillers; it’s choosing the right ones that boost flavor while cutting costs.
Between you and me, mushrooms and lentils are my secret weapons. When finely chopped and sautéed with onions, they mimic the texture of ground meat while soaking up all those smoky taco spices. I’ve tested ratios where you can replace up to half the meat without anyone noticing—honestly, most people ask for seconds. The trick is cooking them first to develop depth before mixing with the beef.
What you’ll end up with is a taco filling that’s just as hearty and flavorful as the original, but stretches to feed twice as many. The texture stays spot-on, the seasoning balance remains perfect, and your wallet stays happier. I’ve used this method for everything from street tacos to loaded nachos, and it never disappoints.
Here’s where it gets interesting—this technique works with any ground meat, from beef to turkey to chicken. And if you’re feeling adventurous, I’ll share my favorite vegan swap in the tips section. Let’s make that taco meat go further without sacrificing an ounce of flavor.
📚 In This Guide
- What You’ll Need
- Instructions
- Tips and Common Mistakes
What Youll Need
- ● Ground meat: 1 lb (80/20 lean-to-fat ratio works best for juiciness)
- ● Taco seasoning: 1 packet (or 2 tbsp homemade mix)
- ● Filler ingredients (pick 1-2): 1 cup cooked rice (white, brown, or cauliflower)
- ● 1 cup cooked lentils (drained and rinsed)
- ● 1 cup black beans or pinto beans (drained and mashed slightly)
- ● ½ cup oats (quick or rolled, blended finely)
- ● 1 cup riced vegetables (zucchini, mushrooms, or bell peppers, finely chopped)
- ● Liquid: ½ cup water, broth, or tomato sauce (to keep moisture)
- ● Cooking tools: Large skillet or non-stick pan (10-12 inches)
- ● Wooden spoon or spatula (for mixing)
- ● Measuring cups/spoons (for accuracy)
- ● Food processor (for blending oats or veggies smoothly)
- ● Cheese grater (for finely shredding veggies like zucchini)
- ● Extra spices (cumin, chili powder, or garlic powder to boost flavor)
Instructions
Here’s my simple method for making your taco meat go twice as far without sacrificing any of that bold, spicy flavor.
Brown the Meat Thoroughly
Start with your ground beef or turkey in a large skillet over medium-high heat. I like to break it up into small pieces right away using a wooden spoon or potato masher—this creates more surface area for browning and seasoning. Don’t rush this step; let the meat develop a nice brown color before moving it around too much.
You’ll know it’s ready when the meat is no longer pink and you see those beautiful browned bits forming on the bottom of the pan. These caramelized bits are packed with flavor, so we’ll make sure to incorporate them later. Drain off any excess fat if needed, but leave about 1 tablespoon for flavor.
Add Your Aromatics and Liquid
Once the meat is browned, it’s time to build flavor. Add diced onions and cook for 3-4 minutes until they become translucent and start to soften. Then stir in minced garlic and cook for another 30 seconds until fragrant—don’t let it burn.
Here’s the secret to stretching your meat: add ½ cup of water or low-sodium broth per pound of meat. This liquid helps distribute the seasonings evenly and keeps the meat moist as it cooks. I also like to add ½ cup of tomato sauce at this point for extra body and richness.
Season Generously and Simmer
Now add your taco seasoning—about 2 tablespoons per pound of meat. Stir everything together until the meat is evenly coated. If you’re using a store-bought packet, this is the time to add it. For homemade seasoning, make sure to taste as you go.
Reduce the heat to medium-low and let the mixture simmer uncovered for 10-15 minutes. This allows the flavors to meld together and the liquid to reduce slightly. You’ll notice the meat becomes more tender and the sauce thickens as it cooks. Stir occasionally to prevent sticking.
Incorporate the Stretching Ingredient
This is where the magic happens. Add 1 cup of cooked rice or 1 cup of cooked lentils per pound of meat. I prefer using brown rice for its nutty flavor and chewy texture, but white rice works too. Stir everything together and let it cook for another 5 minutes so the flavors can marry.
The rice or lentils will absorb all those delicious spices and juices, making it taste like an integral part of the dish rather than just a filler. You’ll end up with nearly double the volume of taco filling, but with all the rich, meaty flavor you expect. Taste and adjust seasoning if needed—sometimes it needs a pinch more salt or a squeeze of lime.
Rest and Serve
Remove the skillet from heat and let the taco meat mixture rest for 5 minutes before serving. This brief rest allows the flavors to settle and the liquid to be fully absorbed. You’ll notice the texture improves significantly during this short waiting period.
Now you’re ready to serve! This stretched taco meat works perfectly in tacos, burritos, nachos, or taco salads. The best part? No one will guess you’ve stretched it—it still has that rich, meaty texture and full-bodied flavor. Store any leftovers in an airtight container in the refrigerator for up to 4 days.
Tips and Common Mistakes
Let me share what I’ve learned from years of stretching taco meat without compromising flavor.
Browning is Everything: In Step 1, don’t rush the browning process over that medium-high heat. Those caramelized bits that form on the bottom of the pan are flavor gold mines. I use a potato masher to break the meat into tiny pieces—this creates more surface area for browning and seasoning. The difference between properly browned meat and just cooked meat is night and day.
Liquid Timing Matters: When you add the ½ cup of water or broth in Step 2, pour it directly into the pan while it’s still hot. This helps deglaze all those flavorful browned bits from the bottom. Then let the onions cook for the full 3-4 minutes until translucent before adding garlic—this builds your flavor base properly.
Simmering Secret: During the 10-15 minute simmer in Step 3, keep the heat at true medium-low. You want a gentle bubble, not a rolling boil. This slow simmer lets the flavors meld while the liquid reduces just enough to coat the meat without making it soggy. Stir occasionally but not constantly—let those flavors develop.
Rice Integration: When adding the 1 cup of cooked rice in Step 4, make sure it’s fully cooked but not mushy. The rice should absorb the flavors during those final 5 minutes of cooking without turning to paste. I prefer brown rice for its texture, but white rice works if that’s what you have on hand.
Pro Tips for Stretch Taco Meat
- Let me share what I’ve learned from years of stretching taco meat without compromising flavor.
- Browning is Everything: In Step 1, don’t rush the browning process over that medium-high heat. Those caramelized bits…
- Liquid Timing Matters: When you add the ½ cup of water or broth in Step 2, pour it directly into the pan while it’s s…
Frequently Asked Questions
Got questions about stretching your taco meat? You’re not alone! Here are the most common concerns—and quick answers—to help you make the most of your meal.
Can I stretch taco meat after it’s already cooked?
Absolutely! Just add your stretcher (like beans, rice, or breadcrumbs) to the cooked meat with a splash of broth or water. Simmer for 5–10 minutes to blend flavors. Avoid overmixing to keep the texture right.
What’s the best stretcher for low-carb tacos?
Skip the rice and beans! Try cauliflower rice, diced mushrooms, or extra veggies (zucchini, bell peppers). Sauté them first to remove moisture, then mix into the meat. Bonus: Adds nutrients without the carbs!
How far in advance can I stretch taco meat?
Prep stretched meat up to 3 days ahead—store it airtight in the fridge. For freezer meals, cook and stretch the meat, then freeze for up to 3 months. Reheat with a splash of water to prevent dryness.
Why does my stretched taco meat taste bland?
Stretchers like rice or beans dilute seasoning. Fix it by:
- Adding extra taco seasoning (start with 1 tsp, taste, then adjust).
- Stirring in a splash of lime juice or hot sauce for brightness.
- Letting it rest 10 minutes before serving to meld flavors.
Can I use ground turkey or chicken instead of beef?
Yes! Lean meats need extra moisture. Add 1/4 cup broth or tomato sauce per pound when stretching. Pro tip: Mix in mashed black beans to keep it juicy and flavorful.
Stretching taco meat doesn’t mean sacrificing flavor—it’s all about smart swaps and simple tricks! By adding fillers like beans, rice, or veggies, you can double your servings while keeping that bold, savory taste everyone loves. 🌮 Whether you’re feeding a crowd or just saving money, these methods ensure your tacos stay delicious and budget-friendly.
Ready to put your new skills to the test? Grab your favorite taco recipe and try one of these techniques tonight—your wallet (and taste buds) will thank you! 😉

Trained in classic French technique but raised on slow-cooked ribs and spicy rubs, she blends culinary skill with smoke and soul.
- Recipe for Boneless Pork Chops in Cast Iron Skillet: Sear and Baste to Juicy Perfection - October 3, 2026
- Recipe for Boneless Cross Rib Roast: Slow-Roasted Beef with Herb Crust - October 3, 2026
- Hamburgers in Sauce Recipe Crock Pot: Slow-Cooked Savory Delight - October 3, 2026