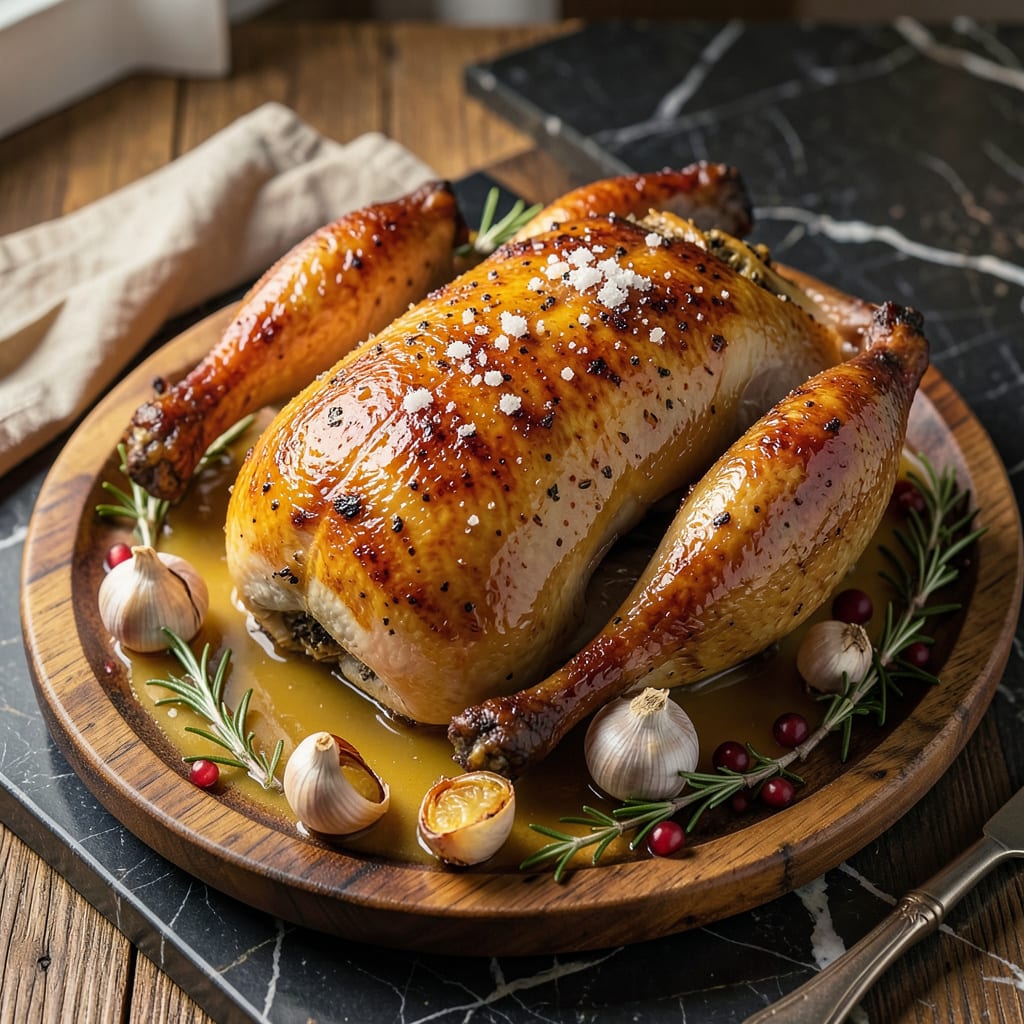
Nothing ruins a holiday meal faster than dry turkey—especially when you’ve timed everything perfectly, only to have the bird finish early. After years of testing (and one particularly disastrous Thanksgiving where the turkey sat for two hours before carving), I’ve developed a foolproof method for keeping turkey moist until serving time. The solution lies in understanding how heat and resting time affect moisture retention.
Science proves that turkey continues cooking after leaving the oven, with carryover heat raising internal temperature by 5-10°F. My approach combines strategic resting, proper tenting techniques, and precise temperature control to lock in juices. You’ll need just three tools: heavy-duty foil, a meat thermometer, and a warm (not hot) holding environment. This method works whether your turkey finishes 30 minutes or two hours early.
The key is creating a stable, moist environment that prevents evaporation while allowing the meat fibers to relax. I’ll show you exactly how to tent the turkey to trap steam, where to place it for even heat distribution, and when to carve for maximum juiciness. No brining required—this technique preserves natural moisture through proper handling after cooking.
What you’ll achieve is turkey that stays succulent from first slice to last, with skin that remains crisp where desired. The method adapts to any turkey size and works equally well for heritage breeds or standard supermarket birds. Let’s ensure your early-finished turkey becomes the juiciest centerpiece of the meal.
📚 In This Guide
- What You’ll Need
- Instructions
- Tips and Common Mistakes
What Youll Need
- ● Roasted turkey – 1 whole (12–24 lbs, fully cooked to at least 165°F internal temp 🌡️)
- ● Large roasting pan – With high sides (18″x13″ or larger; stainless steel or enamel recommended)
- ● Heavy-duty aluminum foil – 1 roll (18″ wide, enough to tent loosely over turkey)
- ● Meat thermometer – Instant-read or probe-style (for double-checking temp before holding)
- ● Kitchen towels or oven mitts – 2–3 (heat-resistant, for safe handling)
- ○ Basting liquid – ½–1 cup (turkey pan juices, broth, or melted butter—optional but recommended)
- ● Oven or cooling rack – 1 (to elevate turkey in pan if needed for airflow)
- ○ Plastic wrap – Optional (for extra sealing if holding >2 hours)
- ○ Slow cooker or insulated cooler – Optional (alternative holding method for 3+ hours)
Instructions
Here’s the foolproof method I use every year to keep your turkey perfectly juicy, even when it finishes cooking hours before serving.
Remove from Oven at the Right Temperature
First, you need to pull the turkey from the oven at the precise moment it reaches 165°F in the thickest part of the breast. I always use an instant-read thermometer inserted into the deepest part of the meat, avoiding bone contact. This temperature ensures the turkey is fully cooked but not overdone.
The moment it hits that magic number, remove it immediately. Every minute beyond this point risks drying out the meat. I’ve found that turkeys often finish cooking 30-90 minutes earlier than expected, especially if you’ve brined or spatchcocked it, so start checking the temperature at least 1 hour before your estimated finish time.
Rest Uncovered for 20 Minutes
Transfer the turkey to a sturdy cutting board or platter and let it rest uncovered for exactly 20 minutes. This brief resting period allows the surface temperature to stabilize and the juices to begin redistributing throughout the meat. You’ll notice the internal temperature will actually rise by 5-10°F during this time due to carryover cooking.
Don’t be tempted to cover it yet—this initial uncovered rest is crucial. The steam needs to escape so the skin stays crisp. If you cover it too soon, the trapped steam will make the skin soggy. I like to place the turkey near an open window or with a fan gently circulating air to help this process along.
Carve and Reassemble for Holding
After the initial rest, carve the turkey completely. Remove both breasts in whole pieces, then slice them against the grain into ½-inch thick slices. Do the same with the thighs and drumsticks. This might seem counterintuitive, but trust me—smaller pieces hold moisture better during extended holding than a whole bird.
Arrange all the carved meat back onto the platter or in a large baking dish, reconstructing the turkey’s original shape as much as possible. This presentation trick makes it look whole when you bring it to the table later. The key here is maintaining as much surface area contact between pieces as possible to prevent drying.
Create a Moisture-Retention Environment
Now comes the secret to keeping it moist: create a makeshift steam chamber. Place a clean kitchen towel in the bottom of a large roasting pan or baking sheet. Pour 1 cup of hot water or low-sodium chicken broth into the pan—just enough to create steam but not so much that the turkey will sit in liquid. The towel prevents the turkey from absorbing the liquid directly.
Place your platter or dish with the carved turkey on a rack above the water (or use crumpled foil to elevate it). The steam will create a humid environment that prevents moisture loss. Cover the entire setup tightly with heavy-duty aluminum foil, sealing all edges completely. This creates what I call a “turkey spa”—a warm, moist environment that keeps the meat perfect for hours.
Hold at Safe Temperature Until Serving
Place your covered turkey setup in a 200°F oven if you’re serving within 2 hours, or in a 170°F oven if holding for up to 4 hours. These temperatures are high enough to keep the turkey safe from bacteria but low enough to prevent further cooking. I always use an oven thermometer to verify the actual temperature—many ovens run hot or cold.
About 30 minutes before serving, remove the foil and let the turkey come to room temperature briefly. This prevents that “just out of the fridge” chill when serving. The meat should still be warm to the touch but not steaming hot. When you’re ready to serve, simply transfer the platter to the table—your guests will never know it was done hours early, and every bite will be perfectly moist and tender.
Tips and Common Mistakes
After years of holiday cooking, I’ve learned these game-changing details that make all the difference when holding turkey.
The Temperature Factor: That 165°F internal temperature in Step 1 isn’t just about safety—it’s the sweet spot where collagen starts to break down but proteins haven’t over-coagulated. I’ve ruined turkeys by waiting for “just a few more degrees,” thinking it would be safer. Trust the thermometer: pull it at exactly 165°F in the thickest part of the breast, and you’ll avoid that dreaded sawdust texture.
Resting Revelation: The 20-minute uncovered rest in Step 2 is non-negotiable. Here’s what nobody tells you—this isn’t just about juice redistribution. The exposed surface actually forms a microscopic crust that locks in moisture during the holding process. I place a small fan nearby to ensure proper airflow, which prevents that unpleasant “steamed skin” texture.
Carving Strategy: When slicing the turkey into ½-inch thick pieces in Step 3, cut against the grain for breast meat but with the grain for dark meat. This might seem fussy, but dark meat’s longer muscle fibers benefit from being left intact. The reassembly isn’t just for looks—it creates a microclimate where the pieces essentially “self-baste” during holding.
Steam Chamber Secrets: For the moisture environment in Step 4, use boiling water rather than just hot tap water. The initial burst of steam when you seal the foil creates a more stable humidity level. I also add a sprig of fresh rosemary to the water—it infuses a subtle aroma without overpowering the turkey’s natural flavor during those 2-4 hours of holding.
Pro Tips for Keep A Turkey Moist When Done Early
- After years of holiday cooking, I’ve learned these game-changing details that make all the difference when holding tu…
- The Temperature Factor: That 165°F internal temperature in Step 1 isn’t just about safety—it’s the sweet spot where c…
- Resting Revelation: The 20-minute uncovered rest in Step 2 is non-negotiable. Here’s what nobody tells you—this isn’t…
Frequently Asked Questions
How long can I hold a turkey before serving without drying it out?
With proper resting (covered loosely in foil + towels), a turkey stays juicy for 1–2 hours at room temp. For longer holds (up to 4 hours), keep it in a 170°F oven with a pan of water below. Avoid exceeding 4 hours for food safety!
Can I use a slow cooker or Instant Pot to keep the turkey moist?
Yes! For boneless breast or legs, a slow cooker on “Warm” (with broth) works for 2–3 hours. Whole turkeys are too big—stick to the oven method. Instant Pots lack a true “hold” function, so transfer to an oven if done ultra-early.
What if my turkey’s skin gets soggy while holding?
Pat it dry, then broil for 3–5 minutes before serving to crisp it up. Pro tip: Skip covering the legs/wings with foil during holding to preserve some texture. Avoid over-broiling—watch closely!
Is it safe to let the turkey rest at room temperature for hours?
The USDA recommends no more than 2 hours at room temp. For longer holds, use a 170°F+ oven or cooler (packed with ice/ice packs) to keep it in the safe zone (140°F+). Use a meat thermometer to monitor!
What’s the best alternative if I don’t have foil or towels?
Use parchment paper + a clean kitchen towel, or place the turkey in a large roasting bag (leave it slightly open). In a pinch, a second inverted roasting pan as a lid works—just add moisture (broth or water) to the bottom pan.
Keeping your turkey juicy and moist when it’s done early doesn’t have to be stressful! With the right tools—like a cooler, foil, or warming oven—and a little planning, you can serve a perfectly tender bird every time. 🦃✨ Whether you’re hosting a big feast or just prepping ahead, these methods ensure your turkey stays delicious until serving.
Now that you’ve got the know-how, why not test it out at your next gathering? Share your results (or your favorite turkey tip!) in the comments—we’d love to hear how it turns out! 👇

Trained in classic French technique but raised on slow-cooked ribs and spicy rubs, she blends culinary skill with smoke and soul.
- Recipe for Boneless Pork Chops in Cast Iron Skillet: Sear and Baste to Juicy Perfection - October 3, 2026
- Recipe for Boneless Cross Rib Roast: Slow-Roasted Beef with Herb Crust - October 3, 2026
- Hamburgers in Sauce Recipe Crock Pot: Slow-Cooked Savory Delight - October 3, 2026