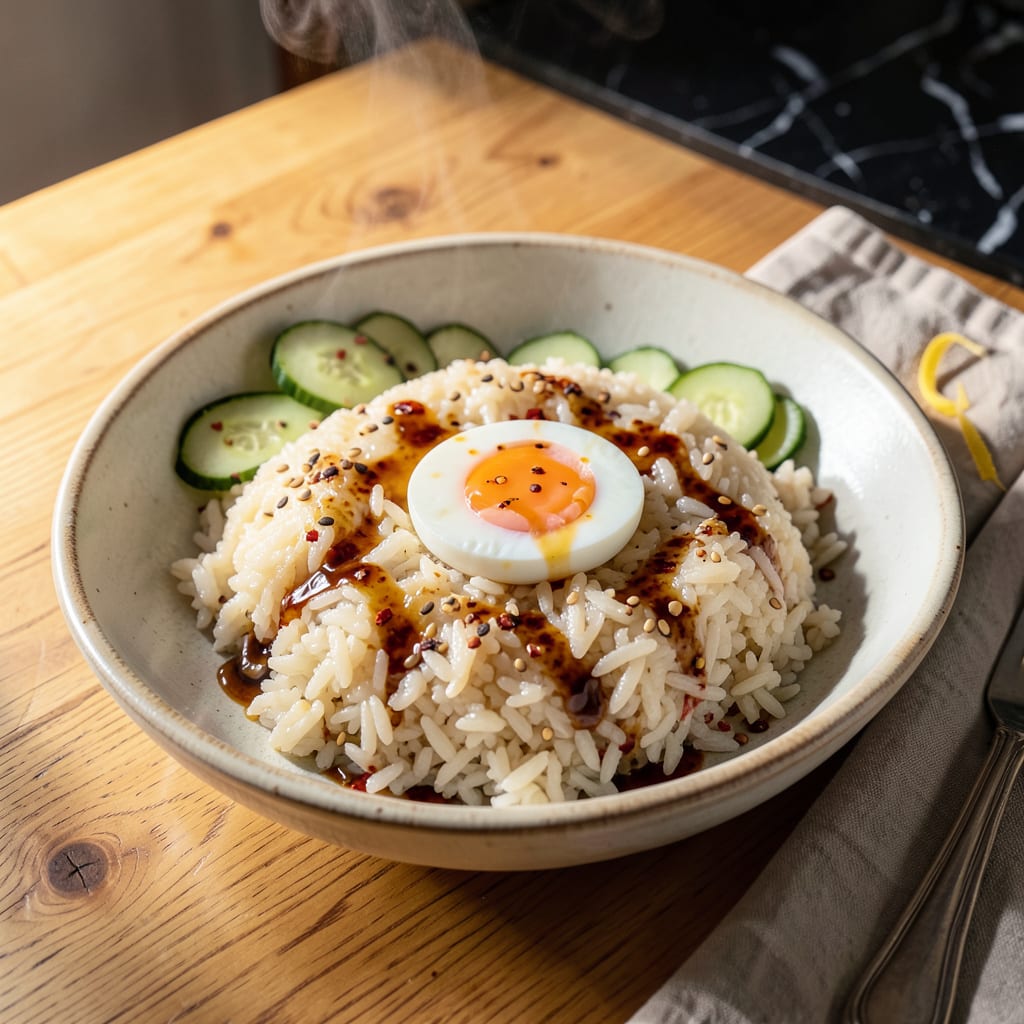
I’ll be real with you—leftover rice doesn’t have to be sad, dry, or destined for the compost bin. That rock-hard container in your fridge is actually one microwave trick away from becoming perfectly sticky again. No fancy equipment, no waste, just science working in your favor.
The problem isn’t you—it’s what happens to rice after cooling. Starch molecules tighten up overnight (that’s the science term: “retrogradation”), squeezing out moisture and leaving grains dry. But here’s the thing—you can reverse it. A splash of water and 60 seconds in the microwave reactivates those starches, bringing back that fresh-cooked stickiness.
This isn’t just about salvaging leftovers—it’s about unlocking new meals. Suddenly that forgotten rice becomes sushi-ready, onigiri-perfect, or the ideal base for mango sticky rice. I’ve used this trick to save countless takeout containers, turning “I’ll eat it later” into “I can’t wait to make this again.”
Best part? It works with any rice variety, though short-grain types like jasmine or sushi rice respond the fastest. No mush, no waste, just perfectly sticky results every time. Let’s fix that rice.
📚 In This Guide
- What You’ll Need
- Instructions
- Tips and Common Mistakes
What Youll Need
- ● Leftover cooked rice – 1 to 2 cups (day-old works best! 🍚)
- ● Water or broth – 1 to 2 tablespoons (adjust for desired stickiness)
- ● Microwave-safe bowl – with a lid or damp paper towel (to trap steam 💨)
- ● Fork or rice paddle – for fluffing and mixing
- ● Measuring spoons – for precise water addition
- ● 1 tsp sesame oil or rice vinegar (for aroma ✨)
- ● ½ tsp salt or soy sauce (to taste)
- ● Plastic wrap – if your bowl lacks a lid
Instructions
Here’s the foolproof method I’ve perfected to transform dry leftover rice into perfectly sticky grains.
Assess and Prepare Your Leftover Rice
Start by examining your leftover rice—it should be cold and completely dry. If there’s any moisture or condensation in the container, spread the rice on a plate and let it air-dry for 10-15 minutes before proceeding. This initial dryness is crucial because we’re about to reintroduce moisture in a controlled way.
Break up any large clumps with your fingers or a fork. You want individual grains separated as much as possible at this stage. I’ve found that rice stored in the refrigerator for 12-24 hours works best for this technique, as it’s had time to fully dry out without becoming stale.
Add the Right Amount of Liquid
Transfer the rice to a microwave-safe bowl and sprinkle 1-2 tablespoons of water per cup of rice over the surface. Use your fingers to gently distribute the water—you’re not mixing, just ensuring even coverage. The water should disappear into the rice almost immediately; if you see pooling, you’ve added too much.
For enhanced flavor, I recommend using chicken broth, vegetable stock, or even coconut milk instead of plain water. The liquid acts as steam in the microwave, rehydrating the rice grains from the outside in. Cover the bowl with a damp paper towel—this creates the perfect steam environment while preventing splatters.
Microwave Using the Pulse Technique
Microwave the rice on high power for 30 seconds, then stop and fluff with a fork. This pulse method is critical—it allows you to monitor the moisture level and prevent overcooking. After fluffing, cover again and microwave for another 30 seconds.
Repeat this process 3-4 times total, checking the rice after each interval. You’ll notice the grains becoming plumper and more translucent. The rice is ready when it’s uniformly hot throughout and clumps together slightly when pressed with a fork. Be patient—rushing with longer intervals can make the rice gummy rather than sticky.
Rest and Finish for Perfect Texture
Once the rice reaches the desired stickiness, let it rest in the covered bowl for 5 minutes. This resting period allows the moisture to distribute evenly throughout each grain. You’ll see the texture transform from slightly wet to perfectly cohesive during this time.
After resting, fluff the rice gently one final time. It should now hold together when scooped but still separate easily when eaten. For sushi rice applications, you can add a splash of rice vinegar at this stage and fold it in gently. The vinegar enhances stickiness while adding authentic flavor.
Adjust for Specific Applications
For fried rice preparations, spread the sticky rice on a plate and let it cool for 10 minutes before cooking—this prevents it from turning mushy in the wok. If you’re making rice balls or onigiri, wet your hands with cold water before shaping to prevent sticking.
Remember that different rice varieties respond slightly differently. Short-grain rice like sushi rice will become stickier than long-grain jasmine, so you may need to adjust your liquid amounts accordingly. The key is watching the texture rather than relying solely on time—your fingers and eyes are the best tools for perfect sticky rice.
Tips and Common Mistakes
Mastering this technique comes down to understanding rice’s unique behavior when rehydrated. Here’s what I’ve learned through countless tests and adjustments.
Moisture Balance: The 10-15 minutes of air-drying in Step 1 isn’t just preparation—it’s the foundation. I’ve found that rice with even slight condensation creates uneven steam pockets during microwaving, leading to some grains staying dry while others turn mushy. Spread the rice in a thin, even layer on a plate for optimal drying. This step is particularly crucial if your rice has been stored for less than 12 hours, as it may retain more moisture.
Liquid Distribution Technique: When adding the 1-2 tablespoons of water per cup in Step 2, use your fingertips to gently massage the liquid into the rice rather than pouring it all in one spot. The water should disappear immediately into the grains—if you see any pooling after 10 seconds, you’ve added too much. For coconut milk, reduce to 1 tablespoon per cup as its fat content makes rice stickier faster. The damp paper towel cover is non-negotiable; it creates the perfect steam chamber while absorbing excess moisture that could make rice soggy.
Pulse Method Precision: Those 30-second intervals in Step 3 aren’t arbitrary—they prevent the two biggest failures: dry centers and gummy exteriors. After each interval, run your fork through the rice and feel the grains. They should become progressively more pliable but never mushy. I recommend stopping at 3 intervals for long-grain rice and 4 for short-grain varieties. The rice is perfectly done when it clumps slightly when pressed with your fork but still separates easily when stirred.
Resting Period Science: The 5-minute rest in Step 4 is where the magic happens. During this time, the surface moisture migrates inward, creating uniform stickiness throughout each grain. Don’t skip this—impatient fluffing releases steam too quickly, leaving you with rice that’s sticky on the outside but dry inside. For sushi applications, add the rice vinegar immediately after this rest while the rice is still warm; it absorbs better and creates that signature glossy finish.
Pro Tips for Make Leftover Rice Sticky
- Mastering this technique comes down to understanding rice’s unique behavior when rehydrated. Here’s what I’ve learned…
- Moisture Balance: The 10-15 minutes of air-drying in Step 1 isn’t just preparation—it’s the foundation. I’ve found th…
- Liquid Distribution Technique: When adding the 1-2 tablespoons of water per cup in Step 2, use your fingertips to gen…
Frequently Asked Questions
Got questions about reviving leftover rice into sticky perfection? We’ve got answers! Here’s what everyone’s asking:
Can I use any type of rice to make it sticky?
White rice (jasmine, sushi, or short-grain) works best for stickiness! Brown rice and basmati are trickier—they’re naturally drier. If using them, add 1-2 extra tablespoons of water and microwave in 30-second bursts to avoid mush.
How long does it take to make rice sticky in the microwave?
About 2-4 minutes total, depending on your microwave’s wattage. Start with 1 minute on high, stir, then zap in 30-second intervals until it clumps when pressed. Pro tip: Cover with a damp paper towel to trap steam!
What if my rice turns out gummy or dry?
Too gummy? You overdid the water or microwaved too long—spread it on a plate to cool and fluff with a fork. Too dry? Sprinkle 1 tsp water per cup of rice, cover, and microwave for 20 seconds. Repeat as needed.
Can I skip the microwave? What’s the stovetop method?
Absolutely! Heat 1 tbsp oil or water in a pan on low-medium. Add rice, press down with a spatula, and cover for 3-5 minutes. Stir occasionally—this mimics the steam effect without a microwave.
How do I store sticky rice to keep it fresh?
Let it cool completely, then transfer to an airtight container. It’ll stay sticky for 2-3 days in the fridge or 1 month in the freezer. Reheat with a splash of water (microwave or steamer) to restore texture.
With just a splash of water and a few minutes in the microwave, you’ve got perfectly sticky, fluffy rice—no waste, no fuss! 🎉 Whether you’re whipping up sushi, fried rice, or a simple side, this trick turns yesterday’s leftovers into today’s delicious win. Next time you’ve got dry rice lingering in the fridge, give it new life with this easy method. Ready to level up? Try experimenting with broth or coconut milk for even more flavor—your taste buds will thank you! 😉

Trained in classic French technique but raised on slow-cooked ribs and spicy rubs, she blends culinary skill with smoke and soul.
- Recipe for Boneless Pork Chops in Cast Iron Skillet: Sear and Baste to Juicy Perfection - October 3, 2026
- Recipe for Boneless Cross Rib Roast: Slow-Roasted Beef with Herb Crust - October 3, 2026
- Hamburgers in Sauce Recipe Crock Pot: Slow-Cooked Savory Delight - October 3, 2026