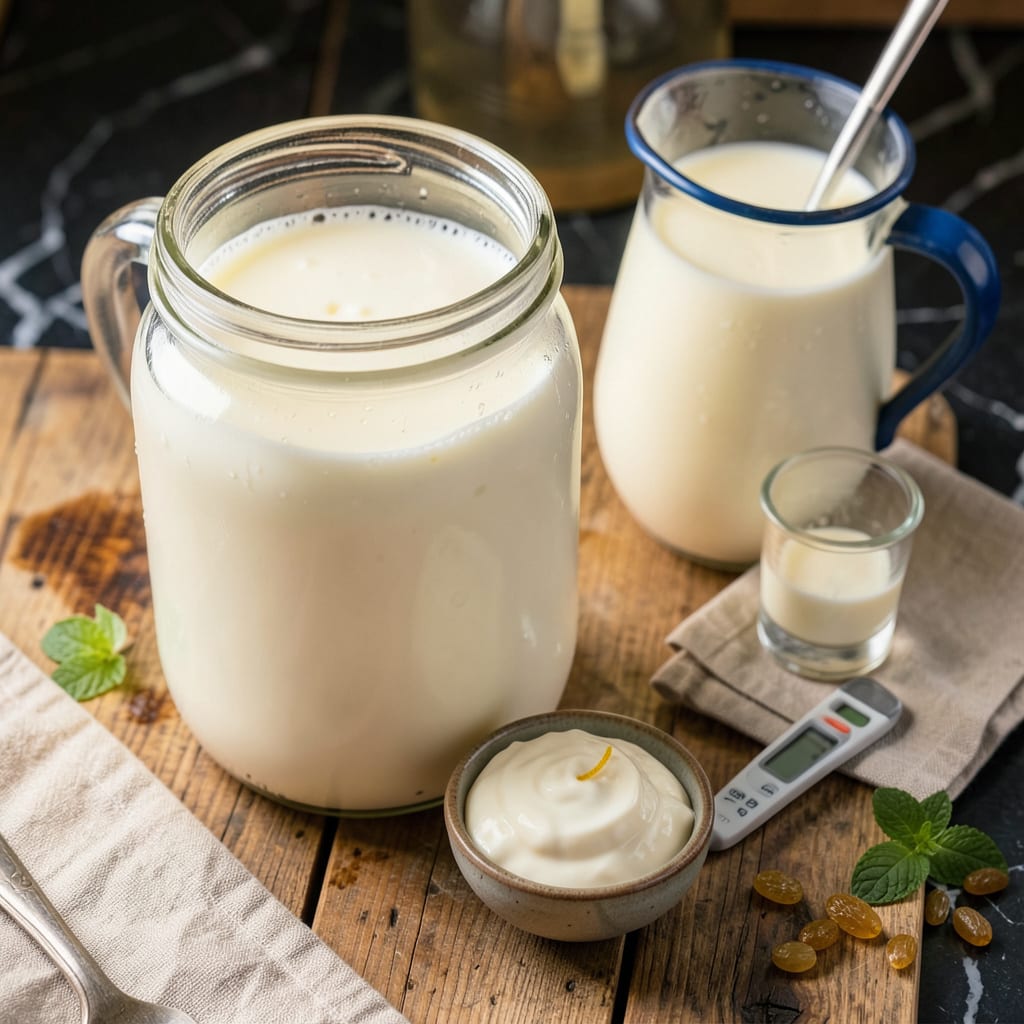
I’ll be real with you: homemade sour yogurt is one of those kitchen projects that feels like magic. You start with simple milk, add a spoonful of culture, and 24 hours later—boom—you’ve got tangy, creamy yogurt that puts store-bought to shame. No fancy equipment needed, just patience and a warm spot in your kitchen.
Here’s the thing—most people don’t realize how easy this is. You can use store-bought yogurt as your starter (just check for live cultures), or even probiotic capsules in a pinch. The key is keeping that milk at a steady 110°F while it works its fermentation magic. I’ve been making my own for years, and once you nail the process, you’ll never go back to the bland stuff from the grocery store.
What you end up with is thick, tangy yogurt that’s worlds apart from commercial versions. The flavor is brighter, the texture creamier, and you control exactly what goes into it. No weird stabilizers or excess sugar—just pure, cultured dairy goodness. Plus, it keeps in the fridge for up to 2 weeks, so you can make a big batch and enjoy it all week.
Fair warning: your first attempt might be a little runny or not quite tangy enough. But that’s part of the process. I’ll walk you through exactly how to adjust the fermentation time and temperature to get it just right. Once you taste that first spoonful of homemade sour yogurt, you’ll understand why this simple technique is such a game-changer.
📚 In This Guide
- What You’ll Need
- Instructions
- Tips and Common Mistakes
What Youll Need
- ● 1 quart (32 oz) whole milk – Fresh, unopened, and preferably not ultra-pasteurized (UHT) for best results.
- ● 2 tablespoons plain yogurt with live cultures – Your “starter.” Check the label for “live and active cultures.” Greek or regular works!
- ● 1 clean glass jar (1-quart size) – Sterilized with boiling water or a dishwasher cycle to kill bacteria.
- ● 1 food thermometer – Digital is ideal for precision (target: 110–115°F).
- ● 1 heavy pot or saucepan – Stainless steel or enamel-coated to avoid scorching.
- ● 1 whisk or spoon – For gentle stirring (no metal if using a non-stick pot).
- ● 1 warm blanket, towel, or yogurt maker – To maintain a cozy 105–110°F for 8–24 hours. (Pro tip: A turned-off oven with the light on works too!)
- ● Cheesecloth or fine strainer – For thicker, Greek-style yogurt.
- ● pH strips – To test acidity if you’re a perfectionist (ideal pH: 4.0–4.6).
- ● Flavorings – Honey, vanilla, or fruit (add after fermentation).
Instructions
Making your own tangy yogurt at home is simpler than you think—just follow these steps carefully.
Prepare Your Starter and Milk
Begin by selecting your starter culture. You’ll need 2 tablespoons of plain, unsweetened yogurt with live cultures. I always check the label to confirm it contains “live and active cultures” for best results. This ensures your homemade batch will ferment properly and develop that signature tangy flavor.
Pour 4 cups of whole milk into a clean saucepan. I prefer whole milk because it produces creamier yogurt, but you can use 2% if that’s what you have. Avoid ultra-pasteurized milk as it may not culture properly. The quality of your milk directly affects your final product’s texture and taste.
Heat and Cool the Milk to the Right Temperature
Heat the milk over medium heat until it reaches 180°F, stirring occasionally to prevent scorching. You’ll see small bubbles forming around the edges of the pan and steam rising from the surface. This heating process kills any unwanted bacteria and denatures the proteins, which helps create a thicker yogurt.
Once heated, remove the pan from the stove and let the milk cool to 110°F. This typically takes about 30-45 minutes at room temperature. I like to use a clean thermometer to monitor this carefully. The milk should feel warm to the touch but not hot—think bathwater temperature. This is the ideal range for the cultures to thrive.
Combine Starter and Milk for Fermentation
When your milk reaches 110°F, whisk in the 2 tablespoons of starter yogurt until completely dissolved. Pour the mixture into clean glass jars or a ceramic bowl. I prefer using glass because it’s non-reactive and easy to clean. Cover the containers with a clean kitchen towel or lid, but don’t seal them completely—you want air to circulate while keeping contaminants out.
Now comes the waiting game. Place your containers in a warm, draft-free spot. I use my oven with the light turned on, which maintains a perfect 110°F environment. Let it ferment undisturbed for 8-12 hours. The longer it ferments, the tangier your yogurt will become. You’ll know it’s ready when the mixture has thickened and pulls away slightly from the sides of the container.
Chill and Enjoy Your Homemade Yogurt
Once your yogurt has reached your desired tanginess, transfer the containers to the refrigerator. Let it chill for at least 4 hours before serving. This chilling time allows the yogurt to set completely and develop its full flavor profile. The texture will become firmer and creamier as it cools.
Your homemade yogurt is now ready to enjoy! It should have a smooth, creamy texture with a pleasant tang. I like to serve mine with fresh fruit, honey, or granola. Remember to save 2 tablespoons of this batch to use as your starter for the next time. Store your yogurt in the refrigerator where it will keep for up to 2 weeks, though it’s usually so delicious it doesn’t last that long!
Tips and Common Mistakes
Making homemade yogurt is all about precision and patience—here’s how to get it right every time.
Temperature Control: The 180°F heating step in Step 2 isn’t just about killing bacteria—it’s what gives your yogurt that perfect thick texture. I always use a thermometer to confirm I’ve hit exactly 180°F before cooling. Skipping this or guessing can lead to thin, watery yogurt that lacks that satisfying tang.
Cooling Patience: The 30-45 minutes cooling time to 110°F might feel slow, but rushing this step can ruin your batch. I learned this the hard way when I added starter to milk that was still too warm—it killed the cultures and I ended up with sweet milk instead of yogurt. A digital thermometer is worth its weight in gold here.
Fermentation Environment: That 8-12 hour fermentation window in Step 3 is where the magic happens. I’ve found my oven with just the light on maintains the perfect 110°F environment. If your kitchen runs cool, try placing jars on a heating pad set to low, or near (not on) your stove’s pilot light. Just don’t disturb them—every time you check, you risk lowering the temperature.
Chilling Matters: The 4 hours of chilling in Step 4 isn’t optional—it’s what transforms your fermented milk into that creamy, dreamy texture we all love. I once skipped this in a hurry and ended up with yogurt that was runny and lacked that clean, tangy finish. The fridge time lets the cultures settle and the texture firm up beautifully.
Pro Tips for Make Sour Yogurt
- Making homemade yogurt is all about precision and patience—here’s how to get it right every time.
- Temperature Control: The 180°F heating step in Step 2 isn’t just about killing bacteria—it’s what gives your yogurt t…
- Cooling Patience: The 30-45 minutes cooling time to 110°F might feel slow, but rushing this step can ruin your batch….
Frequently Asked Questions
How long does it take for yogurt to turn sour?
Homemade yogurt typically develops its tangy flavor in 8–24 hours, depending on temperature and culture strength. Warmer conditions (105–110°F) speed up fermentation, while cooler temps slow it down. For extra sourness, let it ferment up to 36 hours—but watch for over-acidification!
Can I use store-bought yogurt as a starter?
Just ensure it’s plain, unsweetened, and labeled “live cultures” (like Greek or Icelandic skyr). Avoid flavored or pasteurized yogurts—they lack active bacteria. A 2-tbsp starter per quart of milk works perfectly. Pro tip: Save ¼ cup of your homemade batch for next time!
Why is my yogurt runny or not sour enough?
Runny yogurt often means low fat milk (use whole milk) or insufficient fermentation time. For more tang, extend incubation by 4–6 hours or add 1 tsp lemon juice per cup after straining. If too thin, strain through cheesecloth for 1–2 hours to thicken.
What’s the best milk for extra-sour yogurt?
Whole milk (or even half-and-half) yields the creamiest, tangiest results due to higher fat content. For dairy-free options, coconut milk (with added probiotic capsules) works but may taste milder. Ultra-pasteurized milk can slow fermentation—opt for fresh, organic when possible.
How do I store homemade sour yogurt safely?
Keep it in a sealed glass container in the fridge for up to 2 weeks. The flavor deepens over time! Freezing isn’t recommended (texture changes), but you can freeze the starter culture for up to 3 months. Always use a clean spoon to avoid contamination.
Making your own tangy, probiotic-rich sour yogurt at home is easier than you think! With just a few simple ingredients and a little patience, you’ll have a creamy, versatile staple that beats store-bought every time. 🥄 Whether you use it in dips, smoothies, or as a topping, the freshness and flavor will elevate your dishes.
Ready to experiment? Try flavoring your next batch with honey, garlic, or fresh herbs—or use it as a base for homemade labneh. Happy culturing! 🍶

Trained in classic French technique but raised on slow-cooked ribs and spicy rubs, she blends culinary skill with smoke and soul.
- Recipe for Boneless Pork Chops in Cast Iron Skillet: Sear and Baste to Juicy Perfection - October 3, 2026
- Recipe for Boneless Cross Rib Roast: Slow-Roasted Beef with Herb Crust - October 3, 2026
- Hamburgers in Sauce Recipe Crock Pot: Slow-Cooked Savory Delight - October 3, 2026