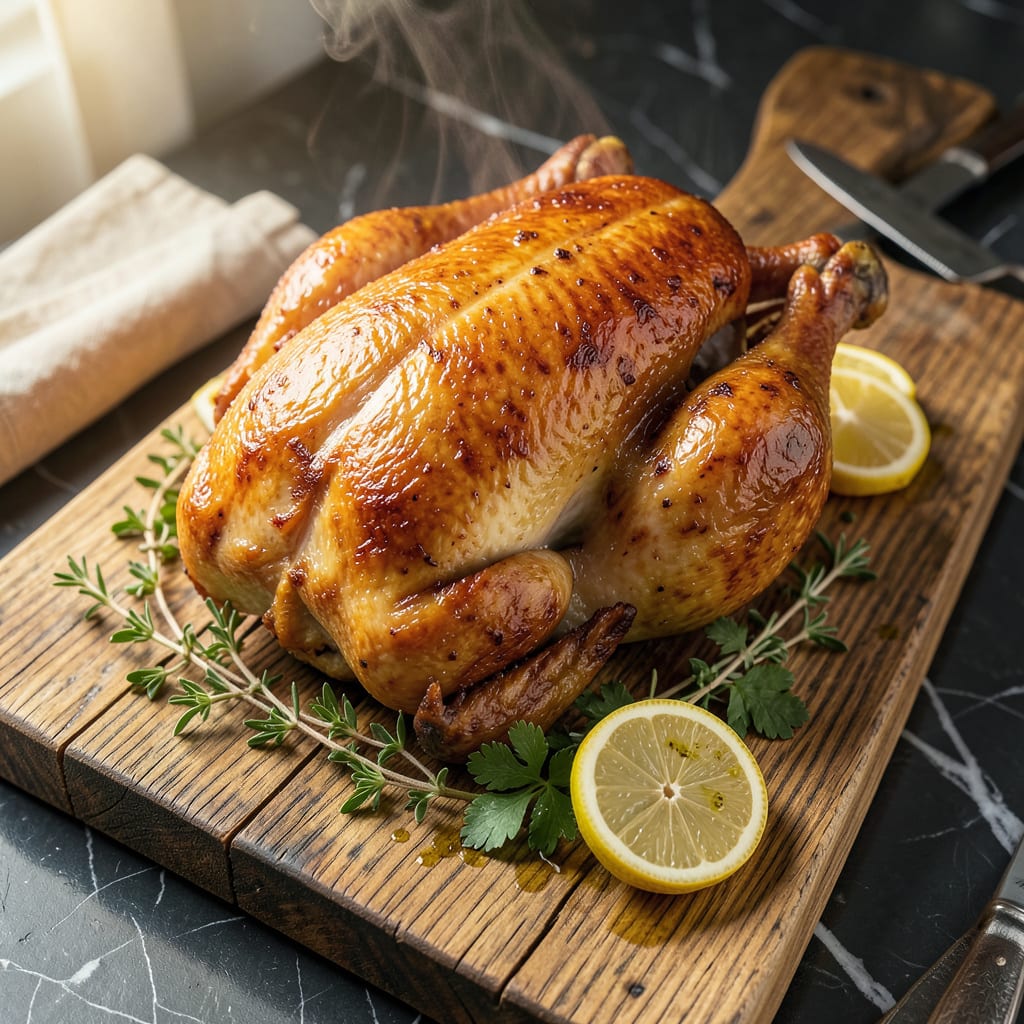
Trussing a chicken without string isn’t just possible—it’s a game-changing technique that simplifies preparation while delivering professional results. After years of teaching butchery classes, I’ve found that most home cooks overcomplicate this essential step. The right method ensures even cooking, better presentation, and juicier meat without requiring special tools or knot-tying skills.
This no-string approach uses the chicken’s own anatomy to create a secure bundle. By tucking the wings and legs strategically, you achieve the same benefits as traditional trussing: uniform heat distribution, moisture retention, and a more attractive final presentation. The technique works particularly well for roasted chickens and spatchcocked birds, where even cooking is critical.
What makes this method foolproof is its simplicity. No fancy equipment, no frustrating knots—just a few strategic folds that hold everything in place. I’ve used this technique in professional kitchens and backyard cookouts alike, with consistently excellent results. The chicken cooks more evenly, stays juicier, and looks far more impressive when served whole.
Master this technique once, and you’ll never struggle with trussing again. It’s the kind of fundamental skill that elevates all your poultry dishes, from simple Sunday roasts to elaborate holiday centerpieces. Let’s break down the process step by step.
📚 In This Guide
- What You’ll Need
- Instructions
- Tips and Common Mistakes
What Youll Need
- ● Whole chicken (3–6 lbs, patted dry)
- ● Sharp kitchen shears or chef’s knife (for trimming excess skin)
- ● Cutting board (sturdy, non-slip preferred)
- ● Paper towels (to keep things dry and grippy)
- ○ Optional: Kitchen twine (for backup or practice)
- ○ Optional: Poultry pins or skewers (if you prefer extra security)
- ● Bonus: Meat thermometer (to check doneness later!)
Instructions
This no-string method delivers professional results using just your hands and the chicken’s natural anatomy.
Position the Chicken for Trussing
Place the whole chicken breast-side up on a clean work surface with the legs pointing toward you. I recommend using a cutting board with a damp paper towel underneath to prevent slipping. The key is to work with the chicken’s natural structure rather than against it.
First, tuck the wing tips behind the back by folding them inward and pressing them against the body. This simple maneuver keeps the wings secure during cooking and prevents them from burning. The wings should stay in place naturally once tucked—no additional securing is needed.
Secure the Legs Using the Skin Membrane
Lift the chicken slightly by the legs to expose the cavity. Locate the thin membrane of skin connecting the legs to the body—this is your natural “string” replacement. Gently pull this membrane upward while pushing the legs together until they cross at the ankles.
Once crossed, release the membrane—it will naturally contract and hold the legs in place. For additional security, I like to make a small incision in the membrane with kitchen shears (just ¼ inch is sufficient) to create a pocket, then tuck the crossed ankle ends into this pocket. This ensures the legs won’t separate during cooking.
Tighten the Cavity for Even Cooking
With the legs secured, focus on closing the cavity opening. Press gently but firmly on the breastbone while simultaneously pushing the cavity opening upward. You’ll feel the skin tighten around the cavity—this is the chicken’s natural elasticity working in your favor.
The goal is to create a compact, uniform shape that promotes even cooking. A properly closed cavity helps retain moisture in the breast meat while allowing heat to circulate evenly around the thighs. I check my work by giving the chicken a gentle squeeze—it should feel uniformly firm with no loose skin flaps.
Final Adjustments and Heat Preparation
Make any final adjustments to the chicken’s shape. The legs should be snug against the body, the wings securely tucked, and the cavity completely closed. Turn the chicken breast-side down to verify the legs haven’t separated—they should maintain their crossed position naturally.
Before cooking, let the trussed chicken rest at room temperature for 30 minutes. This allows the muscles to relax into their trussed position and ensures more even cooking. The chicken is now ready for any cooking method—roasting, grilling, or spatchcocking—without the need for string or knots.
Tips and Common Mistakes for Perfect No-String Chicken Trussing
Mastering this technique requires attention to anatomical details and proper hand positioning. Here’s what professional chefs know about working with the chicken’s natural structure.
Anatomical Precision: When locating the skin membrane in Step 2, use your fingertips to gently separate it from the underlying tissue rather than pulling aggressively. The membrane should release cleanly when you apply steady upward pressure while crossing the legs. I find that working with the chicken’s natural grain (rather than against it) prevents tearing. The ¼-inch incision mentioned in the instructions is precisely calibrated—any larger and you risk compromising the membrane’s holding power during cooking.
Tension Calibration: In Step 3, the cavity closure requires balanced pressure. Apply 70% of your force to the breastbone while using 30% to lift the cavity opening. This ratio creates optimal tension without overstretching the skin. I verify proper tension by checking that the cavity opening reduces by approximately 60% from its original size. The chicken should maintain this compact shape when turned breast-side down for verification.
Resting Protocol: The 30-minute resting period specified in Step 4 isn’t merely about temperature equalization—it allows the collagen fibers in the membrane to relax into their new configuration. During this time, I recommend placing the chicken on a wire rack rather than directly on the counter to prevent any moisture accumulation on the skin surface. This resting phase is particularly critical when preparing to roast, as it ensures the trussed shape holds during the initial high-heat exposure.
Equipment Optimization: While the instructions mention using kitchen shears for the membrane incision, I prefer ultra-sharp boning shears for their precision. The blade should be positioned at a 15-degree angle to the membrane for clean entry. For those concerned about slipping during the process, a silicone-lined cutting board provides superior grip compared to traditional wood or plastic boards, especially when working with larger birds.
Pro Tips for Truss A Chicken Without String
- Mastering this technique requires attention to anatomical details and proper hand positioning. Here’s what profession…
- Anatomical Precision: When locating the skin membrane in Step 2, use your fingertips to gently separate it from the u…
- Tension Calibration: In Step 3, the cavity closure requires balanced pressure. Apply 70% of your force to the breastb…
Frequently Asked Questions
Can I truss a chicken without string if it’s already stuffed?
Yes! If your chicken is stuffed, use the leg tuck method first, then gently press the wings against the body. The skin’s natural elasticity and the cavity’s fullness will help hold everything in place—just avoid overstuffing, which can make trussing trickier.
How long does a no-string truss last while cooking?
This method stays secure for the entire roasting time (typically 1–1.5 hours for a 4–5 lb bird). For longer cooks (like smoking), check halfway—if legs or wings loosen, tuck them back under. High heat (400°F+) helps “set” the skin faster.
What if the chicken’s skin tears while trussing?
No stress! Small tears won’t ruin the cook. If the skin rips near the legs, use a toothpick to pin the skin to the body temporarily (remove before serving). For wing tears, just tuck them under the breast—they’ll stay put as the chicken roasts.
Are there alternatives if my chicken’s legs won’t stay tucked?
If the legs pop out, try these hacks:
- Skewer trick: Thread a wooden skewer through the legs and breast (remove before carving).
- Vegetable tie: Use a sturdy herb stem (like rosemary) to loop around the legs.
- Aluminum foil: Crumple a small piece to wedge between the legs and tail.
Does trussing without string affect cooking time or evenness?
Not significantly! The goal of trussing (even cooking, crispy skin) still applies. Without string, you might see slightly faster cooking in the breast—check internal temp early (165°F in the thickest part). Rotate the pan halfway if one side browns faster.
Trussing a chicken without string is simpler than you think! With just a few skewers or rubber bands, you can achieve a perfectly even cook and a stunning presentation—no knots required. 🎯 This no-fuss method saves time, reduces mess, and keeps your bird juicy and flavorful every time.
Now that you’ve mastered the technique, why not put it to the test? Try roasting your trussed chicken with your favorite herbs and spices, or experiment with spatchcocking for a crispier result. Happy cooking—your next showstopper meal is just an oven away! 🍗✨

Trained in classic French technique but raised on slow-cooked ribs and spicy rubs, she blends culinary skill with smoke and soul.
- Recipe for Boneless Pork Chops in Cast Iron Skillet: Sear and Baste to Juicy Perfection - October 3, 2026
- Recipe for Boneless Cross Rib Roast: Slow-Roasted Beef with Herb Crust - October 3, 2026
- Hamburgers in Sauce Recipe Crock Pot: Slow-Cooked Savory Delight - October 3, 2026