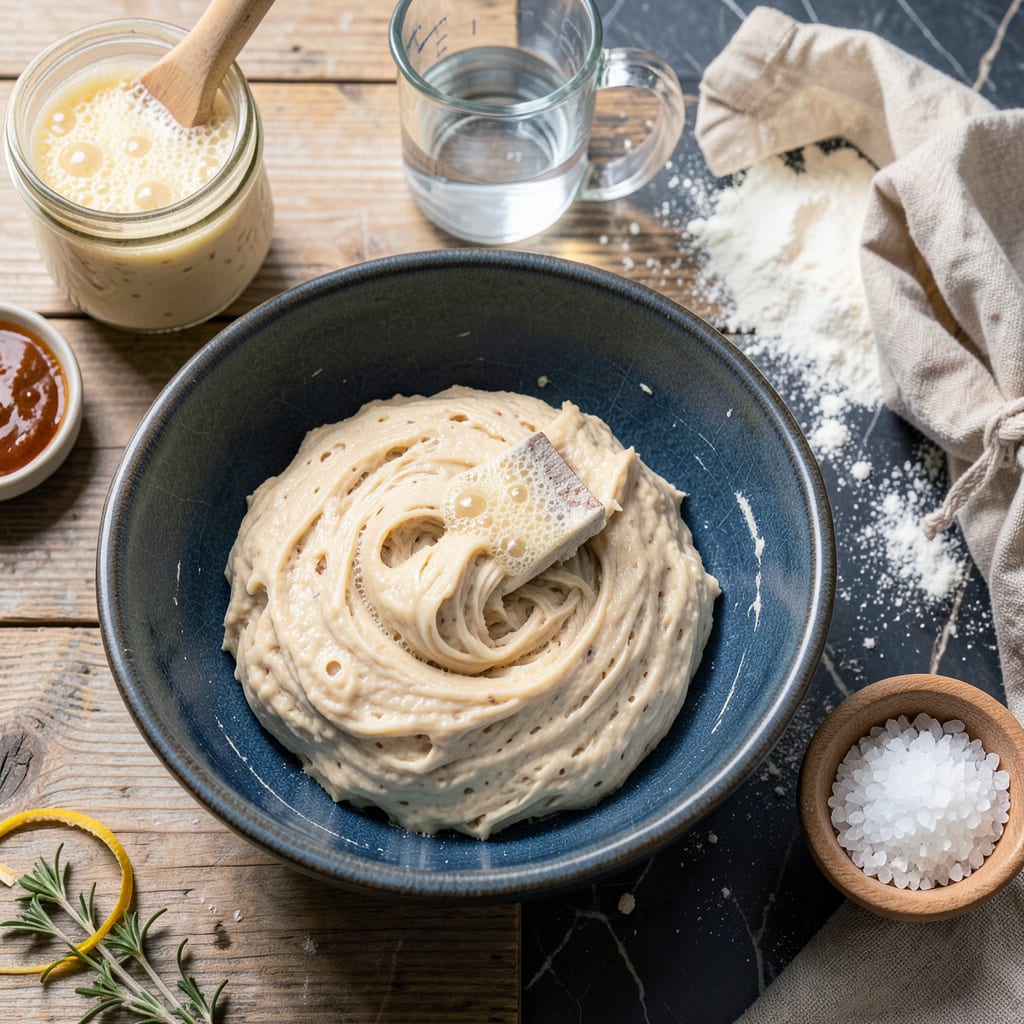
There’s something magical about pulling a golden, crackling sourdough loaf from your own oven—especially when you’ve nurtured it from wild yeast to finished bread. I remember my first successful loaf after weeks of failed starters and flat bricks. The smell alone made every mistake worth it.
This isn’t your average bread recipe. We’re talking about real sourdough, built on a living starter that gives the loaf its signature tangy depth. No commercial yeast shortcuts here. The process takes patience, but that’s where the flavor develops—during the long fermentation when wild yeast works its magic.
You’ll learn to read your dough like a pro: when it’s properly proofed, how to shape for maximum oven spring, and why that steam in your oven makes all the difference. I’ve baked hundreds of loaves and still get excited watching the dough double in size, knowing that transformation is happening at the microscopic level.
The result? A crust so crisp it shatters, giving way to an open crumb structure that’s chewy and full of character. This is the kind of bread that makes people pause mid-bite and say, “You made this?” Let’s get your hands in some dough.
📚 In This Guide
- What You’ll Need
- Instructions
- Tips and Common Mistakes
What Youll Need
- ● For the starter: 1 cup (120g) unbleached all-purpose flour or whole wheat flour (plus more for feedings)
- ● ½ cup (120g) filtered or dechlorinated water (room temperature)
- ● 1 glass jar or container (16–32 oz, wide-mouth preferred)
- ● 1 breathable cover (cheesecloth, coffee filter, or loose lid)
- ● For the dough: 500g (4 cups) bread flour or all-purpose flour (plus extra for dusting)
- ● 350g (1½ cups) room-temperature water (70–75°F)
- ● 100g (½ cup) active sourdough starter (fed and bubbly!)
- ● 10g (2 tsp) fine sea salt
- ● Essential tools: 1 large mixing bowl (or dough tub)
- ● 1 kitchen scale (for precision—highly recommended!)
- ● 1 dough scraper (plastic or metal)
- ● 1 proofing basket (banneton) OR a bowl lined with a flour-dusted kitchen towel
- ● 1 Dutch oven (4–6 qt, with lid) or a heavy oven-safe pot
- ● 1 parchment paper sheet
- ○ Optional (but helpful!): Instant-read thermometer (to check water/dough temp)
- ● Lame or sharp razor (for scoring)
- ● Spray bottle (for steam in the oven)
- ● Digital timer (to track bulk fermentation)
Instructions
Making sourdough from scratch is a rewarding process—let’s break it down into simple, manageable steps.
Feed Your Starter Until Active
Begin by ensuring your sourdough starter is fully active and ready to use. I recommend feeding it 12 hours before you plan to mix your dough. You’ll know it’s ready when it has doubled in size and shows plenty of bubbles throughout—not just on the surface.
The starter should have a tangy aroma and a slightly domed top. If it’s not quite there, give it another feeding cycle. This active starter is the heart of your bread, providing both leavening power and that signature sourdough flavor we’re after.
Mix and Autolyse the Dough
In a large mixing bowl, combine your active starter with warm water (about 80°F) and mix until fully dissolved. Add your flour and salt, then stir with a wooden spoon until no dry bits remain. The dough will look shaggy and rough—that’s exactly what we want at this stage.
Cover the bowl with a damp towel and let it rest for 1 hour. This autolyse period allows the flour to fully hydrate and gluten to begin developing naturally. You’ll notice the dough becomes smoother and more elastic during this time without any kneading required.
Perform Stretch and Folds
Over the next 2-3 hours, you’ll perform a series of stretch and folds to build strength in your dough. Wet your hands slightly to prevent sticking, then grab one side of the dough, stretch it upward, and fold it over the opposite side. Rotate the bowl and repeat this process 4 times total.
Do this every 30 minutes for the first 2 hours. You’ll see the dough transform from sticky and loose to smooth and taut. The gluten develops beautifully through this gentle handling, creating that wonderful chewy texture we love in sourdough.
Bulk Ferment Until Ready
After your final stretch and fold, let the dough rest covered at room temperature (70-75°F is ideal) for 4-6 hours. The dough should rise by about 50-75% in volume and develop visible bubbles on the surface and sides of the bowl.
To test readiness, gently press your finger about ½ inch into the dough. If it springs back slowly but leaves a slight indentation, it’s perfect. If it springs back quickly, give it more time. This fermentation develops the complex flavors that make sourdough so special.
Shape, Proof, and Bake
Turn your dough onto a lightly floured surface and shape it into a tight round or oval. Place it seam-side up in a well-floured banneton or bowl lined with a towel. Cover and refrigerate for 12-16 hours (overnight works well). This cold proof enhances flavor and makes scoring easier.
When ready to bake, preheat your oven with a Dutch oven inside to 475°F for 1 hour. Turn the dough onto parchment, score the top with a razor, and bake covered for 20 minutes, then uncovered for 20-25 minutes until deep golden brown. The loaf should sound hollow when tapped on the bottom.
Tips and Common Mistakes
Sourdough success comes down to patience and attention to detail—here’s what I’ve learned from countless loaves.
Starter Timing: That 12-hour feeding window before mixing is non-negotiable. I’ve tried rushing it with 6-hour feedings, and the bread always lacked proper rise and flavor development. Your starter should be at its peak activity—doubled in size with bubbles throughout—not just starting to rise. When in doubt, give it an extra feeding cycle rather than proceeding with underactive starter.
Temperature Control: The 70-75°F range during bulk fermentation makes all the difference. I once left dough in a 65°F kitchen, and it took nearly 8 hours to properly ferment. Use your oven with the light on as a warm spot if your kitchen runs cool. Conversely, if your kitchen exceeds 75°F, shorten the 4-6 hour bulk ferment to prevent overproofing.
Stretch and Fold Technique: During those 2-3 hours of stretch and folds, wet your hands more than you think necessary. The dough starts extremely sticky, but resist adding extra flour—this maintains proper hydration. I perform exactly 4 folds every 30 minutes for the first 2 hours, and you’ll feel the dough transform from slack to elastic right under your hands.
Cold Proof Perfection: The 12-16 hour refrigerated proof isn’t just for convenience—it develops incredible flavor. I’ve tested both ends of this range and found 14 hours gives the best balance of tang and rise. Don’t skip scoring just before baking; a confident, deep cut prevents blowouts during those critical first 20 minutes of covered baking.
Pro Tips for Make Sourdough Bread From Scratch
- Sourdough success comes down to patience and attention to detail—here’s what I’ve learned from countless loaves.
- Starter Timing: That 12-hour feeding window before mixing is non-negotiable. I’ve tried rushing it with 6-hour feedin…
- Temperature Control: The 70-75°F range during bulk fermentation makes all the difference. I once left dough in a 65°F…
Frequently Asked Questions
How long does it take to make sourdough bread from scratch?
From starter to baked loaf, expect 5–7 days total. Your starter needs 5–7 days to mature, while the dough requires 12–24 hours of fermentation, shaping, and proofing. Baking takes about 45–60 minutes. Patience is key—rushing can compromise flavor and texture!
Can I use store-bought yeast instead of a sourdough starter?
Technically yes, but it won’t be true sourdough. A starter (wild yeast + bacteria) gives that signature tangy flavor and chewy crust. Store-bought yeast speeds up fermentation but skips the depth. For a hybrid, try adding 1 tsp yeast to a young starter to boost rise.
Why is my sourdough bread dense or gummy inside?
Common culprits:
- Underproofing (dough didn’t rise enough)
- Overproofing (collapsed gluten)
- Low oven temp (steam or heat too weak)
- Weak starter (not active enough)
Do I need a Dutch oven to bake sourdough?
Nope! A Dutch oven traps steam for a crisp crust, but alternatives work:
- Preheat a baking sheet with a metal bowl on top as a DIY steam chamber.
- Use a pizza stone + spray water into the oven.
- Bake on a regular tray with a pan of boiling water below.
How do I store sourdough to keep it fresh longer?
For short-term (1–2 days): Keep at room temp in a paper bag (crust stays crisp) or bread box. For long-term (up to 3 months): Slice and freeze in an airtight bag—toast straight from frozen! Avoid plastic wrap (it softens the crust).
Making sourdough from scratch is a labor of love, but the reward—a crispy, golden crust and tangy, airy crumb—is worth every minute. 🍞✨ With patience, practice, and a little starter TLC, you’ll soon be baking loaves that rival your favorite bakery. Ready to take the next step? Experiment with hydration levels, try adding seeds or herbs, or even tackle a sourdough pizza crust—your artisan journey is just getting started!

Trained in classic French technique but raised on slow-cooked ribs and spicy rubs, she blends culinary skill with smoke and soul.
- Recipe for Boneless Pork Chops in Cast Iron Skillet: Sear and Baste to Juicy Perfection - October 3, 2026
- Recipe for Boneless Cross Rib Roast: Slow-Roasted Beef with Herb Crust - October 3, 2026
- Hamburgers in Sauce Recipe Crock Pot: Slow-Cooked Savory Delight - October 3, 2026