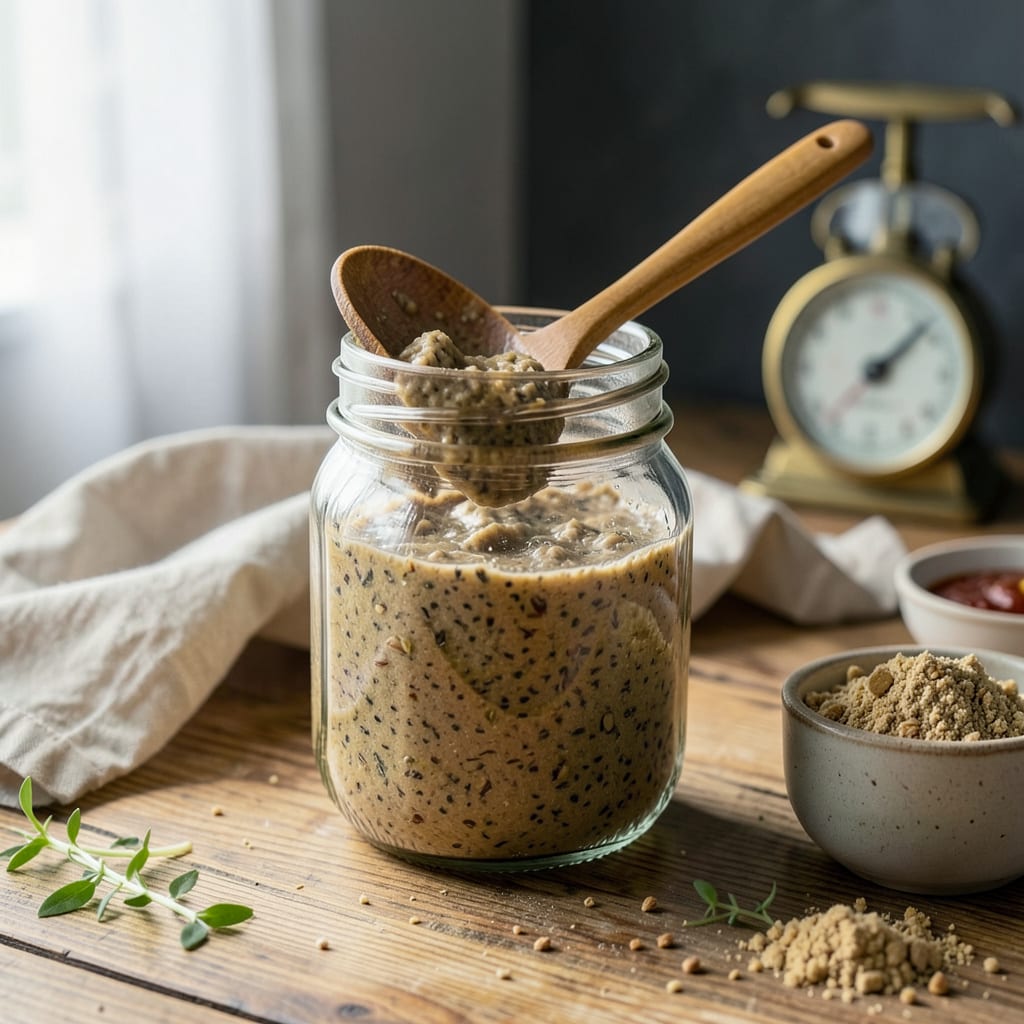
I still remember the first time I pulled a perfect loaf of sourdough from my oven—the crackling crust, that deep golden color, and the smell that filled my kitchen for hours. But before you get to that magic moment, you need one essential thing: a thriving sourdough starter. This isn’t just flour and water; it’s your living, breathing foundation for bread that’ll make store-bought loaves taste like cardboard.
Here’s the thing—making a starter from scratch is simpler than most people think. You don’t need special equipment or years of experience, just patience and a consistent routine. I’ve helped dozens of beginners create bubbly, active starters in less than a week using just whole wheat flour, unbleached flour, and filtered water. The key is understanding what to look for: those tiny bubbles that mean your wild yeast is waking up, the slight tangy aroma that tells you it’s working.
What you’re creating is more than a recipe ingredient—it’s a long-term kitchen companion that’ll give you perfectly fermented bread, pancakes, even waffles for years to come. I’ll walk you through the daily feeding process, what healthy fermentation actually looks like (hint: it should smell pleasantly sour, never rotten), and how to troubleshoot when things don’t go as planned. No mysterious “discard” waste here—I’ll show you how to use every bit.
Fair warning: Your first attempt might not be textbook perfect, and that’s okay. I burned through three starters before I got the rhythm right. But once you nail it, you’ll have the secret to bread that makes people ask for seconds before they’ve finished their first slice. Let’s get your starter going—you’re about to become the kind of baker who makes people’s eyes widen when they walk into your kitchen.
📚 In This Guide
- What You’ll Need
- Instructions
- Tips and Common Mistakes
What Youll Need
- ● Flour (required): 1 lb (450g) of unbleached all-purpose or whole wheat flour (whole wheat boosts fermentation!).
- ● Water (required): 1 cup (240ml) filtered or dechlorinated water (chlorine can hinder wild yeast).
- ● Container (required): A glass jar or bowl (quart-sized, 32 oz) with a loose lid or breathable cover (cheesecloth + rubber band works!).
- ● Mixing tool (required): A wooden spoon or silicone spatula (avoid metal—it can react with acids).
- ○ Scale (optional but helpful): A kitchen scale for precise 1:1:1 ratio measurements (flour:water:starter).
- ○ Thermometer (optional): An instant-read thermometer to monitor ideal temp (70–75°F / 21–24°C).
- ○ pH strips (optional): For advanced bakers to track acidity (ideal pH: 3.5–4.5).
- ● Patience (non-negotiable!): 5–7 days of daily love (and feedings!). ⏳
Instructions for Creating Your Sourdough Starter
You’re about to begin the most rewarding baking journey—let’s build your starter from scratch!
Mix Your Initial Flour and Water
Start with a clean glass jar or container (at least 1-quart capacity) and combine ½ cup whole wheat flour with ¼ cup lukewarm water (about 80°F—it should feel slightly warm to your wrist). Whole wheat flour gives your starter a stronger microbial boost to begin fermentation.
Stir vigorously with a fork or chopstick until no dry flour remains and the mixture resembles thick pancake batter. You want it smooth but not runny. Scrape down the sides of the jar to keep everything contained, then cover loosely with a clean kitchen towel or lid left slightly ajar—this allows wild yeast to enter while protecting from debris.
Establish the Feeding Routine
After 24 hours, you’ll notice the first signs of life—maybe a few bubbles or slight rise. Whether you see activity or not, it’s time for the first feeding. Discard half of your starter (about ¼ cup), then add ½ cup unbleached all-purpose flour and ¼ cup lukewarm water. Stir well until completely smooth.
This 1:1:1 ratio (starter:flour:water) becomes your golden rule. I know discarding feels wasteful, but it prevents overgrowth and maintains the perfect balance for fermentation. Mark your jar with a rubber band at the starter’s height after feeding—this helps track rise progress. You’ll start seeing consistent bubbles and a tangy aroma within 3-5 days.
Monitor and Adjust for Optimal Activity
Feed your starter every 24 hours using the same 1:1:1 ratio. Look for these signs of healthy fermentation: the starter should double in volume within 4-8 hours after feeding, develop a bubbly, foamy texture, and smell pleasantly tangy (like yogurt or ripe fruit). If you notice hooch (gray liquid) on top, stir it in—this is just hungry starter needing more frequent feedings.
Temperature matters dramatically here. If your kitchen is below 70°F, place the jar on top of the fridge or near (not on) a warm appliance. Above 80°F? Move it to a cooler spot. I’ve found 75°F is the sweet spot for consistent activity. By day 5, your starter should reliably pass the float test: drop a small spoonful in water—if it floats, it’s ready for baking!
Test and Transition to Maintenance Mode
Once your starter consistently doubles within 4-6 hours of feeding and smells vibrantly tangy, it’s time to test its baking power. Take 1 tablespoon of active starter and mix with ½ cup flour and ¼ cup water—this mini batch should rise predictably within hours. If it does, congratulations! Your starter is officially established.
Now you can transition to maintenance feedings. If baking weekly, store your starter in the fridge and feed it once a week (discard half, then feed with equal parts flour and water). For daily baking, keep it at room temperature with daily feedings. Remember: a hungry starter smells sharp or alcoholic, while a well-fed starter smells fresh and slightly sweet with that signature sourdough tang.
Use and Replenish Your Mature Starter
When ready to bake, use your starter at its peak—when it’s fully risen but hasn’t started to recede (typically 4-12 hours after feeding, depending on your kitchen temperature). Always leave at least ¼ cup of starter in your jar to continue the cycle. After removing what you need for your recipe, feed the remaining starter immediately to keep it strong.
Your mature starter should now have a complex aroma—slightly acidic with fruity undertones—and a texture like thick batter with visible bubbles throughout. I like to name my starters (mine’s called “Bubbles”) as a reminder that this living culture will evolve with you. The older it gets, the more nuanced flavors it will develop in your bread!
Tips and Common Mistakes for Perfect Sourdough Starter
Creating your first sourdough starter is like nurturing a tiny ecosystem—here’s how to set it up for success from day one.
Temperature Control: That initial 80°F water in Step 1 isn’t arbitrary! I’ve found this precise warmth (feeling slightly warm on your wrist) kickstarts fermentation without killing delicate wild yeast. If your kitchen runs cold, place the jar on a seedling heat mat set to low—this mimics that ideal 75°F sweet spot mentioned in Step 3. Avoid placing it directly on appliances though, as temperatures can spike unpredictably.
Feeding Ratio Precision: The 1:1:1 ratio in Step 2 is your golden ticket, but here’s what nobody tells you—measure by weight, not volume! ½ cup flour can vary by 20 grams depending on how you scoop. I use a kitchen scale for consistency: 50g starter, 50g flour, 50g water. This eliminates guesswork and gives you predictable rises every time.
Discard Wisdom: I know tossing ¼ cup of starter in Step 2 feels painful, but here’s the breakthrough: save those discards! Store them in a separate jar in the fridge and use within a week for pancakes, waffles, or crackers. The discard is just as alive as your main starter—don’t waste that fermentation power! By day 3, you’ll have enough discard for your first recipe experiments.
Activity Monitoring: When checking for that 4-8 hour doubling in Step 3, use the rubber band trick but add this: draw time marks on your jar with dry-erase marker at 4, 6, and 8 hours. This visual timeline helps you spot patterns. If your starter consistently hits the 8-hour mark, your kitchen might be cooler than 75°F—consider adjusting its location slightly warmer for faster fermentation.
Pro Tips for Make Sourdough Starter
- Creating your first sourdough starter is like nurturing a tiny ecosystem—here’s how to set it up for success from day…
- Temperature Control: That initial 80°F water in Step 1 isn’t arbitrary! I’ve found this precise warmth (feeling sligh…
- Feeding Ratio Precision: The 1:1:1 ratio in Step 2 is your golden ticket, but here’s what nobody tells you—measure by…
Frequently Asked Questions
Got questions about your sourdough starter? You’re not alone! Here are the most common concerns—and quick answers—to keep your bubbly friend thriving.
How long does it take to make a sourdough starter from scratch?
Typically 5–7 days with daily feedings, but patience is key! Warmer kitchens (75–80°F) speed it up, while cooler temps may take 10+ days. Look for consistent bubbles and a tangy aroma—those are signs it’s ready!
Can I use tap water for my starter?
If your tap water is chlorinated, let it sit out 24 hours first or use filtered/bottled water. Chlorine can hinder wild yeast growth. Pro tip: Boiled-and-cooled water works too!
My starter smells like vinegar/rotten eggs—is it ruined?
Not necessarily! A sharp vinegar smell means it’s hungry (feed it!). A rotten egg odor (hooch) signals over-fermentation—stir it in or pour it off, then feed. If mold appears (fuzzy spots), toss and restart.
What’s the best flour for a sourdough starter?
Start with unbleached all-purpose or whole wheat flour—they’re reliable and nutrient-rich. Rye flour kicks off fermentation faster (thanks to extra enzymes!). Avoid bleached or self-rising flours.
Can I pause feeding my starter if I’m traveling?
Yes! Store it in the fridge unfed for up to 2 weeks. Before using, discard half, feed daily for 2–3 days to revive it. For longer breaks, dry some starter (spread thin on parchment, crumble when dry) and revive later with water + flour.
Creating your own sourdough starter is a rewarding journey—one that blends patience with the magic of fermentation! 🍞✨ With just flour, water, and time, you’ve now got the foundation for crusty loaves, fluffy pancakes, or even tangy pizza dough. Don’t worry if your starter isn’t perfect right away; every baker’s first batch has its quirks.
Ready to take the next step? Try baking your first sourdough loaf or experiment with discard recipes (like crackers or waffles) to minimize waste. Happy baking—your kitchen’s about to smell amazing!

Trained in classic French technique but raised on slow-cooked ribs and spicy rubs, she blends culinary skill with smoke and soul.
- Recipe for Boneless Pork Chops in Cast Iron Skillet: Sear and Baste to Juicy Perfection - October 3, 2026
- Recipe for Boneless Cross Rib Roast: Slow-Roasted Beef with Herb Crust - October 3, 2026
- Hamburgers in Sauce Recipe Crock Pot: Slow-Cooked Savory Delight - October 3, 2026