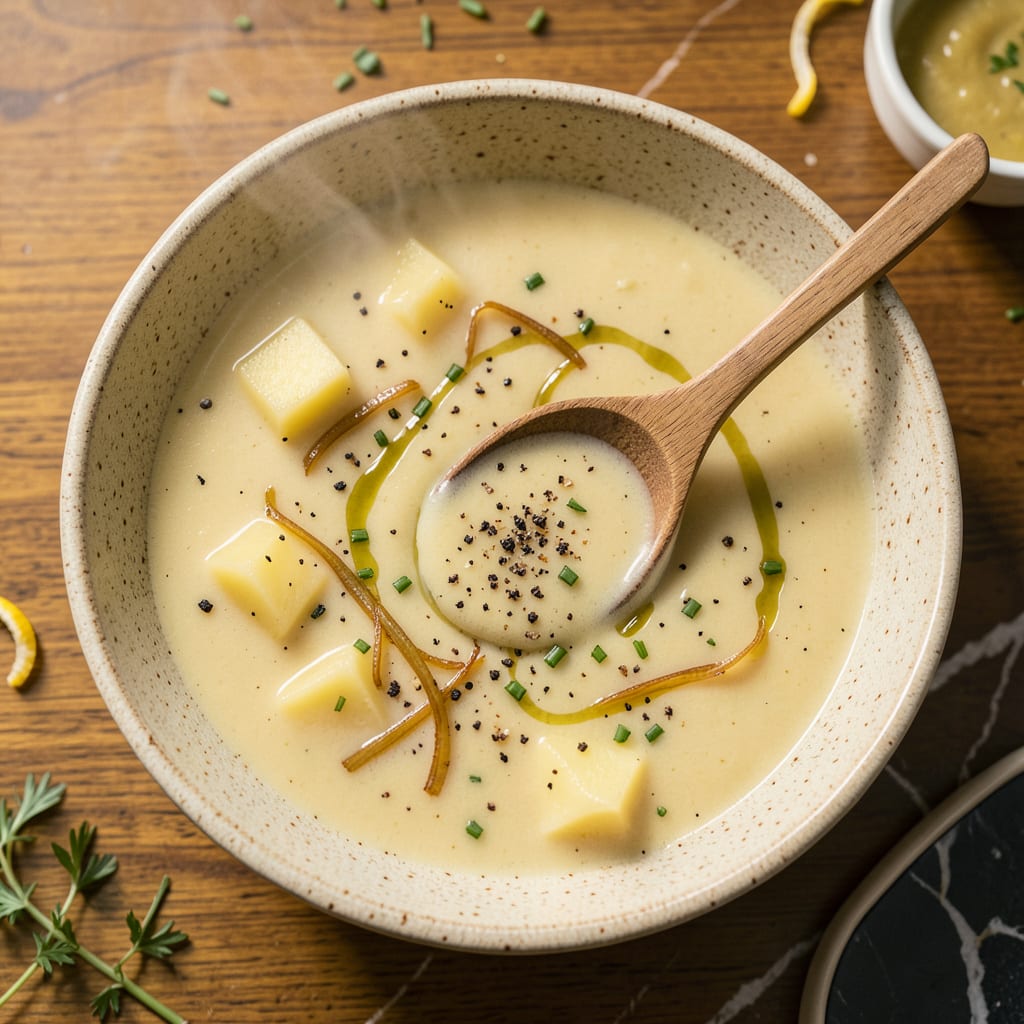
Ever ended up with potato soup so thick you could stand a spoon in it? I’ve been there—stirring a pot that somehow went from creamy to cement-like in minutes. The culprit is usually those starchy potatoes breaking down too much or dairy over-reducing. But here’s the good news: fixing it is easier than you think, and you don’t need to start over.
I’ve rescued countless batches using simple pantry staples. A splash of broth (vegetable or chicken) is my go-to—it thins without diluting flavor. Milk or cream works too, but go slow to avoid curdling. For vegan versions, coconut milk adds richness while loosening the texture. Even plain water works in a pinch, though I always boost flavor with a pinch of salt afterward.
The key is adding liquid gradually—start with ¼ cup, stir well, then assess. Remember, soup continues thickening as it cools, so aim for slightly thinner than your final goal. I learned this the hard way after my first “perfect” batch turned into mashed potato stew by serving time.
Prevention is even simpler: cook potatoes just until tender, use less dairy upfront, or blend only half the soup for creaminess without over-thickening. These tricks save me every time, and they’ll work for you too. Let’s get that soup back to its creamy, dreamy best.
📚 In This Guide
- What You’ll Need
- Instructions
- Tips and Common Mistakes
What Youll Need
- ● Required: 1–2 cups liquid of choice (broth, milk, water, or cream—pick based on your soup’s flavor profile)
- ● 1 whisk or wooden spoon (for smooth blending)
- ● 1 ladle or measuring cup (to add liquid gradually)
- ● 1 medium saucepan or pot (if reheating is needed)
- ● Stovetop or microwave (for gentle reheating, if required)
- ○ Optional (for extra flavor or texture): ½ cup plain yogurt or sour cream (for tangy creaminess)
- ● 1 tbsp butter or olive oil (for richness)
- ● 1 tsp lemon juice or vinegar (to brighten flavors)
- ● Immersion blender (if you want to smooth out lumps)
Instructions for Thinning Potato Soup
Here’s exactly how to achieve that perfect creamy consistency without losing flavor or texture.
Assess Your Soup’s Current Consistency
Before making any adjustments, give your soup a good stir with a wooden spoon. Pay attention to how it moves—does it cling heavily to the spoon, or does it drip off in thick clumps? This tells you how much thinning it actually needs.
I always taste it at this stage too. Sometimes what feels too thick is actually just the right consistency once you taste it. The potatoes should be tender enough to break apart with gentle pressure from your spoon, but still hold some shape.
Gradually Add Liquid While Stirring Constantly
Start by adding small amounts of liquid—about ¼ cup at a time—while stirring constantly. I prefer to use warm chicken broth or milk because they maintain the creamy flavor profile. Cold liquids can cause the soup to seize up temporarily, so warming them first gives you better control.
After each addition, let the soup simmer for 2-3 minutes before deciding if it needs more. You’re looking for a velvety texture that coats the back of a spoon but still flows easily. The key here is patience—it’s much easier to add more liquid than to fix soup that’s become too thin.
Adjust the Seasoning After Thinning
Whenever you add liquid to soup, you’re diluting the flavors. After reaching your desired consistency, taste and adjust the seasoning accordingly. I usually find it needs an extra pinch of salt and black pepper to compensate for the added liquid.
This is also the perfect time to check the richness. If the soup tastes a bit flat after thinning, stir in 1-2 tablespoons of butter or a splash of heavy cream. These additions restore that luxurious mouthfeel without making the soup thick again.
Let It Simmer and Develop Flavor
Once you’ve achieved the perfect consistency, let the soup simmer gently for 10-15 minutes. This allows all the flavors to meld together and gives the potatoes time to absorb some of the added liquid, preventing a watery texture.
Watch for the soup to develop a slight sheen on the surface—that’s your visual cue that the flavors have concentrated properly. Give it one final taste test before serving. The texture should be creamy but pourable, with distinct potato pieces suspended throughout rather than a uniform purée.
Serve with Textural Contrasts
To enhance the creamy texture you’ve worked so hard to perfect, serve the soup with crunchy toppings. I love adding crumbled bacon, shredded cheddar cheese, and chopped green onions right before serving.
The contrast between the velvety soup and crispy toppings makes each bite more satisfying. If you’re serving this to guests, set out small bowls of toppings so everyone can customize their bowl. Remember that the soup will continue to thicken slightly as it cools, so serve it promptly for the best texture.
Tips and Common Mistakes
After years of perfecting this technique, I’ve learned these subtle details make all the difference between good soup and extraordinary soup.
Liquid Temperature Matters: In Step 2, using warm chicken broth or milk is crucial—not just for consistency, but for flavor integration. Cold liquids shock the soup’s starches, creating temporary lumps that take longer to smooth out. I heat my liquid to about the same temperature as the soup before adding it, which gives me immediate control over the texture. The 2-3 minutes of simmering between additions then becomes about flavor blending rather than just texture adjustment.
Visual Test for Perfect Consistency: Here’s what nobody tells you about that “coats the back of a spoon” test in Step 2: you’re looking for a specific sheen. When you dip a spoon and run your finger through the coating, it should leave a clean path that holds for 2-3 seconds before slowly filling in. This visual cue is more reliable than timing alone, especially since potato starch content varies by variety.
The Simmer Secret: During the 10-15 minutes in Step 4, don’t walk away from the pot. A gentle simmer should produce small, steady bubbles that barely break the surface—what I call “lazy bubbles.” This low-and-slow approach lets the potatoes absorb just enough liquid to prevent separation later, while allowing the flavors to concentrate. I’ve found this makes the difference between soup that tastes freshly made and soup that tastes like it’s been sitting.
Seasoning Layering Technique: When adjusting seasoning in Step 3, add salt and pepper in two stages. First, add what you think it needs, stir well, then taste after 2 minutes of simmering. The heat changes how we perceive flavors, and this pause lets the seasoning distribute evenly. I learned this the hard way after oversalting my first three batches—now it’s my non-negotiable rule for perfectly balanced soup.
Pro Tips for Thin Out Potato Soup
- After years of perfecting this technique, I’ve learned these subtle details make all the difference between good soup…
- Liquid Temperature Matters: In Step 2, using warm chicken broth or milk is crucial—not just for consistency, but for …
- Visual Test for Perfect Consistency: Here’s what nobody tells you about that “coats the back of a spoon” test in Step…
Frequently Asked Questions
Can I thin potato soup after it’s already been cooked?
Just add liquid (broth, milk, or water) gradually while stirring over low heat. Start with ¼ cup at a time to avoid over-thinning. For creamier results, warm dairy-based liquids before mixing to prevent curdling.
What’s the best liquid to use for thinning potato soup?
It depends on your goal!
- Broth (chicken/vegetable): Adds flavor without heaviness.
- Milk/cream: Keeps it rich but lighter.
- Water: Neutral option (add bouillon for taste).
- Coconut milk: Dairy-free creaminess.
How do I fix potato soup that’s too thin?
No stress! Simmer uncovered to reduce liquid, or mix in a slurry (1 tbsp cornstarch + 2 tbsp cold water). For body without thickness, blend half the soup and re-mix, or add mashed potatoes.
When’s the best time to thin the soup—during or after cooking?
During cooking is ideal! Add liquid as potatoes soften to control consistency. If adjusting after, reheat gently and stir often to blend flavors. Pro tip: Save some cooking broth to tweak later!
Can I use a blender to thin potato soup without adding liquid?
Yes, but carefully! Pulse small batches to break up potatoes—this releases starch for a smoother (but not necessarily thinner) texture. For true thinning, you’ll still need to add liquid afterward.
Thinning out potato soup doesn’t have to be a guessing game—just a few simple tweaks can turn a too-thick batch into silky, creamy perfection! 🥄 Whether you use broth, milk, or even a splash of water, the key is to add slowly and taste as you go. Now that you’ve mastered the technique, why not experiment with flavors? Try stirring in a dash of garlic powder, fresh herbs, or a swirl of cream for an extra-special touch. Your next bowl of soup is just a ladle away—get simmering and enjoy!

Trained in classic French technique but raised on slow-cooked ribs and spicy rubs, she blends culinary skill with smoke and soul.
- Recipe for Boneless Pork Chops in Cast Iron Skillet: Sear and Baste to Juicy Perfection - October 3, 2026
- Recipe for Boneless Cross Rib Roast: Slow-Roasted Beef with Herb Crust - October 3, 2026
- Hamburgers in Sauce Recipe Crock Pot: Slow-Cooked Savory Delight - October 3, 2026