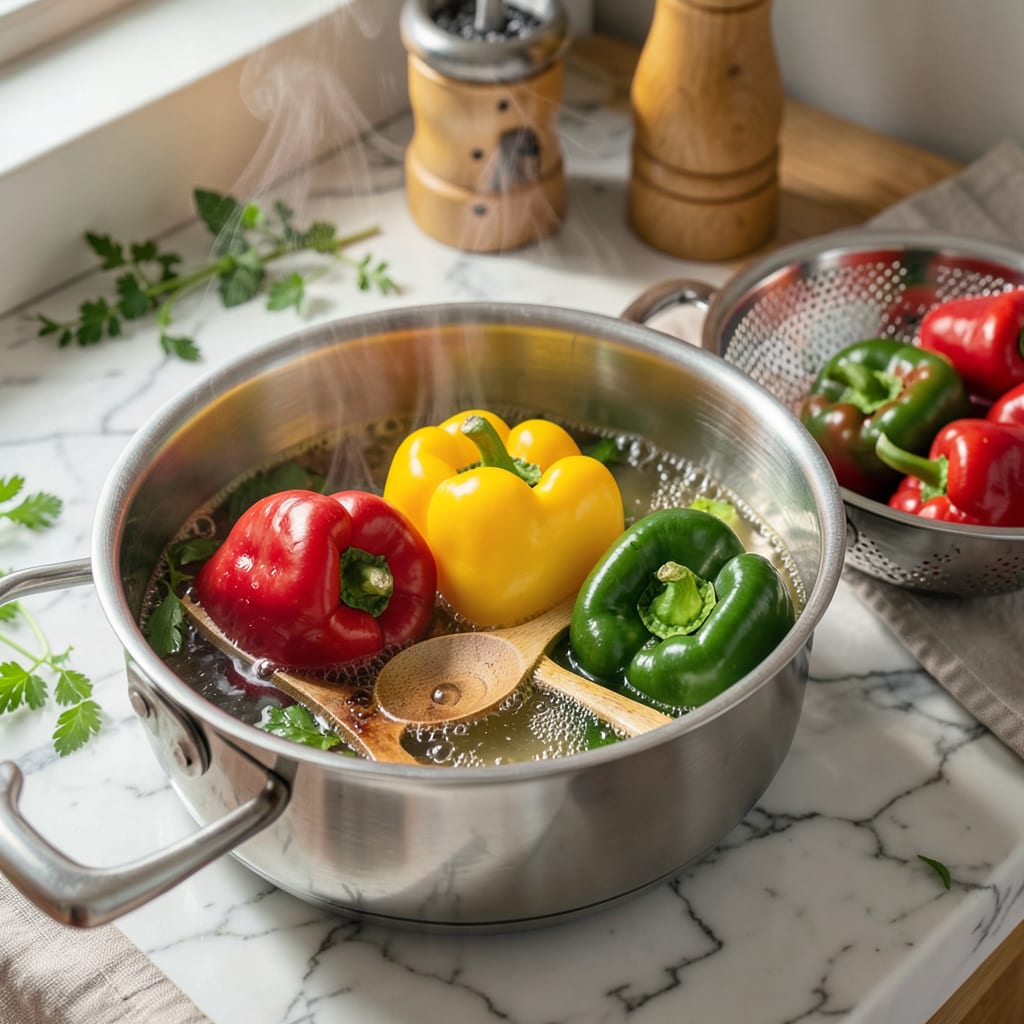
I used to ruin peppers by either leaving them raw and harsh or cooking them into mush—until I mastered parboiling. This simple technique transforms peppers into the perfect tender-crisp texture, ready for stuffing, grilling, or sautéing. No more chewy skins or soggy fillings, just consistently perfect peppers every time.
Here’s the thing—parboiling isn’t just boiling. It’s a controlled process where you briefly cook peppers in simmering water (never boiling hard) to soften them just enough while keeping their structure intact. The ice bath at the end stops the cooking instantly, locking in that ideal texture. I use this method for stuffed peppers, fajitas, and even charred pepper salads when I want that restaurant-quality bite.
The beauty of parboiling is how forgiving it is. Whether you’re prepping bell peppers for grilling or anaheims for chile rellenos, this technique works across all varieties. And since it’s just water and heat, it’s naturally vegan and fits into any cuisine. I’ve even used it to prep peppers for smoking—game changer for adding depth without losing texture.
Fair warning: once you try this, you’ll never go back to raw or overcooked peppers again. The difference is that noticeable. Let me walk you through the exact steps to get it right the first time—no guesswork, no wasted peppers, just perfect results you can build entire meals around.
📚 In This Guide
- What You’ll Need
- Instructions
- Tips and Common Mistakes
What Youll Need
- ● Fresh peppers – 2–4 medium-sized (bell, poblano, or jalapeño work great)
- ● Water – 4–6 cups (enough to fully submerge peppers)
- ○ Salt – 1 tsp (optional, for flavor)
- ● Large pot or saucepan (with lid)
- ● Slotted spoon or tongs (for easy removal)
- ○ Ice bath (optional) – Bowl of ice water (to stop cooking quickly)
- ● Cutting board & knife (if prepping peppers beforehand)
- ● Timer (to avoid overcooking)
Step-by-Step Instructions for Parboiling Peppers
This simple technique transforms peppers from raw to perfectly tender-crisp in just minutes—let’s master it together!
Select and Prepare Your Peppers
Choose firm, glossy peppers that feel heavy for their size—this indicates freshness and optimal moisture content. I prefer bell peppers for their consistent thickness, but this method works beautifully with poblanos, jalapeños, or even shishitos if you adjust the timing slightly.
Wash them thoroughly under cool running water to remove any dirt or residue. Pat them completely dry with paper towels—excess moisture will dilute your boiling water and affect the cooking process. For whole peppers, leave stems intact to maintain shape; for strips or rings, remove seeds and membranes first for even cooking.
Boil the Water and Prepare an Ice Bath
Fill a large pot with enough water to fully submerge your peppers—about 4 quarts for 4 medium peppers. Bring it to a vigorous rolling boil over high heat. The rapid bubbling ensures immediate cooking when the peppers hit the water, which preserves their vibrant color and crisp texture.
While waiting for the water to boil, prepare an ice bath in a large bowl with equal parts ice and cold water. This shock treatment stops the cooking process instantly, locking in that perfect tender-crisp texture. I always use more ice than I think I’ll need—the peppers should feel cold to the touch within seconds of immersion.
Parboil the Peppers with Precision
Once the water reaches a full boil, carefully add your prepared peppers using tongs. For whole peppers, boil for 2-3 minutes until the skins just begin to soften but still offer resistance when pierced with a knife. For pepper strips or rings, reduce the time to 1-2 minutes—they’ll cook faster due to increased surface area.
Watch for visual cues: the peppers should brighten in color and develop a slight translucency at the edges, but maintain most of their original structure. The moment you see the skins start to pucker slightly, they’re ready. Overcooking at this stage turns them mushy, so stay attentive—this happens quickly!
Shock and Drain for Perfect Texture
Immediately transfer the parboiled peppers to your prepared ice bath using tongs or a slotted spoon. Let them chill for exactly 2 minutes—long enough to halt all cooking but not so long that they absorb excess water and become waterlogged. You’ll feel the peppers firm up slightly as they cool.
Drain the peppers in a colander and gently pat dry with clean paper towels. Notice how they’ve softened just enough to bend slightly without snapping, but still retain their shape and vibrant color. This is the ideal texture we’re after—tender enough to eat comfortably, with just enough crispness to provide satisfying resistance.
Use or Store Your Perfectly Parboiled Peppers
Your peppers are now ready for their starring role! Use them immediately in stir-fries, salads, or as a pizza topping—they’ll hold their shape beautifully during additional cooking. For meal prep, store in an airtight container in the refrigerator for up to 5 days.
If you’ve parboiled whole peppers for stuffing, you’ll find their skins are now supple enough to hold fillings without tearing, yet sturdy enough to maintain structure during baking. The flavor becomes more concentrated while losing any raw bitterness, making them infinitely more versatile in your cooking.
Tips and Common Mistakes for Perfect Parboiled Peppers
Mastering this technique is all about precision—here’s what I’ve learned from countless batches to ensure you get that ideal tender-crisp result every single time.
Timing Precision: Those 2-3 minutes for whole peppers and 1-2 minutes for strips in Step 3 are absolutely critical! I set a timer the moment the peppers hit the boiling water and watch for that magical moment when the skins just begin to pucker. The difference between perfectly tender and disappointingly mushy is literally seconds at this stage. Trust me, your attention here pays off in texture.
Ice Bath Importance: Don’t skimp on the ice bath in Step 4! I use at least twice as much ice as I think I’ll need to ensure the water stays frigid. The 2-minute shock isn’t just about stopping the cooking—it actually helps lock in that vibrant color and crisp texture. I can always tell when someone rushed this step because the peppers lose their snap.
Water Volume Matters: The 4 quarts of water specified in Step 2 isn’t arbitrary—it ensures the water stays at a vigorous boil when you add the peppers. Too little water causes the temperature to drop dramatically, leading to uneven cooking. I’ve ruined batches by using too small a pot, and now I always err on the side of more water rather than less.
Visual Cues to Watch: In Step 3, look for that subtle color change where the peppers brighten and develop slight translucency at the edges. This visual cue is more reliable than timing alone, especially since pepper thickness can vary. The moment you see the skins start to pucker—even if it’s before the 2-minute mark for strips—pull them out immediately.
Pro Tips for Parboil Peppers
- Mastering this technique is all about precision—here’s what I’ve learned from countless batches to ensure you get tha…
- Timing Precision: Those 2-3 minutes for whole peppers and 1-2 minutes for strips in Step 3 are absolutely critical! I…
- Ice Bath Importance: Don’t skimp on the ice bath in Step 4! I use at least twice as much ice as I think I’ll need to …
Frequently Asked Questions
Got questions about parboiling peppers? You’re not alone! Here are the most common ones—answered fast so you can get back to cooking.
How long should I parboil peppers for the best texture?
Aim for 2-3 minutes in boiling water for tender-crisp peppers. Go up to 4 minutes if you prefer them softer (great for stuffing!). Test with a fork—they should pierce easily but still hold shape. Overcooking turns them mushy.
Can I parboil peppers without a pot of boiling water?
Yes! Try these alternatives:
- Steaming: 4-5 minutes in a basket over boiling water (retains more nutrients).
- Microwave: Place sliced peppers in a bowl with 2 tbsp water; cover and zap for 2-3 minutes.
Why do my peppers taste bitter after parboiling?
Bitterness comes from the seeds and white pith. Always core and deseed before boiling. If they’re still bitter, soak sliced peppers in cold water for 10 minutes post-boiling to draw out excess compounds.
Do I need to shock peppers in ice water after parboiling?
It’s optional but highly recommended! Ice baths stop cooking instantly, locking in color and crunch. Skip it if you’re cooking them further (e.g., stir-frying), but do it for salads or stuffing.
Can I parboil frozen peppers, or should I thaw them first?
Thaw first for even cooking! Toss frozen peppers straight into boiling water, and you’ll get uneven texture (some parts mushy, others raw). Thaw in the fridge overnight or use the microwave’s defrost setting. →
Parboiling peppers is a simple yet game-changing technique to lock in flavor while keeping that perfect tender-crisp texture. 🌶️ Whether you’re prepping for stuffed peppers, stir-fries, or salads, this quick step ensures even cooking and vibrant color—every single time.
Now that you’ve mastered the basics, why not put your skills to the test? Try parboiling a batch for your next fajita night or meal prep, and taste the difference for yourself! For extra inspiration, explore recipes that highlight parboiled peppers—your dishes will thank you. 😉

Trained in classic French technique but raised on slow-cooked ribs and spicy rubs, she blends culinary skill with smoke and soul.
- Recipe for Boneless Pork Chops in Cast Iron Skillet: Sear and Baste to Juicy Perfection - October 3, 2026
- Recipe for Boneless Cross Rib Roast: Slow-Roasted Beef with Herb Crust - October 3, 2026
- Hamburgers in Sauce Recipe Crock Pot: Slow-Cooked Savory Delight - October 3, 2026