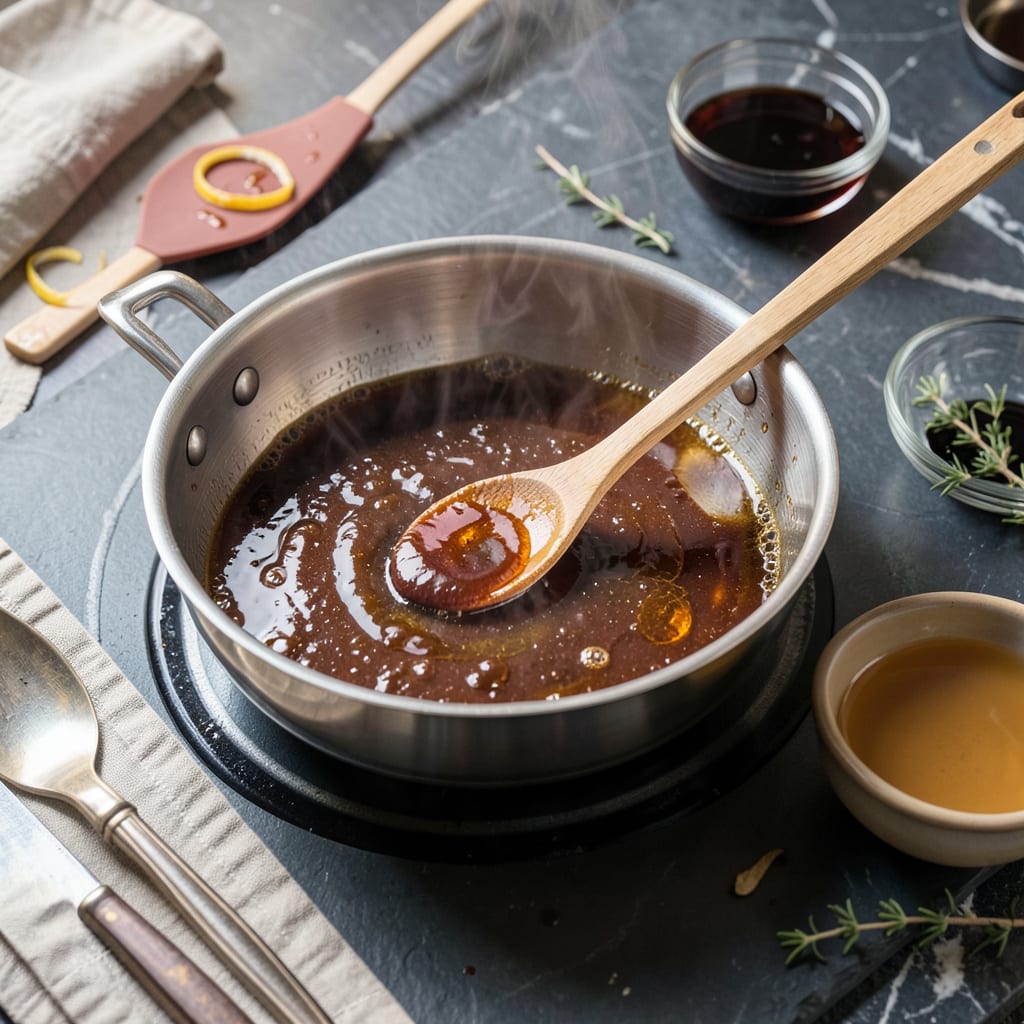
I’ll be real with you: reducing soy sauce is one of those kitchen tricks that transforms good dishes into restaurant-quality masterpieces. No fancy ingredients required—just soy sauce, heat, and a little patience. This technique creates a thick, glossy glaze that packs intense umami flavor into every drop, perfect for drizzling over stir-fries or brushing onto roasted vegetables.
The process is simpler than you might think. Whether you’re using a stovetop or microwave, the key is gentle, consistent heat that lets the liquid evaporate slowly without burning. I’ve ruined more batches by rushing than I’d like to admit—low and slow wins every time. In about 10-15 minutes, you’ll have a rich, syrupy sauce that’s worlds away from the thin liquid you started with.
What makes this worth mastering is its versatility. That reduced soy sauce becomes your secret weapon for glazing tofu, tossing with noodles, or even mixing into salad dressings. It stores beautifully too—keep it in an airtight container for up to two weeks. The flavor concentration means you’ll use less but get more impact in every dish.
Between you and me, this is the kind of technique that makes home cooks look like pros. Once you nail the consistency, you’ll find yourself reaching for that bottle of soy sauce more often than you’d expect. Let’s break down exactly how to do it right.
📚 In This Guide
- What You’ll Need
- Instructions
- Tips and Common Mistakes
What Youll Need
- ● Soy sauce – 1 cup (use regular or low-sodium; avoid tamari for best results 💡).
- ● Sugar or honey – 2–3 tbsp (adjust for sweetness; brown sugar adds depth!).
- ○ Water – ¼ cup (helps control thickness—optional but handy).
- ○ Garlic or ginger – 1 tsp minced (optional for extra aroma 🌿).
- ○ Cornstarch slurry – 1 tsp cornstarch + 1 tbsp water (optional, for thicker glaze).
- ● Small saucepan (non-stick or stainless steel).
- ● Wooden spoon or silicone spatula (to stir without scratching).
- ● Measuring cups/spoons (precision matters!).
- ○ Fine-mesh strainer (optional, for ultra-smooth texture).
- ● Glass jar (for storing reduced sauce—keeps up to 2 weeks ⏳).
Instructions
Here’s the simple method I use to transform soy sauce into a rich, glossy glaze—no fancy equipment required.
Choose Your Soy Sauce and Pan
Start by selecting the right soy sauce for your needs. I prefer using regular soy sauce for a balanced flavor, but you can use low-sodium if you’re watching salt intake. For a deeper, more complex glaze, consider mixing in a tablespoon of dark soy sauce for color and richness.
Pick a small saucepan with a wide base—this gives you more surface area for faster reduction. Avoid non-stick pans if possible, as the high heat needed for reduction works better with stainless steel or cast iron. The pan should be clean and dry before you start.
Heat and Begin the Reduction Process
Pour your soy sauce into the pan—start with about 1 cup for a good working amount. Place it over medium-high heat and bring it to a gentle simmer. You’ll see small bubbles forming around the edges first, then spreading across the surface.
This is where patience comes in. Let it simmer uncovered, resisting the urge to stir constantly. I like to give it an occasional swirl to check the consistency, but stirring too much can slow down the reduction process. You’ll notice the aroma becoming more concentrated as the liquid evaporates.
Monitor and Adjust the Consistency
After about 8-10 minutes, the soy sauce will start to thicken. Watch for visual cues: the bubbles will become larger and slower, and the sauce will start to coat the back of a spoon. Dip a spoon in and run your finger through it—if the line holds, you’re getting close.
The color will deepen to a rich mahogany, and the texture should be syrupy but still pourable. If it reduces too quickly or starts to smell burnt, lower the heat immediately. Remember, it will thicken slightly more as it cools, so aim for a consistency just thinner than you want in the final product.
Finish and Store Your Glaze
Once you’ve reached your desired consistency, remove the pan from heat. Let the glaze cool for 2-3 minutes—it will continue to thicken slightly during this time. Taste it and adjust the seasoning if needed; you might want to add a pinch of sugar to balance the saltiness or a splash of water if it’s too intense.
Transfer your reduced soy sauce to a clean glass jar or bowl. It will keep in the refrigerator for up to 2 weeks. If it thickens too much in storage, simply warm it gently with a teaspoon of water to restore the perfect glaze consistency. Use it to elevate stir-fries, as a marinade, or as a finishing drizzle for that restaurant-quality touch.
Tips and Common Mistakes
Mastering this simple technique comes down to a few key details that make all the difference.
Heat Control: The medium-high heat mentioned in Step 2 is crucial—too high and you’ll burn the sauce before it reduces properly, too low and you’ll be waiting forever. I find that if your bubbles are forming aggressively around the edges within 30 seconds, you’ve got the right temperature. If they’re not appearing at all, increase the heat slightly.
Patience During Reduction: During those 8-10 minutes in Step 3, resist the urge to stir constantly. Every time you stir, you’re cooling down the sauce and slowing the reduction process. Instead, give it an occasional gentle swirl—just enough to check the consistency without disrupting the heat distribution.
Consistency Check: When testing the glaze at the 8-10 minute mark, don’t just look at the bubbles—dip a spoon in and run your finger through it. The line should hold clearly, but the sauce should still be pourable. If it’s too thin, give it another minute or two. If it’s too thick, add a teaspoon of water and stir gently to loosen it.
Storage Wisdom: After the 2-3 minutes of cooling time in Step 4, transfer your glaze to a clean glass jar while it’s still slightly warm. This helps prevent condensation from forming inside the container during storage, which can dilute your glaze over time. Always use a clean, dry spoon when dipping into your stored glaze to maximize that 2-week shelf life.
Pro Tips for Reduce Soy Sauce
- Mastering this simple technique comes down to a few key details that make all the difference.
- Heat Control: The medium-high heat mentioned in Step 2 is crucial—too high and you’ll burn the sauce before it reduce…
- Patience During Reduction: During those 8-10 minutes in Step 3, resist the urge to stir constantly. Every time you st…
Frequently Asked Questions
Can I reduce soy sauce in a microwave instead of a stovetop?
Yes, but with caution! Use a microwave-safe bowl and heat in 10-15 second bursts, stirring between each. Microwaves can over-reduce or burn soy sauce quickly—watch closely for bubbling. Stovetop is safer for even reduction, but microwaving works in a pinch for small amounts.
How long does it take to reduce soy sauce by half?
Typically 5–10 minutes on medium-low heat, depending on quantity and pan size. Stir frequently to prevent scorching. For ½ cup, expect ~8 minutes; for 1 cup, up to 12–15 minutes. Patience pays off—rushing risks a bitter taste!
What’s the best substitute if I don’t want to reduce soy sauce?
Try these swaps for depth without reduction:
- Tamari (thicker, less salty, gluten-free)
- Oyster sauce (rich, slightly sweet)
- Coconut aminos (milder, soy-free)
- Miso paste + water (umami boost, dilute to taste)
Why does my reduced soy sauce taste bitter or burnt?
Overheating or not stirring enough is the usual culprit. Soy sauce’s sugars caramelize quickly—keep heat low-medium and stir constantly. If it’s already bitter, balance with a pinch of sugar or mirin to mellow the flavor.
Can I reduce low-sodium soy sauce the same way?
Low-sodium reduces just like regular, but expect a milder saltiness. To compensate, add a pinch of salt after reducing or boost umami with a dash of fish sauce or mushroom powder.
Reducing soy sauce is your secret weapon for deeper flavor without extra ingredients—just patience and a watchful eye! 🌟 Whether you’re glazing meats, elevating stir-fries, or adding richness to marinades, a well-reduced soy sauce brings restaurant-quality umami to your home kitchen. Start with a small batch to test your preferred thickness, then experiment with dishes like teriyaki chicken or garlic noodles.
Ready to level up? Grab that saucepan and try reducing a half-cup today—your taste buds will thank you! 🍛

Trained in classic French technique but raised on slow-cooked ribs and spicy rubs, she blends culinary skill with smoke and soul.
- Recipe for Boneless Pork Chops in Cast Iron Skillet: Sear and Baste to Juicy Perfection - October 3, 2026
- Recipe for Boneless Cross Rib Roast: Slow-Roasted Beef with Herb Crust - October 3, 2026
- Hamburgers in Sauce Recipe Crock Pot: Slow-Cooked Savory Delight - October 3, 2026