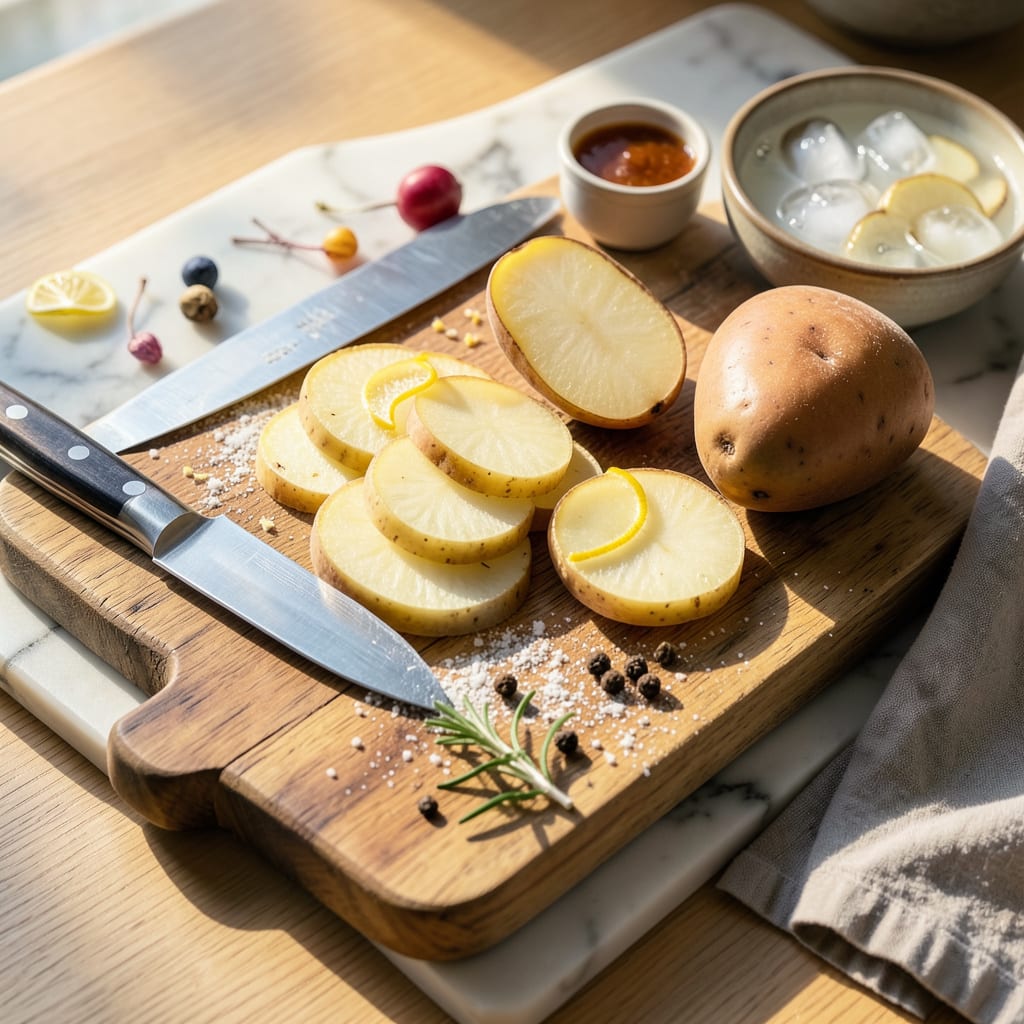
Let me cut to the chase—thin potato slices are the secret weapon behind so many of my favorite dishes. We’re talking crispy homemade chips that actually stay crispy, perfectly layered potato gratin that doesn’t turn mushy, and stir-fried potatoes that cook evenly every time. I’ve burned through more potatoes than I care to admit perfecting this technique, and here’s what I learned: it’s all about the right tools and a little patience.
The difference between good and perfect comes down to two things: thickness and consistency. For chips, you want paper-thin slices (about 1/16 inch). For gratin or roasted potatoes, aim for slightly thicker (1/8 inch). The key is keeping them uniform so they cook at the same rate. No one wants half-burnt, half-raw potato slices ruining their dish.
I’ll be real with you—this isn’t about fancy equipment. A sharp chef’s knife works fine if you’ve got steady hands and time. But if you’re making big batches (or just value your fingertips), a mandoline or food processor attachment will change your life. Safety tip: always use the guard with a mandoline. I learned that lesson the hard way during a particularly rushed holiday prep.
Once you nail this technique, you’ll unlock a world of potato possibilities. Think ultra-crispy roasted chips, scalloped potatoes that actually hold their shape, or stir-fries where the potatoes cook through without turning to mush. The best part? Thinly sliced potatoes cook faster and more evenly, saving you time and frustration in the kitchen.
📚 In This Guide
- What You’ll Need
- Instructions
- Tips and Common Mistakes
What Youll Need
- ● Potatoes: 2–4 medium russet or Yukon Gold potatoes (firm, no sprouts 🥔). Wash and peel if desired.
- ○ Chef’s knife: An 8–10″ sharp blade (dull knives slip! ⚠️). A mandoline slicer (optional but game-changing for speed).
- ● Cutting board: Wood or plastic, non-slip (place a damp towel underneath for grip).
- ● Bowl of cold water: 1 quart + 1 tbsp lemon juice or vinegar (prevents browning).
- ● Kitchen towel: For patting slices dry (if frying/baking).
- ○ Optional: Cut-resistant gloves (safety first! 🧤)
- ● Ruler or slice guard (for even ⅛”–¼” thickness).
Instructions for Slicing Potatoes Paper-Thin
Master this simple technique and you’ll create uniform, restaurant-quality potato slices every time.
Select and Prepare Your Potatoes
Choose firm, medium-sized potatoes with smooth skin—russets or Yukon Golds work beautifully for this. Give them a thorough rinse under cool water to remove any dirt, then pat them completely dry with a clean kitchen towel. This drying step is crucial because moisture makes potatoes slippery and dangerous to slice.
I always cut a small slice from one side of each potato to create a flat base. This stable surface prevents the potato from rolling while you’re slicing, which is essential for both safety and consistency. You’ll notice how much easier the slicing becomes with this simple preparation.
Set Up Your Cutting Station
Place a damp kitchen towel or non-slip mat under your cutting board to prevent it from shifting during slicing. This extra stability makes a surprising difference in your control. Position your sharpest chef’s knife nearby—this isn’t the time for a dull blade.
Here’s the thing—I recommend using a mandoline for absolute perfection, but if you’re slicing by hand, choose a knife with a thin, sharp blade. The key is maintaining consistent pressure throughout each slice. I like to keep a small bowl of cold water nearby to occasionally dip my fingers in, which helps prevent the potato starch from making them sticky.
Master the Slicing Technique
Hold the potato firmly by the cut side (the flat base you created) with your fingers curled under like a claw. This grip protects your fingertips while giving you maximum control. Position your knife at the very edge of the potato and make your first slice—this will be your guide for all subsequent slices.
Now for the magic: use a smooth, fluid motion to slice downward while gently pulling the knife toward you. The slices should be about 1/16-inch thick—thin enough to be translucent when held to light. I find it helpful to visualize each slice as a potato chip. Work slowly and deliberately; speed comes with practice, but precision comes first.
Maintain Consistency Throughout
After every few slices, pause to check your work. Hold a slice up to the light—if it’s uniformly thin with no thick spots, you’re on the right track. If you notice any slices are thicker, adjust your knife angle slightly. The goal is to have every slice identical in thickness, which ensures even cooking later.
As you near the end of the potato, you’ll reach a point where it becomes difficult to hold safely. At this stage, I recommend placing the potato cut-side down on the board and carefully slicing the remaining portion. Don’t rush this final part—it’s better to have a few slightly thicker end pieces than to risk uneven slices or injury.
Store or Use Immediately
Once sliced, immediately transfer the potatoes to a bowl of cold water to prevent browning. This also helps remove excess starch, which can make your final dish gummy. If you’re not using them right away, store the sliced potatoes in cold water in the refrigerator for up to 24 hours.
When you’re ready to cook, drain the potatoes thoroughly and pat them dry with paper towels. You’ll be amazed at how these perfectly thin slices crisp up beautifully whether you’re frying, baking, or making gratins. The uniform thickness means every piece cooks at exactly the same rate, giving you that professional-quality result you’re after.
Tips and Common Mistakes for Perfect Paper-Thin Potato Slices
Here’s what I’ve learned from years of slicing potatoes—these small details make all the difference between frustrating attempts and restaurant-quality results.
The Flat Base Secret: In Step 1, don’t skip creating that flat base by cutting a small slice from your potato! I can’t overstate how much this improves both safety and consistency. Without it, you’ll fight a rolling potato that makes uniform slices nearly impossible. This simple 10-second preparation prevents endless frustration during slicing.
Knife Control Technique: When you reach Step 3, focus on maintaining consistent pressure throughout each slice. I like to anchor my guiding hand by pressing my thumb against the potato’s flat base while keeping fingers curled under. This gives you maximum control while protecting your fingertips. Remember, the slices should be about 1/16-inch thick—hold them up to the light to check for translucency.
Starch Management: The cold water trick in Step 5 isn’t just for preventing browning—it’s your secret weapon against gummy potatoes! Soaking removes excess starch that would otherwise create a gluey texture when cooked. For best results, change the water once if storing for more than a few hours. When ready to cook, pat them completely dry for maximum crispiness.
Consistency Check: Here’s what nobody tells you—your slices will naturally get slightly thicker as you work through the potato. Combat this by periodically checking your work against the light and adjusting your knife angle as needed. I find it helpful to make the first few slices slightly thinner than 1/16-inch, as my slices tend to thicken slightly as I progress through each potato.
Pro Tips for Slice Potatoes Thin
- Here’s what I’ve learned from years of slicing potatoes—these small details make all the difference between frustrati…
- The Flat Base Secret: In Step 1, don’t skip creating that flat base by cutting a small slice from your potato! I can’…
- Knife Control Technique: When you reach Step 3, focus on maintaining consistent pressure throughout each slice. I lik…
Frequently Asked Questions
How thin should I slice potatoes for crispy chips?
Aim for 1/16-inch (1.5mm) thickness—about the width of a dime! Thinner slices crisp up faster, while thicker ones stay chewy. For even cooking, use a mandoline or sharp knife, and keep slices uniform. Pro tip: Soak slices in cold water for 10 minutes to remove excess starch for extra crunch!
What’s the fastest way to slice potatoes thin without a mandoline?
Use a sharp chef’s knife and the “claw grip” for safety. Cut a flat side on the potato to stabilize it, then slice slowly with a rocking motion. For speed, stack two potato halves (cut-side down) and slice together—but keep fingers clear!
Why do my thin potato slices stick together when cooking?
Starch is the culprit! Rinse slices in cold water after cutting, then pat very dry with a towel. For frying, toss in a bit of cornstarch before cooking. If baking, space slices on the tray without overlapping to avoid steaming.
Can I slice potatoes thin ahead of time? How do I store them?
Yes! Submerge slices in cold water in an airtight container and refrigerate for up to 24 hours. Drain and dry thoroughly before cooking. Avoid storing cut potatoes at room temp—they’ll oxidize (turn brown) and lose crispiness.
What’s the best knife for slicing potatoes thin?
A 8-10-inch chef’s knife with a thin, sharp blade works best—avoid serrated knives. For precision, try a Japanese nakiri knife (flat blade) or a utility knife. Always hone the blade before slicing to prevent crushing the potato.
Mastering the art of thinly slicing potatoes is all about patience, the right tools, and technique. Whether you’re whipping up crispy chips, a delicate gratin, or even homemade potato chips, consistent slices ensure even cooking and that perfect texture every time. 😊
Now that you’ve got the know-how, why not put your new skills to the test? Grab a potato, your sharpest knife (or mandoline!), and start practicing—your taste buds will thank you! For extra inspiration, try experimenting with different potato varieties or seasonings to elevate your dishes even further.

Trained in classic French technique but raised on slow-cooked ribs and spicy rubs, she blends culinary skill with smoke and soul.
- Recipe for Boneless Pork Chops in Cast Iron Skillet: Sear and Baste to Juicy Perfection - October 3, 2026
- Recipe for Boneless Cross Rib Roast: Slow-Roasted Beef with Herb Crust - October 3, 2026
- Hamburgers in Sauce Recipe Crock Pot: Slow-Cooked Savory Delight - October 3, 2026