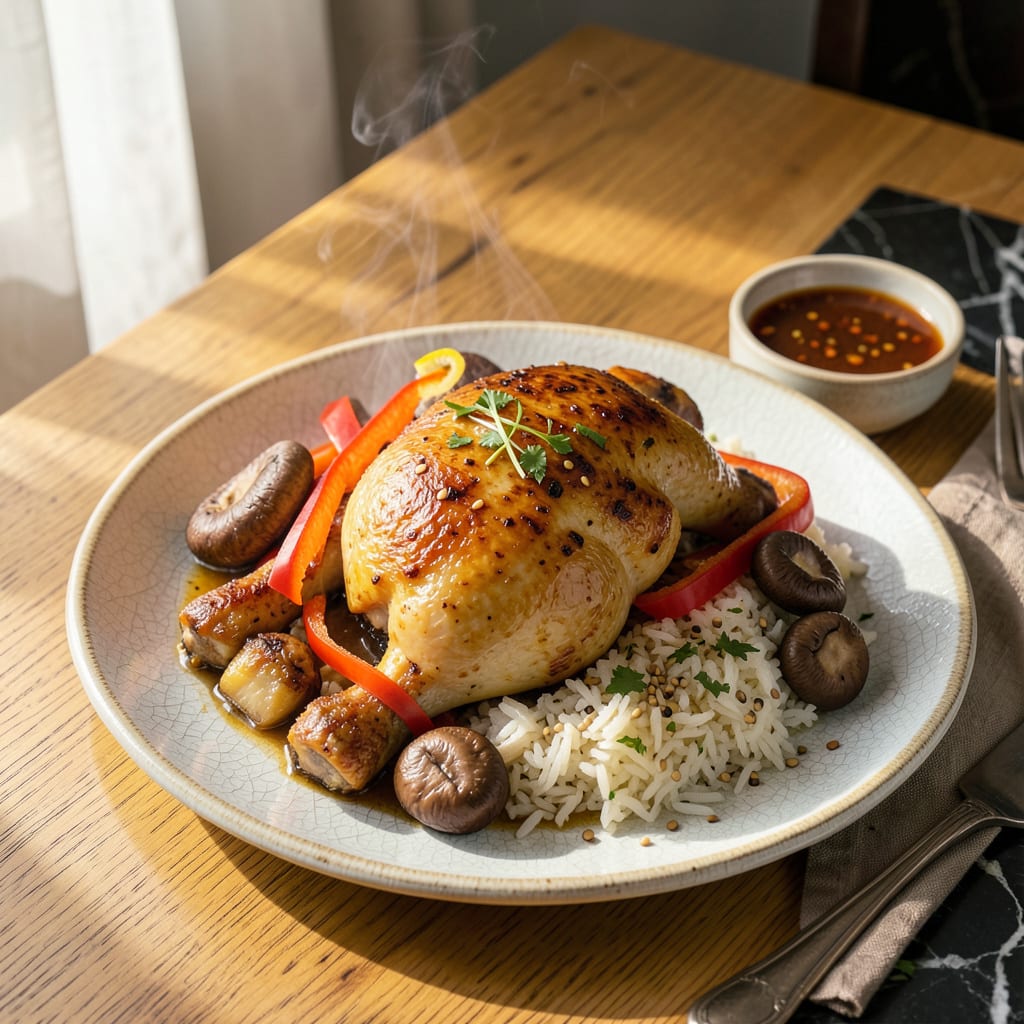
No steamer basket? No problem. I’ve cooked more chicken than I can count using just a pot, a plate, and some clever improvisation. The secret to juicy results lies in creating the right environment—it’s simpler than you’d think, and the payoff is tender, perfectly cooked chicken every time.
This method works with tools you already have in your kitchen. Whether you’re using a colander over boiling water, a heatproof plate in a pot, or even your microwave, the key is maintaining steady heat and proper moisture. I’ve tested all these approaches, and they deliver restaurant-quality texture without any fancy equipment.
What you’ll end up with is chicken that’s moist throughout, with a delicate flavor that lets the natural taste shine. No dry edges, no rubbery texture—just perfectly steamed meat that pulls apart effortlessly. The best part? You can use this technique for everything from quick weeknight dinners to meal prep.
Pair it with a simple dipping sauce or serve over rice for a complete meal. Here’s how to make it happen with what you’ve got in your kitchen right now.
📚 In This Guide
- What You’ll Need
- Instructions
- Tips and Common Mistakes
What Youll Need
- ● Fresh or thawed chicken – 1 to 2 lbs (boneless breasts, thighs, or drumsticks work best 🍗). Pat dry for even cooking.
- ● Large pot or deep skillet – With a tight-fitting lid (12-inch diameter or larger to fit a rack).
- ● Heat-safe rack or DIY alternatives: Metal colander or strainer (turned upside down 🥘)
- ● Chopsticks or wooden skewers (laid parallel as a makeshift rack)
- ● Crumpled aluminum foil (shaped into coils for elevation)
- ● Water or broth – 1 to 2 cups (enough for 1–2 inches of liquid in the pot).
- ○ Aromatics (optional but recommended) – 1 sliced onion, 3 garlic cloves, 1-inch ginger, or herbs like thyme/rosemary for flavor.
- ● Salt & seasonings – 1 tsp salt (adjust to taste), plus pepper, paprika, or soy sauce for marinating.
- ● Kitchen tongs or heat-resistant gloves – For safe handling of hot racks/pots.
- ○ Meat thermometer (optional but helpful) – To check doneness (165°F/74°C for chicken 🌡️).
- ○ Aluminum foil (optional) – For wrapping chicken to lock in moisture.
Instructions
Here’s the simple method I use to achieve perfectly juicy chicken without any special equipment.
Prepare Your Chicken for Steaming
Start by patting your chicken pieces completely dry with paper towels. This might seem counterintuitive for steaming, but removing excess moisture helps the chicken absorb flavors better. I like to use bone-in, skin-on pieces for this method—they stay juicier than boneless breasts.
Season the chicken generously with salt and pepper on both sides. Don’t be shy—steaming can dilute flavors slightly, so proper seasoning is key. For extra flavor, you can rub the chicken with a mix of garlic powder, ginger, or your favorite herbs. Let it sit for 10 minutes while you prepare your steaming setup.
Create Your DIY Steaming Setup
Find a large pot with a tight-fitting lid and a heatproof plate or shallow bowl that fits inside. I use a dinner plate that sits about 1-2 inches above the bottom of the pot. Add 1-2 inches of water to the pot—enough to create steam but not so much that it touches the plate when boiling.
Bring the water to a rolling boil over high heat. While waiting, arrange your seasoned chicken pieces on the plate in a single layer, leaving space between them so the steam can circulate freely. If you’re using a whole chicken, place it breast-side up. The steam will penetrate better this way.
Steam the Chicken to Juicy Perfection
Once the water is boiling vigorously, carefully place the plate with chicken into the pot. Cover immediately with the lid to trap all that precious steam. Reduce the heat to medium-low—you want a steady, gentle boil, not a violent one that could splash water onto your chicken.
Steam the chicken for 20-25 minutes for bone-in pieces or 15-18 minutes for boneless cuts. You’ll know it’s done when the internal temperature reaches 165°F and the juices run clear when pierced with a knife. The chicken should feel firm but still springy to the touch—not rubbery.
Rest and Serve Your Steamed Chicken
Using oven mitts, carefully remove the plate from the pot and transfer the chicken to a serving platter. Let it rest for 5 minutes before serving—this allows the juices to redistribute throughout the meat instead of running out when you cut into it.
The chicken should be incredibly tender and moist, with a clean, pure chicken flavor. I love serving this with a simple dipping sauce made from soy sauce, rice vinegar, and a touch of sesame oil. The gentle steaming method preserves all the natural juices, so you’ll notice how much more succulent the meat is compared to other cooking methods.
Tips and Common Mistakes
Mastering this technique comes down to a few simple but important details that make all the difference in texture and flavor.
Seasoning Strategy: Don’t underestimate the importance of that 10-minute rest after seasoning in Step 1. This brief waiting period allows the salt to penetrate the surface, enhancing flavor throughout the meat rather than just sitting on top. I’ve found this makes the chicken taste seasoned all the way through, not just on the surface. For even more flavor, try adding a pinch of smoked paprika to your salt and pepper mix—it complements the clean steamed flavor beautifully.
Steam Circulation: When arranging your chicken in Step 2, leave at least 1 inch of space between pieces. I learned this the hard way after ending up with unevenly cooked chicken that was perfect on the edges but underdone in the center. The steam needs room to circulate freely around each piece. If you’re cooking a whole chicken, placing it breast-side up as mentioned is crucial—the breast meat cooks more evenly this way without drying out.
Heat Control: That shift from high heat to medium-low in Step 3 is everything. You want a gentle but steady steam, not a rolling boil that could make the chicken rubbery. I check my heat by listening—you should hear a quiet, consistent simmer, not aggressive bubbling. If your lid isn’t tight-fitting, place a folded kitchen towel over the pot before putting the lid on to create a better seal and trap more steam.
Doneness Check: While the 20-25 minutes for bone-in pieces is spot-on, I always verify doneness with two methods: first, check that the internal temperature reaches 165°F at the thickest part, then pierce the meat—juices should run completely clear. The chicken should feel firm but still have some give when pressed. If you’re using boneless cuts, start checking at 15 minutes since they cook faster and can overcook quickly.
Pro Tips for Steam Chicken Without A Steamer
- Mastering this technique comes down to a few simple but important details that make all the difference in texture and…
- Seasoning Strategy: Don’t underestimate the importance of that 10-minute rest after seasoning in Step 1. This brief w…
- Steam Circulation: When arranging your chicken in Step 2, leave at least 1 inch of space between pieces. I learned th…
Frequently Asked Questions
Can I use a microwave to steam chicken without a steamer?
Yes! Place chicken in a microwave-safe dish with ¼ cup water or broth, cover with a damp paper towel or microwave-safe lid, and cook on high for 5-7 minutes per pound. Flip halfway for even cooking. Check internal temp reaches 165°F (74°C)—microwaves can cook unevenly!
How long does it take to steam chicken without a steamer?
Timing depends on the method:
- Colander + pot: 15–20 mins (boneless), 25–30 mins (bone-in)
- Oven (bain-marie): 25–35 mins at 350°F (175°C)
- Microwave: 5–12 mins (varies by wattage)
What can I use instead of a steamer basket?
Get creative with kitchen staples:
- A heatproof colander or sieve over a pot
- A rack (like a cooling rack) inside a deep pan
- Aluminum foil balls to elevate a plate in a pot
- A bamboo basket (if you have one!) lined with parchment
Why is my steamed chicken rubbery or dry?
Overcooking or insufficient liquid are common culprits. Fix it by:
- Using broth or marinade instead of plain water
- Checking temp early—remove at 160°F (71°C) (it rises while resting)
- Covering tightly to trap steam (no peeking!)
Is steamed chicken safe if it’s pink inside?
Not always! While steamed chicken can stay slightly pink near bones, always verify the internal temp hits 165°F (74°C) with a thermometer. If unsure, return it to the steam for 2–3 more minutes. Safety first!
Steaming chicken without a steamer is easier than you think! With just a pot, rack, and foil (or a colander!), you can lock in moisture and flavor for tender, juicy results every time. 🍗 Whether you’re using a DIY setup or a multi-cooker, the key is gentle heat and patience—no fancy equipment required.
Now that you’ve mastered the basics, why not experiment? Try adding herbs, citrus, or spices to your steaming liquid for extra flavor, or test the method with other proteins like fish or tofu. Happy steaming—and enjoy your perfectly cooked meal! 😊

Trained in classic French technique but raised on slow-cooked ribs and spicy rubs, she blends culinary skill with smoke and soul.
- Recipe for Boneless Pork Chops in Cast Iron Skillet: Sear and Baste to Juicy Perfection - October 3, 2026
- Recipe for Boneless Cross Rib Roast: Slow-Roasted Beef with Herb Crust - October 3, 2026
- Hamburgers in Sauce Recipe Crock Pot: Slow-Cooked Savory Delight - October 3, 2026