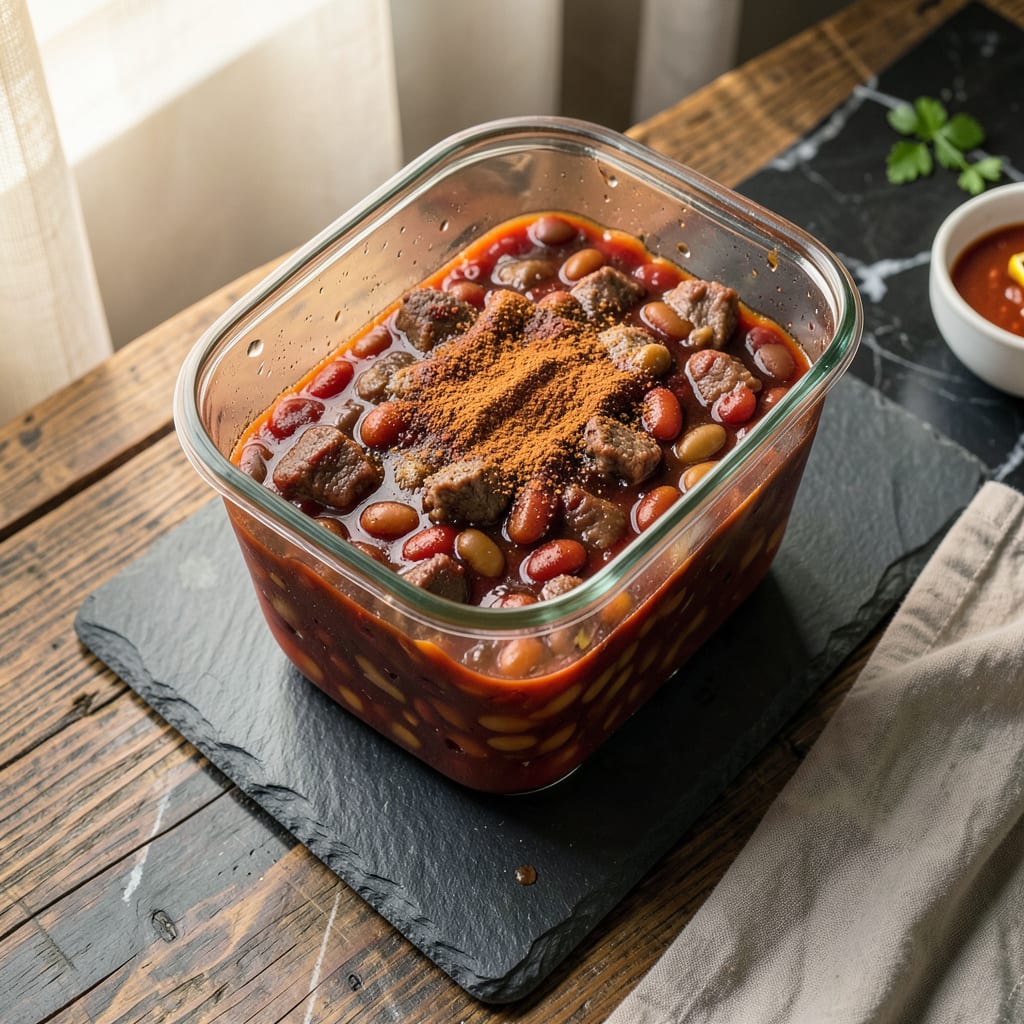
Nothing beats coming home to a pot of chili—except when that pot is frozen solid. I’ve been there, staring at a brick of icy chili, wondering how to bring it back to life without turning it into a mushy mess. The good news? With the right method, you can thaw frozen chili safely while keeping all that rich, smoky flavor intact.
Here’s the thing—thawing isn’t just about speed, it’s about safety. I never thaw chili at room temperature (that’s asking for bacterial trouble). Instead, I use three foolproof methods: fridge thawing for hands-off perfection, cold water for when I’m in a hurry, and microwave for last-minute meals. Each has its place, and I’ll tell you exactly how to nail them.
What you’ll end up with is chili that tastes just as good as the day you made it—maybe even better, since flavors deepen over time. The key is controlling the temperature so the texture stays spot-on. No one wants watery beans or separated broth, and with these methods, you won’t get them.
Fair warning: how you froze it matters too. I always portion chili in airtight containers, leaving an inch of space for expansion. That little step prevents freezer burn and makes thawing way easier. Now, let’s get that chili ready to eat!
📚 In This Guide
- What You’ll Need
- Instructions
- Tips and Common Mistakes
What Youll Need
- ● Frozen chili – 1 container (pre-portioned or in a freezer-safe bag). Check for ice crystals or freezer burn before thawing! ❄️
- ● Microwave-safe dish (for microwave thawing) – 1 medium to large bowl or plate, preferably with a lid or microwave-safe cover.
- ● Air-tight container or bowl (for fridge thawing) – 1 container large enough to hold your chili without spilling.
- ● Cold water – Enough to submerge the chili container (for cold-water thawing). Change water every 30 minutes for safety.
- ○ Sealable plastic bag (optional, for cold-water method) – 1 leak-proof bag to prevent water from seeping in.
- ● Spoon or spatula – 1, for stirring or breaking up chili if needed.
- ○ Thermometer (optional, for food safety) – 1 instant-read thermometer to check internal temp (should reach at least 165°F if reheating).
- ● Paper towels or clean cloth – A few sheets to pat dry the container if condensation forms.
- ○ Timer (optional) – 1, to track thawing time and avoid over-thawing.
- ● Stovetop or microwave – For reheating post-thaw (if serving immediately).
Instructions for Thawing Frozen Chili
Here’s how to safely thaw your chili while keeping all that rich, hearty flavor intact.
Plan Ahead for Refrigerator Thawing
For the best texture and safety, transfer your frozen chili from the freezer to the refrigerator. Place it in a bowl or on a plate to catch any condensation that might form as it thaws. This method takes the longest but preserves the chili’s quality perfectly.
Allow about 24 hours for every 2 pounds of chili. A standard 4-serving portion typically thaws completely in 12-18 hours. I always check it periodically—when you can easily break it apart with a spoon and there are no icy chunks remaining, it’s ready to reheat.
Use the Cold Water Method for Faster Thawing
When you’re short on time, place your frozen chili in a leak-proof plastic bag and submerge it in cold water. Make sure the bag is sealed tightly to prevent water from getting in. I like to use a large bowl or clean sink for this.
Change the water every 30 minutes to maintain a cold temperature. This method typically thaws 1 pound of chili in about 1 hour. Your chili is ready when it’s completely pliable and there are no frozen spots in the center. Never use warm or hot water, as this can promote bacterial growth.
Microwave Thawing for Immediate Use
If you need to thaw your chili right away, use your microwave’s defrost setting. Transfer the chili to a microwave-safe container and remove any metal lids or foil. I recommend using 30-second intervals at 50% power, stirring between each interval.
This method usually takes 5-8 minutes for a 4-serving portion, depending on your microwave’s wattage. The chili is ready when it’s uniformly soft with no icy areas. Be careful not to overdo it—you want to thaw, not cook. Once thawed, transfer to a saucepan for proper reheating.
Reheat Properly After Thawing
No matter which thawing method you used, always reheat your chili thoroughly before serving. Transfer it to a saucepan and warm over medium-low heat, stirring occasionally. I find this gentle heat prevents the chili from sticking to the bottom of the pan.
Heat until it reaches an internal temperature of 165°F—you’ll see small bubbles forming at the edges and steam rising from the surface. If the chili seems too thick after thawing, stir in a splash of water or broth to restore your desired consistency. Taste and adjust seasoning if needed, as freezing can sometimes mute flavors slightly.
Tips and Common Mistakes
Thawing chili properly makes all the difference between a flavorful meal and a disappointing one. Here’s what I’ve learned from years of freezing and reheating.
Refrigerator Method Insight: The 24-hour rule for every 2 pounds mentioned in Step 1 isn’t just about safety—it’s about texture. When you give chili this full time to thaw gradually, the beans and meat retain their perfect consistency. I always place mine on the bottom shelf where it’s coldest to prevent any uneven thawing. Trust me, rushing this step can make your chili watery or separate.
Cold Water Technique: When using the cold water method from Step 2, here’s what nobody tells you—use the heaviest plate you have to weigh down the bag. This keeps it fully submerged so every part thaws evenly. And don’t skip changing that water every 30 minutes; I set a timer because this small step prevents the outer layer from getting too warm while the center stays frozen.
Microwave Caution: For the microwave method in Step 3, I can’t stress enough how important those 30-second intervals at 50% power really are. After burning the edges of my chili twice, I learned that microwaves create hot spots. Stirring between intervals distributes the heat evenly. Your 4-serving portion should be completely thawed in that 5-8 minute window if you follow this exactly.
Reheating Wisdom: That 165°F target in Step 4 isn’t arbitrary—it’s the perfect temperature where flavors wake up without overcooking. I always use a thermometer to check multiple spots, especially the center. And here’s my secret: add that splash of broth when you first start reheating, not after. It gives the liquid time to incorporate fully as the chili warms.
Pro Tips for Thaw Frozen Chili
- Thawing chili properly makes all the difference between a flavorful meal and a disappointing one. Here’s what I’ve le…
- Refrigerator Method Insight: The 24-hour rule for every 2 pounds mentioned in Step 1 isn’t just about safety—it’s abo…
- Cold Water Technique: When using the cold water method from Step 2, here’s what nobody tells you—use the heaviest pla…
Frequently Asked Questions
Got questions about thawing your frozen chili? You’re not alone! Here are the most common concerns—and quick answers—to help you serve up that cozy bowl without a hitch.
Can I thaw chili directly in the microwave?
Yes, but use the defrost setting and stir every 30 seconds to avoid hot spots. Transfer to a stovetop pot afterward to heat evenly. Never microwave in a sealed container—vent the lid to prevent pressure buildup!
How long does it take to thaw chili in the fridge?
Plan for 12–24 hours per quart-sized batch. Larger portions (like gallon bags) may need up to 36 hours. Pro tip: Place it on a plate to catch condensation and avoid fridge messes!
What if I forgot to thaw chili overnight? Any fast alternatives?
No stress! Try the cold-water bath method: Seal the chili in a leak-proof bag and submerge in cold water (change water every 30 mins). Thaws in 1–3 hours. Avoid hot water—it risks uneven thawing and bacteria growth.
Can I cook chili from frozen?
Yes, but it’ll take 50–75% longer to simmer. Use a pot with a tight lid, stir frequently, and add a splash of water/broth to prevent sticking. Never slow-cook frozen chili—it lingers in the “danger zone” (40–140°F) too long.
Why does my thawed chili look watery or separated?
Freezing can break down emulsions (like fats/oils). Fix it by simmering uncovered for 10–15 mins to reduce liquid, or stir in a cornstarch slurry (1 tbsp cornstarch + 2 tbsp water). Stirring gently helps recombine ingredients!
Thawing frozen chili safely is all about patience and the right method—whether you choose the fridge, cold water, or microwave. By following these steps, you’ll keep your meal delicious, nutritious, and free from foodborne risks! 🍲✨
Now that your chili is ready, why not reheat it to perfection? Check out our guide on the best ways to warm up chili without losing flavor or texture. Happy cooking!

Trained in classic French technique but raised on slow-cooked ribs and spicy rubs, she blends culinary skill with smoke and soul.
- Recipe for Boneless Pork Chops in Cast Iron Skillet: Sear and Baste to Juicy Perfection - October 3, 2026
- Recipe for Boneless Cross Rib Roast: Slow-Roasted Beef with Herb Crust - October 3, 2026
- Hamburgers in Sauce Recipe Crock Pot: Slow-Cooked Savory Delight - October 3, 2026