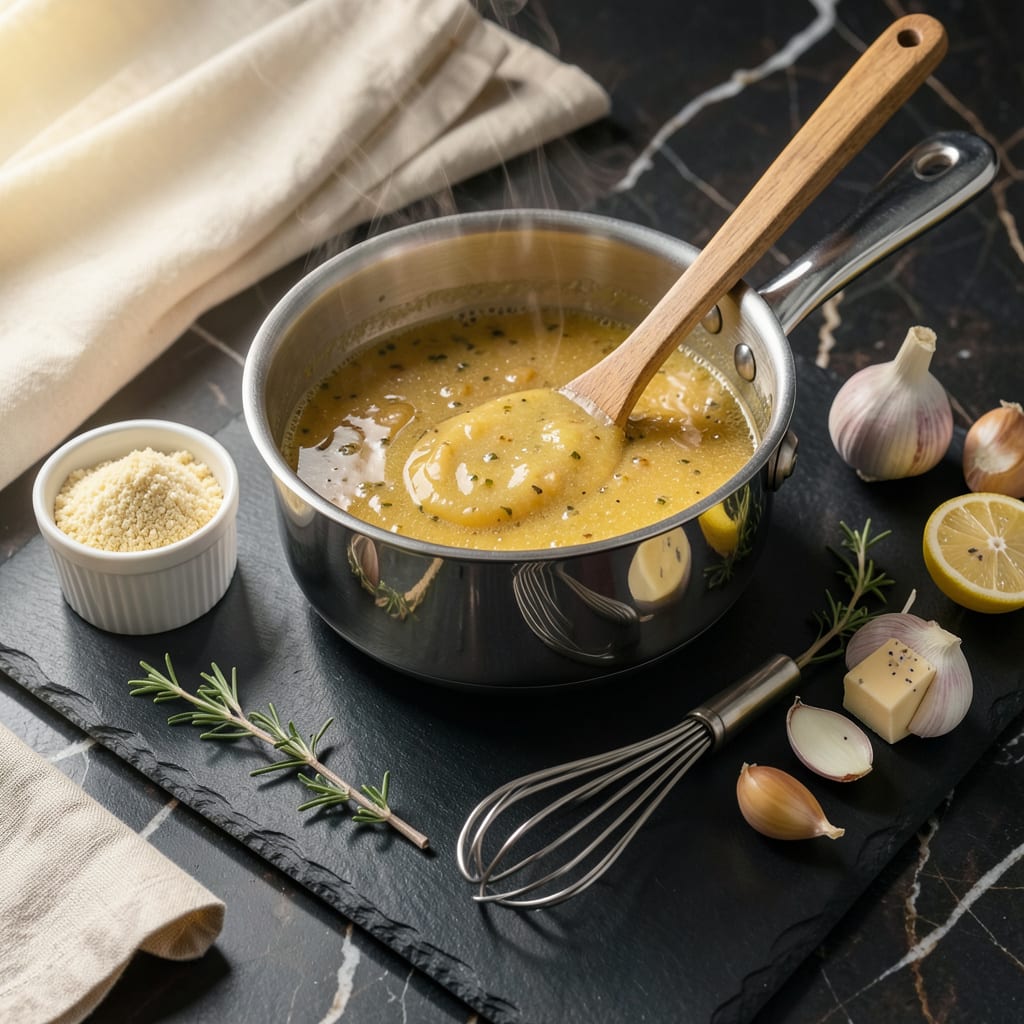
There’s nothing worse than a runny garlic butter sauce that slides right off your pasta or seafood. I’ve been there—stirring frantically, watching my beautiful sauce refuse to cling to anything. After years of trial and error (and more than a few buttery disasters), I finally cracked the code for achieving that perfect, velvety consistency every time.
This isn’t about masking flavors with thickeners—it’s about understanding how butter and garlic work together. The right technique transforms a thin, greasy liquid into a silky sauce that coats the back of a spoon and clings to every bite. Whether you’re drizzling it over grilled shrimp or tossing it with fresh pasta, that perfect texture makes all the difference.
I’ll walk you through the simplest methods that actually work, from quick reductions to foolproof emulsification tricks. No fancy equipment needed—just a few pantry staples and about 5 minutes. The best part? These techniques work for any butter-based sauce, so you’ll be fixing runny sauces like a pro from now on.
Fair warning: once you master this, you’ll never tolerate watery garlic butter again. Every dish deserves that restaurant-quality finish, and I’m about to show you exactly how to get it. Let’s fix that sauce!
📚 In This Guide
- What You’ll Need
- Instructions
- Tips and Common Mistakes
What Youll Need
- ● Garlic butter sauce (pre-made): 1 cup (adjust quantity based on your needs). Homemade or store-bought works—just ensure it’s warm! 🧄✨
- ● Thickening agents (pick 1-2): All-purpose flour: 1–2 tbsp (for a roux)
- ● Cornstarch: 1–2 tsp (mixed with 1 tbsp cold water for a slurry)
- ● Heavy cream: ¼ cup (for a rich, creamy texture)
- ● Grated Parmesan cheese: 2–3 tbsp (adds flavor + thickness)
- ● Arrowroot powder: 1 tsp (great for gluten-free options)
- ● Tools: Small saucepan (non-stick recommended)
- ● Whisk or wooden spoon (for smooth mixing)
- ● Measuring spoons/cups (precision matters!)
- ○ Optional: Fine-mesh strainer (if you prefer ultra-smooth sauce)
- ● Prerequisites: Sauce should be warm (not boiling) before thickening.
- ● Have your thickening agent pre-measured and ready—things move fast!
Instructions
Here’s the foolproof method to transform your runny sauce into velvety perfection in minutes.
Identify the Current Consistency
Before you do anything, assess your sauce’s current state. Is it completely liquid with no body at all? Or does it have some thickness but still coats the spoon too thinly? This quick check determines which thickening method will work best for your specific situation.
I always do the “spoon test” – dip a clean spoon into the sauce and lift it. If the sauce runs off immediately like water, you’ll need a more aggressive thickening approach. If it coats the spoon but feels too light, a gentle reduction or small amount of thickener will suffice.
Reduce the Sauce for Maximum Flavor
The simplest and most flavorful method is to let your sauce reduce naturally. Transfer it to a wide, shallow pan (this increases surface area) and simmer over medium-low heat. The wider the pan, the faster the reduction happens because more liquid can evaporate at once.
Stir frequently with a wooden spoon, scraping the bottom to prevent any garlic bits from burning. You’ll notice the sauce gradually darkening and the bubbles becoming thicker and slower. This process typically takes 5-10 minutes depending on your starting volume. The sauce is ready when it nappe consistency – it should coat the back of your spoon and leave a clean path when you run your finger through it.
Real talk: This method intensifies all the flavors as the liquid concentrates. That rich garlic butter taste becomes even more pronounced and luxurious. Just keep your heat low and steady to avoid separating the butter.
Create a Simple Slurry for Instant Results
When you need to thicken quickly without reducing, a cornstarch slurry is your best friend. Mix 1 tablespoon cornstarch with 2 tablespoons cold water in a small bowl until completely smooth with no lumps. The cold water prevents the cornstarch from clumping when it hits the hot sauce.
With your sauce at a gentle simmer, slowly drizzle in the slurry while whisking constantly. You’ll see the sauce transform almost immediately – it goes from liquid to velvety right before your eyes. Let it simmer for 1-2 minutes to cook out any raw starch flavor.
Here’s the thing – cornstarch gives that beautiful glossy sheen to sauces. But be careful not to overdo it. Start with this small amount, then add more slurry if needed. You can always add more, but you can’t take it out once it’s in there!
Emulsify with Cold Butter for Silkiness
For the most luxurious, restaurant-quality finish, nothing beats the cold butter technique. Cut 2-3 tablespoons unsalted butter into small cubes and keep it very cold. With your sauce at a low simmer, whisk in the cold butter one piece at a time, waiting until each piece fully melts before adding the next.
You’ll feel the sauce become thicker and silkier with each addition. The cold butter creates an emulsion that binds the sauce together beautifully. This method not only thickens but also adds incredible richness and shine to your garlic butter sauce.
Don’t rush this step – patience pays off. The sauce should look glossy and coat your whisk thickly. If it ever looks greasy or breaks, remove it from heat immediately and whisk vigorously to bring it back together.
Final Adjustments and Serving
Once you’ve achieved your desired consistency, taste and adjust the seasoning. The thickening process can sometimes mute flavors, so you might need a pinch more salt or a squeeze of lemon to brighten it up. Remember that flavors concentrate as the sauce reduces, so go easy on additional seasonings.
For the perfect finish, I like to swirl in 1 tablespoon fresh parsley right at the end. The bright green flecks make the sauce look stunning, and the fresh herb flavor cuts through the richness beautifully. Serve your velvety garlic butter sauce immediately while it’s at its peak consistency and flavor.
If you need to hold the sauce, keep it warm over very low heat or in a thermos. Garlic butter sauce is best served fresh, but you can reheat it gently with a splash of water if needed, whisking constantly to maintain that silky texture.
Tips and Common Mistakes
These game-changing insights will help you achieve that perfect silky texture every single time.
Heat Control is Everything: When reducing your sauce in Step 2, that medium-low heat setting is absolutely crucial. Too high and you’ll burn the garlic before the sauce thickens; too low and you’ll wait forever. I’ve found that stirring frequently with a wooden spoon prevents hot spots from forming. Watch for the bubbles to change from rapid and watery to slower and thicker—that’s your visual cue the sauce is reducing properly.
Slurry Success Secret: In Step 3, the key to a perfect cornstarch slurry is using cold water—not room temperature, not warm. I learned this the hard way after dealing with lumpy sauces. The cold water creates a protective barrier around each cornstarch particle, preventing clumps when it hits the hot sauce. And remember, those 1-2 minutes of simmering after adding the slurry are non-negotiable—they cook out that raw starch taste.
Butter Emulsion Breakthrough: For Step 4’s cold butter technique, here’s what nobody tells you—your butter needs to be ice cold, straight from the fridge. I cut mine into tiny cubes (about 1/4-inch) for faster, more controlled melting. Add them one at a time, waiting until each piece is fully incorporated before adding the next. This creates that magical emulsion that makes restaurant sauces so velvety. If your sauce ever looks greasy, it means you added butter too quickly or the sauce was too hot—just remove from heat and whisk vigorously to bring it back together.
Final Texture Check: Before serving, do this professional test: dip a spoon in the sauce and run your finger through it on the back of the spoon. If the path stays clean and the sauce doesn’t run back together immediately, you’ve nailed the perfect nappe consistency. This is especially important after Step 5 when you’ve added the parsley—those bright green flecks should stay suspended in the thickened sauce, not sink to the bottom.
Pro Tips for Thicken Garlic Butter Sauce
- These game-changing insights will help you achieve that perfect silky texture every single time.
- Heat Control is Everything: When reducing your sauce in Step 2, that medium-low heat setting is absolutely crucial. T…
- Slurry Success Secret: In Step 3, the key to a perfect cornstarch slurry is using cold water—not room temperature, no…
Frequently Asked Questions
Can I thicken garlic butter sauce without flour or cornstarch?
Try reducing the sauce over low heat (5–10 mins) to evaporate excess liquid, or whisk in 1–2 tbsp of grated Parmesan or cream cheese for richness. A splash of heavy cream also works—simmer until desired thickness.
How long does it take to thicken garlic butter sauce with a roux?
A classic roux (equal parts butter + flour) thickens sauce in 2–3 minutes on medium heat. Cook the roux 1–2 mins first to remove the raw flour taste, then whisk in your sauce. Keep stirring to avoid lumps!
Why is my garlic butter sauce separating or grainy?
Separation happens if the sauce overheats or butter breaks. Fix it by whisking in 1 tsp cold water or lemon juice to emulsify. For graininess (from flour), strain the sauce or blend briefly with an immersion blender. Smooth sailing ahead!
What’s the best thickener for a dairy-free garlic butter sauce?
Swap dairy for arrowroot powder (1 tsp mixed with cold water) or mashed white beans (2 tbsp) for creaminess. Nutritional yeast adds cheesy flavor without dairy. Stir well and simmer gently!
Can I thicken garlic butter sauce ahead of time?
Yes! Thicken the sauce slightly less than desired, cool, and refrigerate (up to 3 days). Reheat on low, whisking in a splash of water or broth to adjust consistency. Avoid boiling—it can cause splitting.
Thickening garlic butter sauce doesn’t have to be tricky—with the right technique, you can achieve a rich, velvety consistency every time! Whether you use a roux, reduction, or cornstarch slurry, the key is patience and a watchful eye. Now that you’ve mastered the basics, why not put your skills to the test? Try drizzling your perfected sauce over steak, pasta, or roasted veggies for a restaurant-worthy dish. Happy cooking! 🍽️✨

Trained in classic French technique but raised on slow-cooked ribs and spicy rubs, she blends culinary skill with smoke and soul.
- Recipe for Boneless Pork Chops in Cast Iron Skillet: Sear and Baste to Juicy Perfection - October 3, 2026
- Recipe for Boneless Cross Rib Roast: Slow-Roasted Beef with Herb Crust - October 3, 2026
- Hamburgers in Sauce Recipe Crock Pot: Slow-Cooked Savory Delight - October 3, 2026