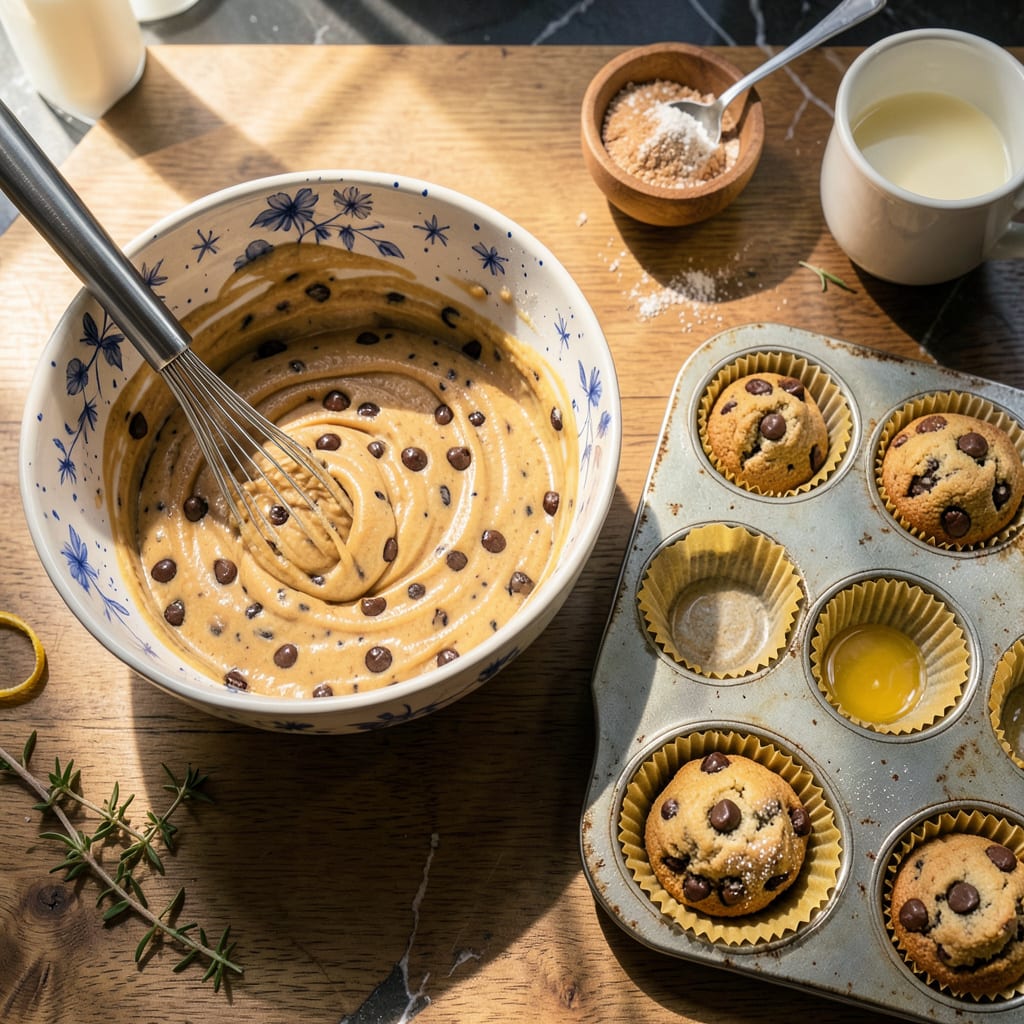
I’ll be real with you—this might be the easiest baking hack I’ve ever discovered. One box of cookie mix, a few simple tweaks, and suddenly you’ve got bakery-style muffins that taste like they took hours. No fancy ingredients, no complicated steps, just 30 minutes from mix to breakfast treat.
Here’s the thing—cookie mix already has the perfect sweet base, but muffins need a little extra structure. We’ll add some liquid to hydrate the mix properly and a touch of leavening to give them that classic muffin rise. The result? Tender, moist muffins with all the flavor of your favorite cookies, but in breakfast-friendly form.
The best part is how versatile this method is. Want blueberry muffins? Toss in fresh berries. Craving something nutty? Add chopped walnuts. The cookie mix does most of the work, while you get to play with textures and flavors. I’ve made these with everything from chocolate chip to oatmeal raisin mixes—every version turns out foolproof.
Perfect for busy mornings, after-school snacks, or when you need a quick treat without the cookie spread. Let’s get that oven preheating—you’re about to transform breakfast forever.
📚 In This Guide
- What You’ll Need
- Instructions
- Tips and Common Mistakes
What Youll Need
- ● 1 box (17.5 oz) cookie mix – Any flavor works (chocolate chip, sugar, or oatmeal raisin are crowd-pleasers!)
- ● 1 cup (8 oz) sour cream or Greek yogurt – For moisture and richness (full-fat works best)
- ● 2 large eggs – Room temperature for even mixing
- ● ¼ cup (½ stick) unsalted butter – Melted and slightly cooled
- ○ 1 tsp vanilla extract – Optional but highly recommended for extra flavor
- ● ½ tsp baking powder – Helps muffins rise (skip if your cookie mix already contains it)
- ● Muffin tin – Standard 12-cup size (greased or lined with paper liners)
- ● Mixing bowl + whisk or spatula – No mixer needed!
- ● Ice cream scoop or ¼-cup measure – For even batter distribution
- ○ Optional add-ins: Chopped nuts, dried fruit, or white chocolate chips (up to ½ cup)
- ○ Coarse sugar or cinnamon-sugar – For a sparkly, crunchy topping (optional)
Instructions
Transforming cookie mix into muffins is faster than you think—let’s make bakery-worthy breakfast treats in minutes!
Adjust the Cookie Mix Base
Start by transferring your cookie mix to a large mixing bowl. The key difference between cookies and muffins lies in the texture—we need to reduce the sweetness slightly and adjust the moisture content. Add ½ cup all-purpose flour to the mix and whisk thoroughly to incorporate. This extra flour will absorb more liquid, creating a muffin-like crumb instead of a chewy cookie texture.
Next, reduce the sugar impact by adding ½ teaspoon salt—this balances the sweetness and enhances the buttery, vanilla notes in the mix. Don’t skip this step; it’s what makes these muffins taste intentionally baked rather than like repurposed cookies. The mixture should look slightly paler and feel lighter when rubbed between your fingers.
Create the Muffin Batter
In a separate bowl, whisk together ½ cup milk, ¼ cup vegetable oil, and 1 large egg until fully emulsified. The oil ensures moisture retention during baking, while the egg provides structure. Pour this wet mixture into your adjusted cookie mix and fold gently with a silicone spatula—just until the dry ingredients are mostly incorporated. A few flour streaks are fine; overmixing would develop gluten and make your muffins tough.
Here’s where it gets exciting: fold in ½ cup rolled oats for texture and ½ teaspoon baking powder for lift. The oats add a hearty, bakery-style chew, while the baking powder ensures your muffins rise with those beautiful domed tops. The batter should be thick but scoopable—like cookie dough that’s been slightly loosened. If it feels too stiff, add 1-2 tablespoons milk to achieve the right consistency.
Prepare and Fill the Muffin Tin
Preheat your oven to 375°F and line a muffin tin with paper liners or lightly grease the cups. For bakery-style results, I recommend using an ice cream scoop to portion the batter—this ensures even sizing and that perfect domed shape. Fill each cup ¾ full; the muffins will rise significantly but shouldn’t overflow if measured correctly.
For an extra touch, sprinkle the tops with coarse sugar or a pinch of cinnamon before baking. This creates a delightful crunch and visual appeal. If you’re adding mix-ins like chocolate chips or nuts (and why wouldn’t you?), press a few extra pieces onto the tops of the muffins—they’ll look stunning and give that first bite an extra burst of flavor.
Bake to Golden Perfection
Bake for 18-22 minutes, rotating the pan halfway through for even browning. You’ll know they’re done when the tops are golden brown and a toothpick inserted in the center comes out with just a few moist crumbs—no wet batter. The edges should pull slightly away from the pan, and the muffins will spring back when gently pressed.
Real talk: oven temperatures vary, so start checking at the 15-minute mark. If the tops are browning too quickly, tent the pan with foil for the remaining time. Once baked, let the muffins cool in the pan for 5 minutes before transferring to a wire rack. This brief rest prevents them from crumbling while still warm. Serve slightly warm for that melt-in-your-mouth experience, or store in an airtight container for up to 3 days—though they’ll disappear much faster than that!
Tips and Common Mistakes for Perfect Cookie Mix Muffins
These clever tricks will transform your cookie mix into bakery-worthy muffins with minimal effort and maximum flavor.
The Technique That Changed Everything: When adding the ½ cup all-purpose flour in Step 1, sift it directly into the cookie mix rather than dumping. This prevents clumps and ensures even distribution, creating that perfect muffin crumb we’re after. The difference is astonishing—no dry pockets, just uniform texture throughout every bite.
Batter Consistency Secret: In Step 2, when combining wet and dry ingredients, remember that “mostly incorporated” means stopping when you still see a few flour streaks. I learned this the hard way after overmixing three batches—the gluten develops quickly, turning tender muffins into hockey pucks. The 1-2 tablespoons milk adjustment is your insurance policy against overly thick batter.
Baking Time Precision: That 18-22 minute bake window at 375°F is crucial, but here’s what nobody tells you—start checking at 15 minutes and rotate the pan immediately if one side browns faster. I’ve found that most home ovens have hot spots, and this simple rotation prevents lopsided muffins. The toothpick test should reveal moist crumbs, not wet batter or completely clean results.
Cooling Strategy: Those 5 minutes of in-pan cooling might seem insignificant, but they’re everything. Transferring muffins too soon causes them to collapse, while leaving them too long makes them soggy. Set a timer—this brief rest allows the structure to set while maintaining that tender crumb we worked so hard to create.
Pro Tips for Turn Cookie Mix Into Muffins
- These clever tricks will transform your cookie mix into bakery-worthy muffins with minimal effort and maximum flavor.
- The Technique That Changed Everything: When adding the ½ cup all-purpose flour in Step 1, sift it directly into the c…
- Batter Consistency Secret: In Step 2, when combining wet and dry ingredients, remember that “mostly incorporated” mea…
Frequently Asked Questions
Can I use any cookie mix to make muffins, or are some better than others?
Most cookie mixes work, but chocolate chip, oatmeal, or sugar cookie mixes yield the best results! Avoid mixes with large chunks (like candy pieces) unless you chop them smaller. For extra moisture, pick mixes with added fats (like butter or oil in the ingredients).
How long do cookie mix muffins stay fresh, and how should I store them?
Store muffins in an airtight container at room temp for 2–3 days or refrigerate for up to 5 days. For longer storage, freeze for up to 3 months—just thaw overnight in the fridge or microwave for 20 seconds!
Why did my muffins turn out dense or flat? What went wrong?
Overmixing the batter or using expired leavening agents (like baking powder) are common culprits. Ensure your mix is fresh, and fold in wet ingredients just until combined. Also, don’t overfill muffin cups—stick to ⅔ full for perfect rise!
Can I make these muffins gluten-free or vegan?
Yes! Swap regular cookie mix for a gluten-free version (like Betty Crocker GF) and use almond milk + flax eggs for vegan muffins. Check that add-ins (like chocolate chips) are also GF/vegan. Results may be slightly denser but still delicious!
Do I need to adjust baking time if I add extra mix-ins like nuts or fruit?
Stick to the original bake time (18–22 minutes at 375°F), but check for doneness with a toothpick. Extra mix-ins (like blueberries or walnuts) may add moisture—if the tops brown too fast, tent with foil for the last 5 minutes.
Transforming cookie mix into fluffy, bakery-style muffins is easier than you think! 🧁 With just a few simple tweaks—like adding eggs, oil, and a splash of milk—you can turn a pantry staple into a delicious breakfast or snack in under 30 minutes. Whether you prefer classic chocolate chip or fun mix-ins like nuts or berries, the possibilities are endless.
Ready to get baking? Grab your favorite cookie mix and try this hack today—your taste buds (and busy mornings) will thank you! For extra inspiration, experiment with flavor variations or share your creations with #CookieMixMuffins. Happy baking! 😊

Trained in classic French technique but raised on slow-cooked ribs and spicy rubs, she blends culinary skill with smoke and soul.
- Recipe for Boneless Pork Chops in Cast Iron Skillet: Sear and Baste to Juicy Perfection - October 3, 2026
- Recipe for Boneless Cross Rib Roast: Slow-Roasted Beef with Herb Crust - October 3, 2026
- Hamburgers in Sauce Recipe Crock Pot: Slow-Cooked Savory Delight - October 3, 2026