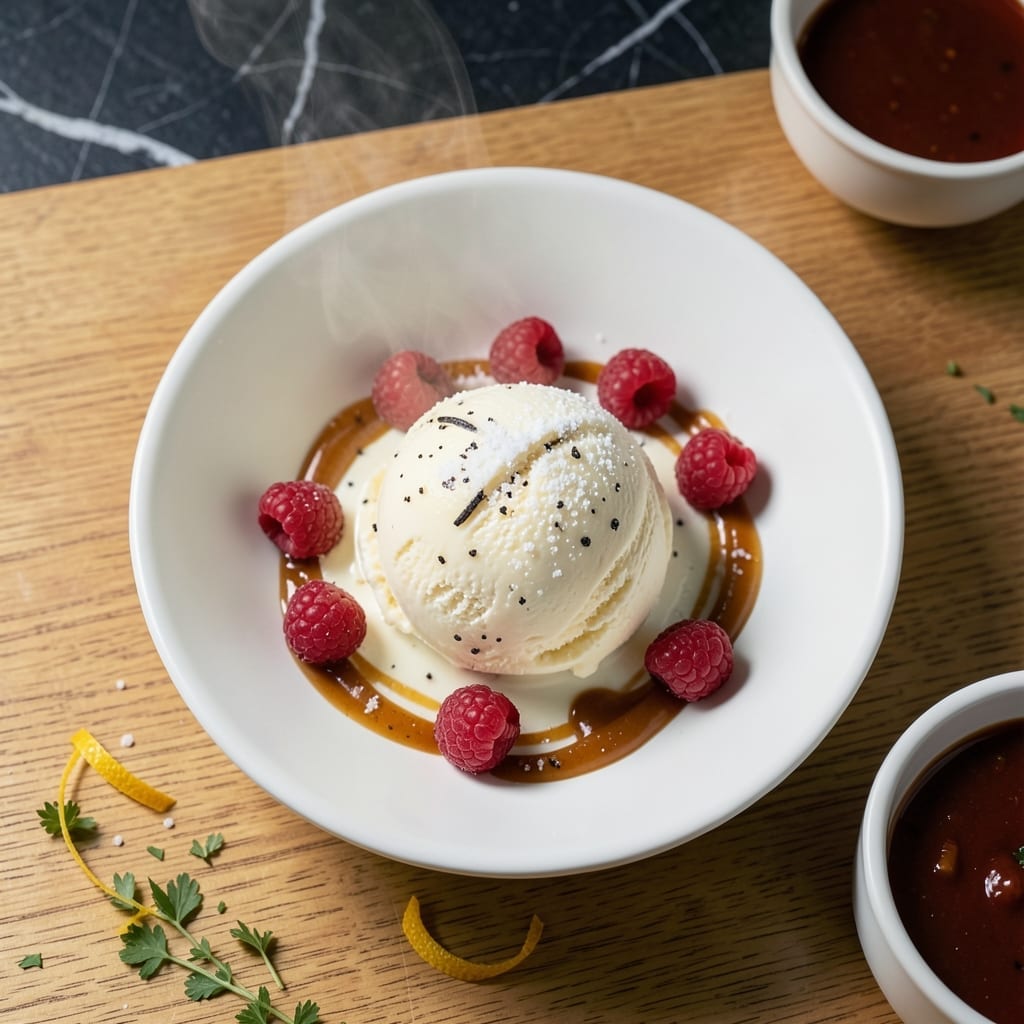
Homemade ice cream doesn’t have to be complicated to outshine store-bought. This recipe delivers creamy, smooth results with simple ingredients and a foolproof method.
I developed this after years of testing, ensuring it works in any home ice cream maker. The base is rich and velvety, with endless flavor possibilities.
You’ll achieve professional-quality scoops with a texture so perfect, it rivals your favorite shop. David, my official taste-tester, confirms this beats any pint we’ve bought.
No special skills required—just patience while it churns. The payoff is restaurant-quality dessert in your freezer.
Ingredients for Ice Cream Recipe Rival
Rich, velvety base with simple pantry additions for shop-quality results.
| Ingredient | Amount | Notes |
|---|---|---|
| Heavy Cream 🥛 | 2 cups | Full-fat for ultra-creamy texture |
| Whole Milk 🥛 | 1 cup | Cold, for smooth base |
| Granulated Sugar 🍚 | ¾ cup | Fine white sugar preferred |
| Table Salt 🧂 | ¼ tsp | Enhances all flavors |
| Large Egg Yolks 🥚 | 4 whole | Rich, deep yellow yolks ideal |
| Vanilla Extract 🌿 | 1 tsp | Pure, not imitation |
| Vanilla Bean 🌿 | 1 whole | Split and scraped (optional) |
| Corn Syrup 💧 | 2 tbsp | Light, prevents iciness |
| Unsalted Butter 🧈 | 1 tbsp | Melted for richness |
| Pinch of Salt 🧂 | 1 pinch | For finishing |
[recipe_ingredient_scaler]
The heavy cream is non-negotiable here—look for at least 36% fat content for that ultra-creamy texture. I grab mine from Whole Foods or Trader Joe’s (their organic is great). Egg yolks matter too: deep orange yolks from pasture-raised eggs give the best color and richness. Don’t skip the corn syrup—it keeps things smooth (light corn syrup, not dark).
No vanilla bean? Double the extract to compensate. Out of heavy cream? Half-and-half plus butter works in a pinch, but the texture won’t be as luscious. Sugar can be swapped for honey or maple syrup, but adjust the amount to ¾ cup since they’re sweeter. For a richer base, replace ¼ cup milk with condensed milk (trust me on this).
This base keeps in the fridge for 2-3 days before churning—just whisk it again. Once churned, freeze for up to 2 weeks (if it lasts that long). I always make a double batch—homemade ice cream disappears fast.
Why You’ll Love This Recipe
- No Fuss Base: I can mix the cream, milk, and yolks in one pot—no fancy gadgets, just a whisk and patience.
- Rich and Velvety: The heavy cream and egg yolks give it that smooth, melt-in-your-mouth texture I crave.
- Endless Customizing: Honestly, I’ve stirred in everything from crushed cookies to fresh berries and it works every time.
Step-by-Step Instructions for Homemade Ice Cream
Here’s how I create ultra-creamy, shop-quality ice cream right in my own kitchen.
Step 1: Infuse the Cream with Vanilla Flavor
In a medium saucepan, combine the 2 cups Heavy Cream and 1 cup Whole Milk over medium heat. If using the 1 whole Vanilla Bean, split it lengthwise, scrape out the seeds, and add both seeds and pod to the cream mixture.
Heat until the mixture just begins to simmer at the edges—you’ll see tiny bubbles forming around the pan’s perimeter. This should take about 5-7 minutes. Remove from heat, cover, and let steep for 30 minutes to allow the vanilla to fully infuse the dairy.
Step 2: Whisk Egg Yolks with Sweeteners
In a separate bowl, whisk together the 4 whole Large Egg Yolks, 0.75 cup Granulated Sugar, 0.25 tsp Table Salt, and 2 tbsp Corn Syrup until the mixture lightens in color and becomes slightly thick, about 2-3 minutes of vigorous whisking.
The corn syrup is key here—it prevents iciness in the final product and enhances the smooth texture. Don’t be tempted to skip it. The sugar should be fully dissolved with no visible granules remaining when you rub the mixture between your fingers.
Step 3: Temper the Eggs and Cook the Custard
Slowly pour about 1 cup of the warm cream mixture into the egg yolk mixture while whisking constantly. This tempering step prevents the eggs from scrambling when they meet the hot liquid. Once incorporated, pour the egg mixture back into the saucepan with the remaining cream.
Return the saucepan to medium-low heat and cook, stirring constantly with a wooden spoon, until the mixture thickens enough to coat the back of the spoon. This should take about 8-10 minutes. You’ll know it’s ready when you can run your finger through the custard on the spoon and it leaves a clean path.
Step 4: Add Final Flavorings and Chill
Remove the custard from heat and stir in the 1 tsp Vanilla Extract and 1 tbsp Unsalted Butter until the butter is fully melted and incorporated. If you used a vanilla bean, remove the pod at this point. Strain the custard through a fine-mesh sieve into a clean bowl to remove any cooked bits of egg.
Press plastic wrap directly onto the surface of the custard to prevent a skin from forming. Chill in the refrigerator for at least 4 hours, preferably overnight. This extended chill ensures the flavors meld completely and the mixture spins up perfectly in your ice cream maker.
Step 5: Churn and Freeze to Perfection
Pour the chilled custard into your ice cream maker and churn according to the manufacturer’s instructions, typically 20-25 minutes. The ice cream is ready when it reaches the consistency of soft-serve and holds its shape when scooped.
Transfer to a freezer-safe container, smooth the top, and press plastic wrap directly against the surface. Freeze for at least 4 hours until firm. Just before serving, sprinkle with a pinch of Salt to enhance all the flavors. The result? Scoops so creamy and flavorful they’ll rival any shop’s best offering.
Pro Tips For Making Ice Cream Recipe Rival
- Temper the yolks: Slowly whisk about a cup of the hot milk mixture into the egg yolks before combining everything—I learned this the hard way after ending up with scrambled eggs in my ice cream base.
- Chill thoroughly: Give your custard a full 4-6 hours in the fridge before churning. After rushing this step once, I wound up with soupy, sad ice cream.
- Use full-fat dairy: Skip the low-fat milk or half-and-half; the heavy cream and whole milk are non-negotiable for that rich, creamy texture.
- Strain the custard: Run the cooked custard through a fine-mesh sieve to catch any cooked egg bits—sounds tedious, but it makes a real difference in the final texture.
Common Mistakes When Making This Recipe
Skipping the Chill
Never rush the chilling step—this is where most home cooks go wrong. The custard must chill for at least 4 hours, preferably overnight. I once tried churning warm custard and ended up with a sad, soupy mess. David still teases me about that failed batch. 💪
Overheating the Cream
When heating the dairy, watch for simmering at the edges only. Boiling the heavy cream and whole milk can cause curdling. I keep my burner at medium heat and pull it off just as those first bubbles appear around the pan’s perimeter.
Scrambling the Eggs
Tempering is non-negotiable. Pour the hot cream into the egg yolks too quickly, and you’ll have sweet scrambled eggs. I always drizzle the first ½ cup in very slowly while whisking constantly. Patience prevents disaster.
Undercooking the Custard
The custard is done when it coats the back of a spoon and your finger leaves a clean path. Undercooked custard leads to icy ice cream. I test mine every 2 minutes once it starts thickening to catch that perfect moment.
Overfilling the Maker
Most home ice cream makers have a 1-1.5 quart capacity. Overfilling causes spills and poor churning. I never exceed ¾ of my maker’s capacity, leaving room for expansion as air incorporates during churning.
Skipping the Strain
Always strain the custard through a fine-mesh sieve after cooking. This removes any cooked egg bits, ensuring silky smooth results. I press the custard through with a spatula to get every last drop of that precious vanilla-infused mixture. ✨
Nutrition Facts
Frequently Asked Questions
Can I make this without an ice cream maker?
Yes, but it requires extra effort. Pour the base into a shallow dish and freeze, stirring vigorously every 30 minutes for 4-5 hours to break up ice crystals. The texture won’t be as smooth as churned.
Why does my ice cream turn icy?
Icy texture usually means the custard wasn’t cooked long enough or sugar wasn’t fully dissolved. Ensure it coats the spoon and reaches 170°F when cooking. The corn syrup also helps prevent iciness.
How long does homemade ice cream last?
It stays fresh for up to 2 weeks in an airtight container. Press plastic wrap directly on the surface to prevent freezer burn. For best texture, enjoy within the first week.

Trained in classic French technique but raised on slow-cooked ribs and spicy rubs, she blends culinary skill with smoke and soul.
- Recipe for Boneless Pork Chops in Cast Iron Skillet: Sear and Baste to Juicy Perfection - October 3, 2026
- Recipe for Boneless Cross Rib Roast: Slow-Roasted Beef with Herb Crust - October 3, 2026
- Hamburgers in Sauce Recipe Crock Pot: Slow-Cooked Savory Delight - October 3, 2026