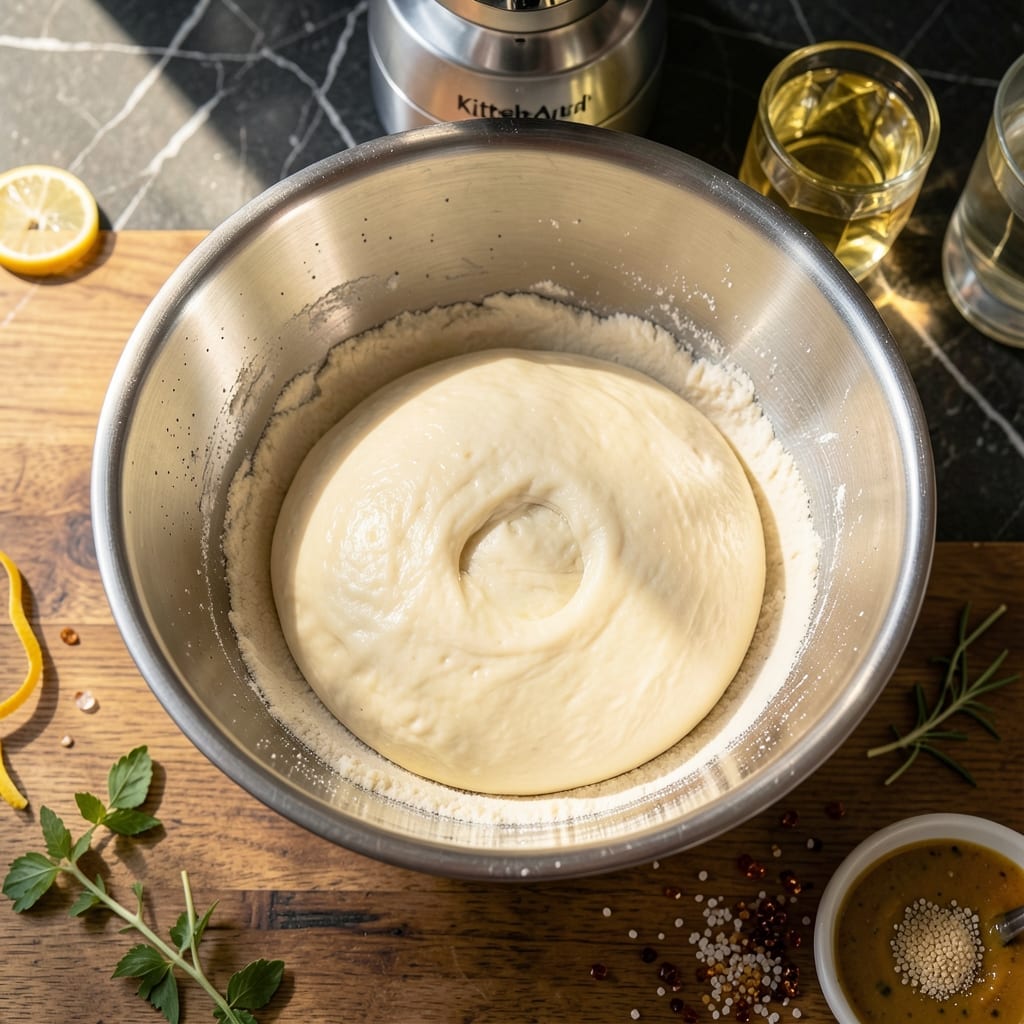
There’s nothing like the aroma of fresh-baked Italian bread filling your kitchen. Standing on a step stool in my grandmother’s kitchen in Sicily, I learned her secrets for making bread that’s light, airy, and full of flavor.
This recipe brings that tradition home with a modern twist, using a KitchenAid mixer to simplify the process. The dough comes together in minutes, then proofs to develop its rich, authentic taste.
Once baked, you’ll have a golden, crusty loaf with a soft, open crumb—just like Nonna’s. It’s the perfect base for sandwiches or served warm with olive oil.
With simple ingredients and your mixer doing the heavy lifting, artisan bread is within reach.
Ingredients for Italian Bread Recipe Using Kitchenaid Mixer
Simple pantry staples transform into a golden, crusty loaf with your mixer’s help.
| Ingredient | Amount | Notes |
|---|---|---|
| Bread Flour 🌾 | 4 ½ cups | High-protein for best texture |
| Active Dry Yeast 🍞 | 2 ¼ tsp | One standard packet plus a pinch |
| Warm Water 💧 | 1 ½ cups | 110-115°F for yeast activation |
| Olive Oil 🫒 | 2 tbsp | Extra-virgin for authentic flavor |
| Granulated Sugar 🍚 | 2 tbsp | Feeds the yeast for rise |
| Sea Salt 🧂 | 2 tsp | Fine grain for even distribution |
| Cornmeal 🌽 | ¼ cup | For dusting baking sheet |
| All-Purpose Flour 🌾 | ½ cup | For dusting work surface |
| Large Egg 🥚 | 1 whole | Optional for egg wash finish |
| Water 💧 | 1 tbsp | For thinning egg wash if needed |
[recipe_ingredient_scaler]
The flour is doing the heavy lifting here. King Arthur Bread Flour is my go-to—high protein means better structure for that open crumb Nonna loved. Yeast freshness matters (check the expiration date), and Gold Medal or Pillsbury all-purpose works for the dusting. I grab mine from Whole Foods bulk bins when I can, but any grocery store works fine for this.
No bread flour? All-purpose plus vital wheat gluten (1 tbsp per cup) mimics the protein boost. Out of yeast? This isn’t the recipe to test that—yeast is non-negotiable for rise. The olive oil can be any extra-virgin you’d use for dipping bread. Sugar’s just feeding the yeast, so honey or agave work too (but keep the amount the same).
Dough rises best in a warm, draft-free spot—my oven with the light on works perfectly. Baked loaves stay fresh 2-3 days wrapped in foil, or freeze for 1 month. Slice before freezing for easy toast-making later. Always bring to room temp before serving.
Why You’ll Love This Recipe
- Hands-Off Kneading: The KitchenAid does all the work—just toss in the bread flour, yeast, and warm water, and let the mixer handle the kneading while I sip my coffee.
- Crispy Golden Crust: That olive oil in the dough gives it a rich, slightly nutty flavor and a crust so perfect it cracks satisfyingly with every bite.
- Feeds a Crowd: I make two loaves at once for Sunday dinners, and honestly, they disappear before the pasta even hits the table.
- Budget-Friendly Staple: Five simple ingredients I always have on hand, and it costs less than a fancy bakery loaf but tastes way better.
Step-by-Step Instructions for Italian Bread Using KitchenAid Mixer
Here’s the method. Straightforward, tested, works every time.
Step 1: Activate the Yeast and Start the Dough
In your KitchenAid mixer bowl, combine the 1.5 cups Warm Water, 2 tbsp Granulated Sugar, and 2.25 tsp Active Dry Yeast. Let it sit for 5-7 minutes until the mixture becomes foamy—that’s your sign the yeast is active and ready to work.
This step is non-negotiable. If the yeast doesn’t foam, your bread won’t rise. I always use a thermometer to confirm my water is between 110-115°F—too hot kills the yeast, too cold won’t activate it. Once foamy, add the 4.5 cups Bread Flour and 2 tsp Sea Salt.
Step 2: Knead with the Dough Hook
Attach the dough hook to your mixer and set it to speed 2. Mix for 2 minutes until the ingredients come together into a shaggy dough. Then increase to speed 4 and knead for 6-8 minutes until the dough is smooth and elastic.
You’ll know it’s ready when it pulls away from the sides of the bowl and springs back slowly when poked. If it’s too sticky, resist the urge to add more flour—this dough should be slightly tacky. The high-protein bread flour develops the gluten structure needed for that perfect chewy texture.
Step 3: First Rise Until Doubled
Lightly oil a large bowl with 1 tbsp Olive Oil—I use the extra-virgin for flavor. Transfer the dough to the bowl, turning once to coat all sides. Cover with a damp towel or plastic wrap and let it rise in a warm, draft-free spot for 1 to 1.5 hours.
It should double in size. I like to preheat my oven to 200°F, turn it off, and let the dough rise inside with the light on—creates the perfect environment. Don’t rush this; proper rising is what gives your bread that airy, open crumb.
Step 4: Shape and Second Rise
Turn the dough out onto a surface dusted with 0.5 cup All-Purpose Flour. Punch it down gently to release the air, then shape it into a round loaf or oval. Place it on a baking sheet dusted with 0.25 cup Cornmeal—this prevents sticking and adds a nice texture to the bottom crust.
Cover loosely and let it rise again for 30-45 minutes until nearly doubled. The dough should spring back slowly when pressed lightly with a finger. While it rises, preheat your oven to 400°F.
Step 5: Bake to Golden Perfection
For a beautiful finish, whisk the 1 whole Large Egg with 1 tbsp Water and brush it gently over the top of the loaf. Use a sharp knife to make a few shallow slashes on top—this allows the bread to expand properly during baking.
Bake for 25-30 minutes until the loaf is deep golden brown and sounds hollow when tapped on the bottom. If it’s browning too quickly, tent loosely with foil. Transfer to a wire rack to cool completely before slicing—this prevents a gummy texture.
Pro Tips For Making Italian Bread Recipe Using Kitchenaid Mixer
- Test the Yeast: I learned this the hard way—always proof your active dry yeast in the warm water with sugar for 5-10 minutes until foamy before mixing. If it doesn’t bubble, your bread won’t rise, no matter how long you wait.
- Use Bread Flour: Skip the all-purpose and stick with bread flour for that chewy Italian texture. The higher protein content actually changes the outcome, giving you a better structure and crumb.
- Don’t Overknead: Let the KitchenAid do the work, but stop the mixer once the dough pulls away from the bowl and is smooth—about 6-8 minutes on medium. Overkneading makes the bread tough, and nobody wants that.
- Oil the Bowl: After the first rise, lightly coat the dough and bowl with olive oil before covering. This keeps the surface from drying out and makes the dough easier to handle when shaping.
Pro Cooking Tips for Great italian bread recipe using kitchenaid mixer
Dough Hook Mastery
Always use the dough hook for bread—I learned this the hard way when my paddle attachment turned dough into a sticky mess. Start on speed 2 for 2 minutes to combine, then bump to speed 4 for the full 6-8 minute knead. The hook’s spiral design mimics hand-kneading perfectly. 💡
Temperature Control
Yeast activation demands precision. I swear by my ThermoWorks instant-read to hit 110-115°F water every time. Too hot kills the yeast; too cold leaves you waiting forever. The same thermometer checks my rising environment—75-80°F is ideal for consistent proofing.
Rise Like Nonna
My grandmother’s trick: rise dough in the oven with the light on. Preheat to 200°F, turn off, then add your bowl. This creates a stable 80°F environment. I’ve tested this against my countertop, and the oven method shaves 20-30 minutes off rise time while improving texture.
Shaping Secrets
After the first rise, resist over-handling. Punch down gently, shape into a round, and place on a cornmeal-dusted baking sheet. I use Bob’s Red Mill coarse cornmeal for that authentic Italian bakery texture. The second rise should take 30-45 minutes—don’t rush it.
Baking Perfection
The egg wash is non-negotiable for that golden finish. Whisk 1 egg with 1 tbsp water and brush generously. Score the top with a razor—this isn’t just for looks; it controls expansion. Bake at 400°F until it reaches a deep golden brown and sounds hollow when tapped. 🔥
Cool Your Heels
This might be the hardest part: let it cool completely on a wire rack. Slicing too soon traps steam, creating a gummy crumb. I wait at least 1 hour—the aroma is torture, but the texture is worth it. Nonna would smack my hand if I cut early!
Nutrition Facts
Frequently Asked Questions
Can I use all-purpose flour instead of bread flour?
Yes, but add 1 tbsp vital wheat gluten per cup to boost protein. Bread flour’s higher protein creates better structure for that chewy texture. Without it, your loaf may be denser.
Why does my dough not rise properly?
Check your yeast freshness and water temperature first. Yeast needs 110-115°F water to activate. Also ensure your rising spot is warm (75-80°F) and draft-free. Old yeast or cold environments are common culprits.
How do I know when the bread is fully baked?
The loaf should be deep golden brown with a hollow sound when tapped on the bottom. An internal temperature of 190-200°F confirms it’s done. If browning too fast, tent with foil.
Can I make this dough ahead of time?
After the first rise, refrigerate the dough overnight in an oiled, covered bowl. Bring to room temperature, shape, then proceed with the second rise and baking. This slow fermentation enhances flavor.

Trained in classic French technique but raised on slow-cooked ribs and spicy rubs, she blends culinary skill with smoke and soul.
- Recipe for Boneless Pork Chops in Cast Iron Skillet: Sear and Baste to Juicy Perfection - October 3, 2026
- Recipe for Boneless Cross Rib Roast: Slow-Roasted Beef with Herb Crust - October 3, 2026
- Hamburgers in Sauce Recipe Crock Pot: Slow-Cooked Savory Delight - October 3, 2026