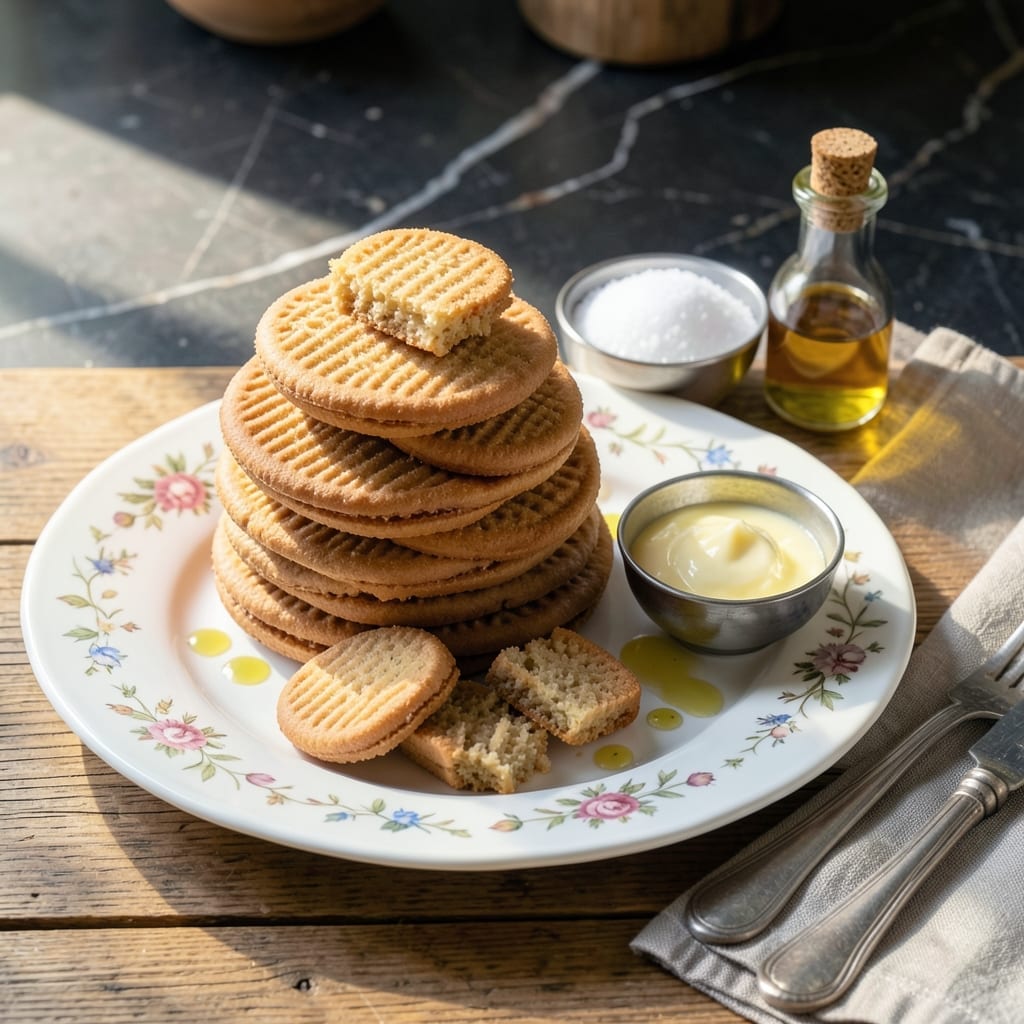
There’s a special satisfaction in baking vanilla wafers that taste just like the nostalgic originals. This recipe delivers a crispy, buttery crunch with the pure vanilla flavor that defines classic Jackson-style wafers.
What sets this version apart is the balance of simplicity and precision. A few pantry staples and 15 minutes of baking time transform into delicate, golden rounds that bring back childhood memories.
Each bite offers a light, airy texture with just the right amount of sweetness and a hint of vanilla warmth. The secret lies in the technique—creaming the butter and sugar thoroughly for that signature melt-in-your-mouth quality.
Perfect for snacking, pairing with ice cream, or enjoying with a cup of tea. These wafers prove that some classics never go out of style.
Ingredients for Jackson Vanilla Wafers
Classic vanilla wafers start with these pantry staples and a touch of pure vanilla goodness.
| Ingredient | Amount | Notes |
|---|---|---|
| All-Purpose Flour 🌾 | 1 ½ cups | Sifted for lighter texture |
| Granulated Sugar 🍚 | ¾ cup | Fine white sugar preferred |
| Unsalted Butter 🧈 | ½ cup | Softened to room temperature |
| Large Eggs 🥚 | 2 whole | Room temperature preferred |
| Pure Vanilla Extract 🌿 | 1 tbsp | High-quality for best flavor |
| Baking Powder 🧂 | 1 tsp | Ensures proper rise |
| Salt 🧂 | ¼ tsp | Fine table salt |
| Whole Milk 🥛 | 2 tbsp | Enhances richness and texture |
| Vanilla Bean Seeds 🌿 | ½ tsp | Optional for speckled appearance |
| Light Corn Syrup 🍯 | 1 tbsp | Adds crispness to texture |
[recipe_ingredient_scaler]
The vanilla is non-negotiable here. Nielsen-Massey pure vanilla extract delivers that classic Jackson flavor. Butter must be unsalted—this gives you control over the salt content. I source my flour from King Arthur for consistent results. Room temperature ingredients (butter, eggs, milk) ensure even mixing and proper texture in the final wafers.
No vanilla extract? Vanilla bean paste at equal volume works beautifully and adds those coveted speckles. Out of corn syrup? Honey or agave can substitute, though the texture may vary slightly. For a richer flavor, brown sugar instead of granulated adds depth. If you need a dairy-free version, almond milk works in a pinch but may slightly alter the crunch.
Store cooled wafers in an airtight container at room temperature for up to 2 weeks. They also freeze beautifully for 3 months. For best results, layer parchment between wafers to prevent sticking. Always bring ingredients to room temperature before beginning.
Why You’ll Love This Recipe
- One Bowl Wonder: I love that I can mix the flour, sugar, butter, eggs, and vanilla in a single bowl—no fancy equipment, just a wooden spoon and 10 minutes of my time.
- Buttery Vanilla Bliss: The combo of real butter and pure vanilla extract gives these wafers that rich, nostalgic flavor that beats store-bought every time.
- Freezer Friendly: Honestly, I double the batch because these keep beautifully in the freezer for up to three months—perfect for last-minute cookie cravings or impromptu dessert platters.
- Budget Baker’s Dream: Between us, this recipe costs pennies compared to those pricy bakery cookies, and the ingredients are all pantry staples I already stock.
Step-by-Step Instructions for Jackson Vanilla Wafers
Master the technique for achieving that signature crisp texture and rich vanilla flavor in every bite.
Step 1: Cream Butter and Sugars for Optimal Texture
In a stand mixer fitted with the paddle attachment, beat the 0.5 cup Unsalted Butter on medium speed until smooth and creamy. Add the 0.75 cup Granulated Sugar and continue beating for 3-4 minutes until light and fluffy.
The mixture should increase in volume and turn pale yellow. This creaming step incorporates air, which creates the delicate, crisp structure characteristic of classic vanilla wafers. Stop scraping the bowl as needed to ensure even mixing.
Step 2: Incorporate Eggs and Vanilla for Rich Flavor
Add the 2 whole Large Eggs one at a time, beating well after each addition for 30 seconds. Then mix in the 1 tbsp Pure Vanilla Extract and 0.5 tsp Vanilla Bean Seeds until fully combined.
The vanilla bean seeds will create beautiful speckles throughout the dough, enhancing both the visual appeal and depth of vanilla flavor. The mixture should appear smooth and emulsified at this stage.
Step 3: Combine Dry Ingredients and Create the Dough
In a separate bowl, whisk together the 1.5 cups All-Purpose Flour, 1 tsp Baking Powder, and 0.25 tsp Salt. Gradually add this dry mixture to the wet ingredients, mixing on low speed until just combined.
Pour in the 2 tbsp Whole Milk and 1 tbsp Light Corn Syrup, then mix for an additional 20-30 seconds until the dough comes together. It should be soft but not sticky. The corn syrup contributes to the desired crispness.
Step 4: Pipe and Bake for Perfect Wafers
Transfer the dough to a piping bag fitted with a star tip. Pipe 1-inch rounds onto parchment-lined baking sheets, spacing them 2 inches apart to allow for spreading. For a more rustic look, you can also roll the dough into small balls and flatten slightly.
Bake in a preheated 350°F oven for 10-12 minutes or until the edges are light golden brown. Rotate the pans halfway through baking for even coloration. The centers may still look slightly soft but will firm up as they cool.
Step 5: Cool Completely for Maximum Crispness
Remove the wafers from the oven and let them cool on the baking sheet for 5 minutes before transferring to a wire rack. This brief cooling period allows them to set without breaking.
Cool completely on the rack for at least 1 hour. The wafers will crisp up significantly as they cool, achieving that distinctive snap. Store in an airtight container at room temperature for up to 2 weeks to maintain freshness.
Pro Tips For Making Jackson Vanilla Wafers
- Chill the Dough: I learned this the hard way—if you skip chilling the dough for at least 30 minutes, your wafers will spread too thin and lose that classic tender texture. Pop it in the fridge while you preheat the oven to 350°F.
- Cream Butter Thoroughly: Beat the unsalted butter and sugar together for a full 3-4 minutes until it’s pale and fluffy. Sounds tedious, but it actually changes the outcome—your wafers will be lighter and more delicate.
- Use Real Vanilla: Skip the imitation stuff; pure vanilla extract makes a real difference here. After burning a batch with cheap vanilla, I finally figured out it’s worth the splurge for that rich, authentic flavor.
- Rotate the Trays: Halfway through baking, swap the pans from top to bottom and spin them 180 degrees. My grandmother swore by this, and she was right: it guarantees even golden edges on every wafer.
Health Benefits of jackson vanilla wafers
Energy Boost
These wafers provide a quick carbohydrate boost from the 1.5 cups all-purpose flour and 0.75 cup granulated sugar, making them a perfect pick-me-up during a busy day. The natural sugars offer immediate energy, while the complex carbs sustain you longer.
Mood Enhancer
The 1 tbsp pure vanilla extract does more than flavor—it contains compounds that may help reduce stress and anxiety. I find the aroma alone lifts my spirits, and that nostalgic vanilla scent triggers happy memories. 💛
Calcium Source
Thanks to the 2 tbsp whole milk and 0.5 cup unsalted butter, each wafer contributes a small but meaningful amount of calcium. This supports bone health and muscle function, especially when enjoyed as part of a balanced diet.
Portion Control
At about 100-120 calories per wafer, these treats let you satisfy a sweet craving without overindulging. The small size makes them ideal for mindful snacking—perfect when I need just a little something sweet.
Comfort Food Benefits
There’s real value in comfort foods that connect us to positive memories. The act of baking and enjoying these wafers can reduce stress and create moments of joy. Sometimes, the emotional benefits are just as important as the nutritional ones. 💪
Dietary Flexibility
This recipe is naturally vegetarian and can easily be adapted to be dairy-free with plant-based butter and milk. The simple ingredient list makes it easy to accommodate various dietary needs without sacrificing flavor or texture.
Nutrition Facts
Frequently Asked Questions
Can I use margarine instead of butter?
Yes, but butter gives the best flavor and texture. If using margarine, choose a high-fat version and ensure it’s softened. The wafers may spread slightly more during baking.
Why are my wafers not crispy?
Underbaking or cooling them too quickly can prevent crispness. Bake until edges are light golden brown and cool completely on a wire rack for 1 hour. Humidity can also soften them.
Can I make these gluten-free?
Substitute the all-purpose flour with a 1:1 gluten-free baking flour. Add 1/4 tsp xanthan gum if your blend doesn’t include it. Texture may vary slightly.
How do I get even rounds?
Use a piping bag with a star tip for consistent 1-inch rounds. Alternatively, scoop dough with a small cookie scoop and roll into balls before flattening.

Trained in classic French technique but raised on slow-cooked ribs and spicy rubs, she blends culinary skill with smoke and soul.
- Recipe for Boneless Pork Chops in Cast Iron Skillet: Sear and Baste to Juicy Perfection - October 3, 2026
- Recipe for Boneless Cross Rib Roast: Slow-Roasted Beef with Herb Crust - October 3, 2026
- Hamburgers in Sauce Recipe Crock Pot: Slow-Cooked Savory Delight - October 3, 2026