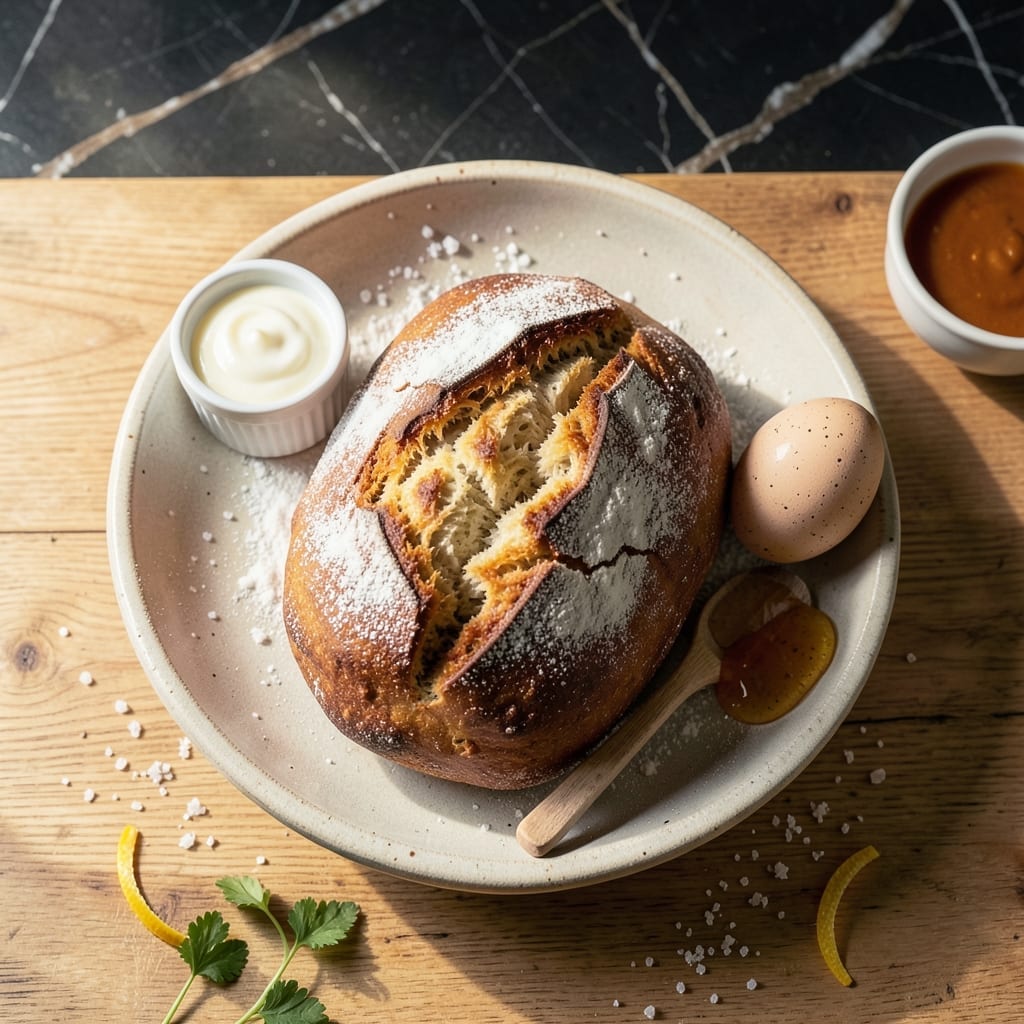
This no-yeast bread relies on kefir’s natural fermentation for a perfect rise every time. The tangy flavor and light texture make it a standout loaf that requires no commercial yeast or lengthy proofing periods.
Kefir acts as both the leavening agent and flavor enhancer, creating air pockets that give the bread its signature softness. The process is simple yet delivers professional-quality results with minimal effort.
You’ll achieve a golden crust with a tender, slightly tangy crumb that pairs beautifully with both sweet and savory toppings. The method is foolproof, even for those new to bread baking.
Best of all, this bread comes together in a fraction of the time traditional yeast loaves require. The fermentation happens naturally, eliminating the need for added yeast or long wait times.
Ingredients for Kefir Bread Recipe No Yeast
Simple ingredients harness natural fermentation for a tangy, foolproof loaf.
| Ingredient | Amount | Notes |
|---|---|---|
| Kefir 🥛 | 2 cups | Room temperature, plain or flavored |
| All-Purpose Flour 🌾 | 5 cups | Sifted for best texture |
| Baking Soda 🧂 | 1 tsp | For added rise and balance |
| Salt 🧂 | 1 ½ tsp | Fine sea salt preferred |
| Granulated Sugar 🍚 | 2 tbsp | Balances kefir tanginess |
| Large Egg 🥚 | 1 whole | Optional for richer texture |
| Vegetable Oil 🫒 | ¼ cup | For greasing the pan |
| Honey 🍯 | 2 tbsp | Optional for sweetness |
| Olive Oil 🫒 | 1 tbsp | For brushing the crust |
| Fresh Herbs 🌿 | 2 tbsp | Optional: rosemary or thyme |
| Butter 🧈 | 2 tbsp | Melted, for serving |
[recipe_ingredient_scaler]
The kefir is non-negotiable here. Use plain, unsweetened for the cleanest fermentation. Most grocery stores carry it near yogurt—Lifeway or Green Valley Creamery are reliable brands. The flour should be all-purpose; bread flour works but yields a denser crumb. For best results, ensure your kefir is at room temperature before mixing (cold straight from the fridge slows fermentation).
No kefir? Plain yogurt thinned with milk can work in a pinch (use equal parts yogurt and milk). Swap the honey for maple syrup if you prefer a vegan option. The baking soda is key—don’t skip it—it reacts with the kefir’s acidity for extra lift. For a richer loaf, add the egg; omit it for a lighter, vegan-friendly version (though texture will differ slightly).
This bread keeps well wrapped at room temperature for 2-3 days. For longer storage, slice and freeze for up to 3 months. If the top browns too quickly, tent with foil during baking. Always let it cool completely before slicing to preserve the crumb structure.
Why You’ll Love This Recipe
- No Yeast Needed: I skip the fuss of proofing and waiting—just mix kefir, flour, and baking soda, then bake.
- Subtly Tangy: The kefir gives it this light, tangy kick that pairs so well with butter or jam.
- Morning to Night: It’s my go-to for breakfast toast or as a side with dinner soups. Honestly, it never feels out of place.
- Pantry Friendly: Between us, I always have these ingredients on hand, and it costs pennies compared to store-bought bread.
Step-by-Step Instructions for Kefir Bread No Yeast
This method leverages kefir’s natural fermentation for a light, tangy loaf without commercial yeast.
Step 1: Combine Wet and Dry Ingredients
In a large mixing bowl, whisk together the 2 cups Kefir, 2 tbsp Granulated Sugar, 1 whole Large Egg, and 2 tbsp Honey until fully combined. I prefer using room temperature kefir for better chemical activation with the baking soda.
In a separate bowl, sift the 5 cups All-Purpose Flour, 1 tsp Baking Soda, and 1.5 tsp Salt together. The sifting ensures even distribution of the leavening agent, which is crucial for consistent rise. Create a well in the center of your dry ingredients before combining.
Step 2: Form and Shape the Dough
Gradually pour the wet mixture into the dry ingredients while stirring with a wooden spoon. Continue mixing until just combined—the dough will be sticky and shaggy. Avoid overworking the dough, as this can make the final loaf dense rather than light and airy.
Turn the dough onto a lightly floured surface and knead gently for 2-3 minutes, just until it comes together into a smooth ball. The dough should still feel slightly tacky but not stick to your hands excessively. If it’s too sticky, add a sprinkle of flour, but be sparing—too much will toughen the bread.
Step 3: First Rise and Preparation
Place the dough in a lightly greased bowl (use 0.25 cup Vegetable Oil for this) and cover with a clean kitchen towel. Let it rise in a warm, draft-free area for 1-2 hours, or until nearly doubled in size. The kefir’s natural cultures will activate the baking soda, creating a subtle rise.
You’ll notice the dough won’t rise as dramatically as yeast-based breads, but it should look puffy and slightly domed. This is normal for kefir bread. While waiting, preheat your oven to 375°F and grease a standard loaf pan with additional vegetable oil.
Step 4: Bake to Golden Perfection
After the first rise, punch down the dough gently to release air bubbles. Shape it into a loaf and place it in your prepared pan. For added flavor, press 2 tbsp Fresh Herbs (like rosemary or thyme) into the top of the dough before baking.
Bake in the preheated oven for 40-45 minutes, or until the top is deep golden brown and a toothpick inserted in the center comes out clean. About 10 minutes before it’s done, brush the top with 1 tbsp Olive Oil for a beautiful, glossy crust.
Step 5: Cool and Serve
Remove the loaf from the pan and let it cool on a wire rack for at least 20 minutes. This cooling period allows the bread to set properly and prevents it from becoming gummy. I know it’s tempting to slice into it immediately, but the texture improves significantly with this resting time.
Once cooled, slice and serve warm with 2 tbsp Butter melted over the top. The bread should have a tender crumb with a slightly crisp crust, and that characteristic tangy flavor from the kefir fermentation. Store leftovers in an airtight container at room temperature for up to 3 days.
Pro Tips For Making Kefir Bread Recipe No Yeast
- Use Room-Temp Kefir: Cold kefir won’t activate the baking soda properly—take it out of the fridge 30 minutes before mixing. I learned this the hard way after my first loaf came out dense and flat.
- Mix Dry First: Whisk the flour, baking soda, salt, and sugar together before adding kefir to prevent pockets of bitter baking soda. Sounds tedious, but it actually changes the outcome.
- Don’t Overmix: Stir just until the dough comes together—overworking it makes the bread tough. After my third rubbery loaf, I finally figured out less is more.
- Bake Immediately: Once the baking soda hits the kefir, the reaction starts. Get it in the oven fast or the bread won’t rise properly. My grandmother swore by this, and she was right.
Common Mistakes When Making Perfect Results
Overmixing the Dough
This is the most common mistake I see. Stir just until the wet and dry ingredients come together—the dough will look shaggy, and that’s perfect. Overworking develops too much gluten, which makes your loaf dense instead of light. I use the same wooden spoon my Nonna gave me to gently combine everything. 💡
Skipping Room Temperature Kefir
Cold kefir straight from the fridge won’t activate the baking soda properly. Let it sit on the counter for 30-60 minutes before mixing. I learned this the hard way when my first loaf barely rose at all. Room temperature ensures the chemical reaction that gives your bread lift.
Using Old Baking Soda
Baking soda loses its potency over time. If your container has been open for more than 6 months, test it by mixing a teaspoon with vinegar. If it doesn’t fizz vigorously, replace it. This small detail makes a huge difference in your bread’s rise.
Rushing the Rise Time
Even though kefir bread rises faster than yeast bread, it still needs its time. Don’t be tempted to bake it before it’s nearly doubled in size. I set a timer for 1 hour and check if it looks puffy. Patience here ensures a light, airy texture.
Baking in a Cold Oven
Always preheat your oven to 375°F for at least 15 minutes before baking. A properly heated oven creates the perfect environment for even rising and a golden crust. I use an oven thermometer to verify the temperature is accurate.
Slicing Too Soon
Let the bread cool for at least 20 minutes on a wire rack. Cutting too early traps steam inside, making the crumb gummy. I know it’s tempting, but the wait is worth it for that perfect texture. This is one lesson I learned from my Sicilian grandmother. 💛
Nutrition Facts
Frequently Asked Questions
Why does this bread rise without yeast?
Kefir’s natural fermentation creates carbon dioxide, which works with baking soda for lift. This chemical reaction replaces yeast’s role, giving you a light texture without traditional proofing.
Can I use milk instead of kefir?
No, milk lacks the live cultures needed for fermentation. Plain yogurt thinned with milk works in a pinch, but kefir’s tangy acidity is key for flavor and rise. Stick to kefir for best results.
How do I know when it’s done baking?
A toothpick inserted in the center should come out clean, and the top should be deep golden brown. The loaf will sound hollow when tapped on the bottom. Let it cool 20 minutes before slicing.
Can I make this gluten-free?
Yes, swap all-purpose flour for a gluten-free blend. Add 1 tsp xanthan gum to mimic gluten’s structure. The texture will differ but still taste delicious.

Trained in classic French technique but raised on slow-cooked ribs and spicy rubs, she blends culinary skill with smoke and soul.
- Recipe for Boneless Pork Chops in Cast Iron Skillet: Sear and Baste to Juicy Perfection - October 3, 2026
- Recipe for Boneless Cross Rib Roast: Slow-Roasted Beef with Herb Crust - October 3, 2026
- Hamburgers in Sauce Recipe Crock Pot: Slow-Cooked Savory Delight - October 3, 2026