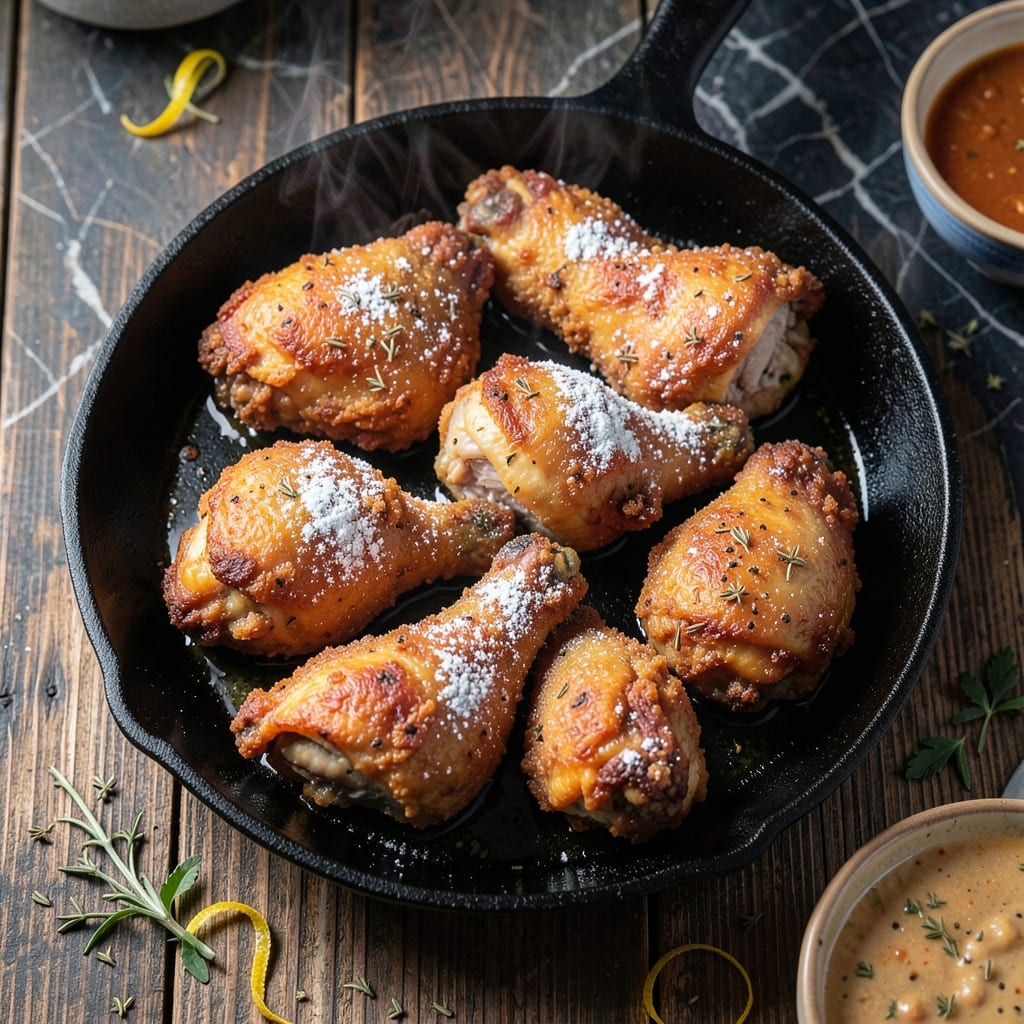
I’ve spent years perfecting this method for achieving that signature crispy coating at home. The secret lies in the precise herb blend and double-frying technique that locks in juices while creating an irresistible crunch.
This approach transforms simple chicken into something extraordinary with every bite. The 11-herb seasoning creates layers of flavor that make the coating impossible to resist, while the frying process ensures even cooking and maximum crispiness.
What you’ll achieve is golden-brown pieces with a shatteringly crispy exterior and tender, juicy meat inside. The aroma alone will transport you to a Southern kitchen, and the taste proves you didn’t need a secret family recipe.
Serve hot with your favorite sides for the full experience. Here’s how to make it.
Ingredients for Kentucky Fried Chicken Recipe for Chicken
Eleven herbs, a buttermilk bath, and the crispiest chicken you’ll ever make at home.
| Ingredient | Amount | Notes |
|---|---|---|
| Chicken Thighs and Drumsticks 🍗 | 3 ½ lb | Skin-on, bone-in for best flavor |
| All-Purpose Flour 🌾 | 2 cups | Plus extra for dredging |
| Buttermilk 🥛 | 2 cups | Full-fat for tenderness |
| Salt 🧂 | 1 tbsp | Diamond Crystal kosher preferred |
| Black Pepper 🌶️ | 1 tbsp | Freshly ground for best flavor |
| Dried Thyme 🍃 | 1 tsp | Rubbed between fingers to release oils |
| Dried Basil 🌿 | 1 tsp | Crushed before adding |
| Dried Oregano 🍃 | 1 tsp | Mediterranean variety preferred |
| Celery Salt 🧂 | 1 tsp | Essential for authentic flavor |
| Dried Mustard 🟡 | 1 tsp | Powdered, not prepared |
| Garlic Powder 🧄 | 1 tsp | Freshly opened for potency |
| Paprika 🌶️ | 1 tsp | Sweet or smoked variety |
| Ground Ginger 🌿 | ½ tsp | Freshly ground preferred |
| White Pepper 🧂 | ½ tsp | Subtle heat without color |
| MSG ⚗️ | ½ tsp | Optional but recommended for depth |
| Peanut Oil 🫒 | 8 cups | For frying, high smoke point |
[recipe_ingredient_scaler]
The chicken quality matters here. Thighs and drumsticks stay juicier than breasts during frying. Look for skin-on, bone-in pieces (about 8-10 pieces total) at Whole Foods or your local butcher. The buttermilk should be full-fat—Organic Valley or a local dairy brand works great. If you can’t find celery salt (critical for that signature flavor), check the spice aisle at Kroger or Publix.
No buttermilk? Mix 2 cups milk with 2 tbsp white vinegar and let sit 10 minutes. Out of celery salt? Equal parts salt and celery seed (ground finely) works in a pinch. The MSG is optional but adds that umami depth—Aji-No-Moto is the classic brand. For the flour, all-purpose is standard, but White Lily (a Southern staple) gives an extra-crispy crust if you can find it.
Marinate the chicken in buttermilk overnight for maximum tenderness. Store dry herbs in airtight containers away from light—they keep for 6-12 months. Leftovers? They won’t last long, but refrigerate in a paper towel-lined container for up to 4 days.
Why You’ll Love This Recipe
- One Pan Magic: I toss the chicken in buttermilk, coat with flour, and fry—no fancy steps, just straightforward cooking.
- Crispy Perfection: That golden crust from the flour and buttermilk combo? Crunchy outside, juicy inside, every single time.
- Feeds the Crowd: I made this for a Sunday dinner and the platter was empty before I sat down.
- Budget Winner: Chicken thighs and drumsticks are cheap, and this recipe stretches them into something everyone begs for.
Step-by-Step Instructions for Kentucky Fried Chicken
Here’s the method that delivers that iconic crispy coating and juicy interior every time.
Step 1: Season and Marinate the Chicken
Start by patting the 3.5 lb Chicken Thighs and Drumsticks completely dry with paper towels. This removes excess moisture that would prevent the coating from adhering properly. Place the chicken in a large bowl and pour in all 2 cups Buttermilk.
Add the 1 tbsp Salt and 1 tbsp Black Pepper to the buttermilk mixture. I like to whisk these in thoroughly to ensure even distribution. Cover and refrigerate for at least 4 hours, though overnight is ideal. The buttermilk tenderizes the meat while the salt begins to season it deeply.
Step 2: Prepare the 11-Herb Flour Mixture
In a large, shallow dish, combine the 2 cups All-Purpose Flour with all the dry seasonings: 1 tsp Dried Thyme, 1 tsp Dried Basil, 1 tsp Dried Oregano, 1 tsp Celery Salt, 1 tsp Dried Mustard, and 1 tsp Garlic Powder.
Add the 1 tsp Paprika, 0.5 tsp Ground Ginger, 0.5 tsp White Pepper, and 0.5 tsp MSG. I rub the dried herbs between my fingers as I add them to release their essential oils. Whisk everything together until uniform—this is your secret weapon for that signature flavor.
Step 3: Dredge and Rest for Maximum Crisp
Remove the chicken from the buttermilk, letting any excess drip off, and dredge each piece thoroughly in the seasoned flour. Press firmly to ensure the coating adheres completely, especially around the joints and edges. For extra crispiness, I like to double-dip: back into the buttermilk briefly, then into the flour again.
Place the coated chicken on a wire rack set over a baking sheet. Let it rest for 20-30 minutes at room temperature. This crucial step allows the coating to dry slightly, creating a better seal when it hits the hot oil and preventing it from falling off during frying.
Step 4: Fry to Golden Perfection
In a large, heavy pot or Dutch oven, heat the 8 cups Peanut Oil to 350°F over medium-high heat. Use a deep-fry thermometer to monitor the temperature—it’s essential for consistent results. Carefully lower 3-4 pieces of chicken into the oil at a time, being careful not to overcrowd the pot.
Fry the chicken for 12-15 minutes, turning occasionally, until the coating is deep golden brown and the internal temperature reaches 165°F. Darker pieces like thighs may take slightly longer than drumsticks. Transfer the fried chicken to a clean wire rack or paper towels to drain.
Let the oil return to 350°F between batches. Serve hot for that perfect crunch that gives way to tender, juicy meat with every bite.
Pro Tips For Making Kentucky Fried Chicken Recipe For Chicken
- Double-Dip the Chicken: Soak the chicken in buttermilk, then dredge in flour, then repeat the process—I learned this the hard way, but that second dip is what gives you that extra-crispy, shatter-when-you-bite-it crust.
- Fry at 350°F: Keep your oil at a steady 350°F, no higher. After burning three batches, I finally figured out that too-hot oil browns the outside before the inside cooks through.
- Pat the Chicken Dry: Before the buttermilk bath, pat the chicken completely dry with paper towels—my grandmother swore by this, and she was right: it helps the coating stick like glue.
- Rest Before Frying: Let the floured chicken rest for 10-15 minutes before frying. Sounds weird, but it works: the coating sets up, so you get fewer crumbs floating in the oil.
Troubleshooting Perfect Results
Oil Temperature Issues
If your chicken isn’t crisping, check your oil temp with a deep-fry thermometer. Below 325°F and the coating absorbs oil instead of frying. I keep a Taylor Precision thermometer clipped to my pot. If oil smokes excessively, it’s too hot—reduce heat immediately. 🌡️
Coating Falling Off
This usually means the chicken wasn’t dry before dredging or didn’t rest after coating. Pat pieces completely dry with paper towels first. Then let coated chicken rest 20-30 minutes on a wire rack before frying. The rest time creates a glue-like bond.
Uneven Cooking
Overcrowding the pot lowers oil temperature. Fry in batches—3-4 pieces at a time in my 5-quart Dutch oven. Dark meat takes longer than white, so start with thighs. Use tongs to turn pieces occasionally for even browning.
Greasy Results
Drain fried chicken on a wire rack, not paper towels. The rack allows air circulation, preventing steam from making the coating soggy. I place mine over a baking sheet to catch drips. Let rest 5 minutes before serving.
Bland Flavor
Don’t skimp on the buttermilk marinade time—overnight is ideal. Also, rub the dried herbs between your fingers when mixing the flour to release their oils. That celery salt is non-negotiable for authentic flavor. 💡
Oil Disposal
Never pour hot oil down the drain. Let it cool completely, then strain through a coffee filter into a sealable container. I reuse mine 2-3 times if it’s still clear. Store in the fridge between uses.
Nutrition Facts
Frequently Asked Questions
Can I use chicken breasts instead of thighs?
You can, but thighs stay juicier during frying. If using breasts, reduce frying time to 10-12 minutes and ensure oil stays at 350°F. Brining them first helps prevent dryness.
Why does the coating need to rest before frying?
Resting for 20-30 minutes lets the flour absorb moisture, creating a glue-like bond. This prevents the coating from falling off in the oil and ensures maximum crispiness.
What if I don’t have peanut oil?
Vegetable or canola oil work as substitutes. Avoid olive oil—its low smoke point burns at frying temps. Always maintain 350°F for best results.
How do I keep it crispy for longer?
Drain on a wire rack, not paper towels, to prevent steam buildup. Keep warm in a 200°F oven on a rack if frying in batches. Serve immediately for peak crunch.

Trained in classic French technique but raised on slow-cooked ribs and spicy rubs, she blends culinary skill with smoke and soul.
- Recipe for Boneless Pork Chops in Cast Iron Skillet: Sear and Baste to Juicy Perfection - October 3, 2026
- Recipe for Boneless Cross Rib Roast: Slow-Roasted Beef with Herb Crust - October 3, 2026
- Hamburgers in Sauce Recipe Crock Pot: Slow-Cooked Savory Delight - October 3, 2026