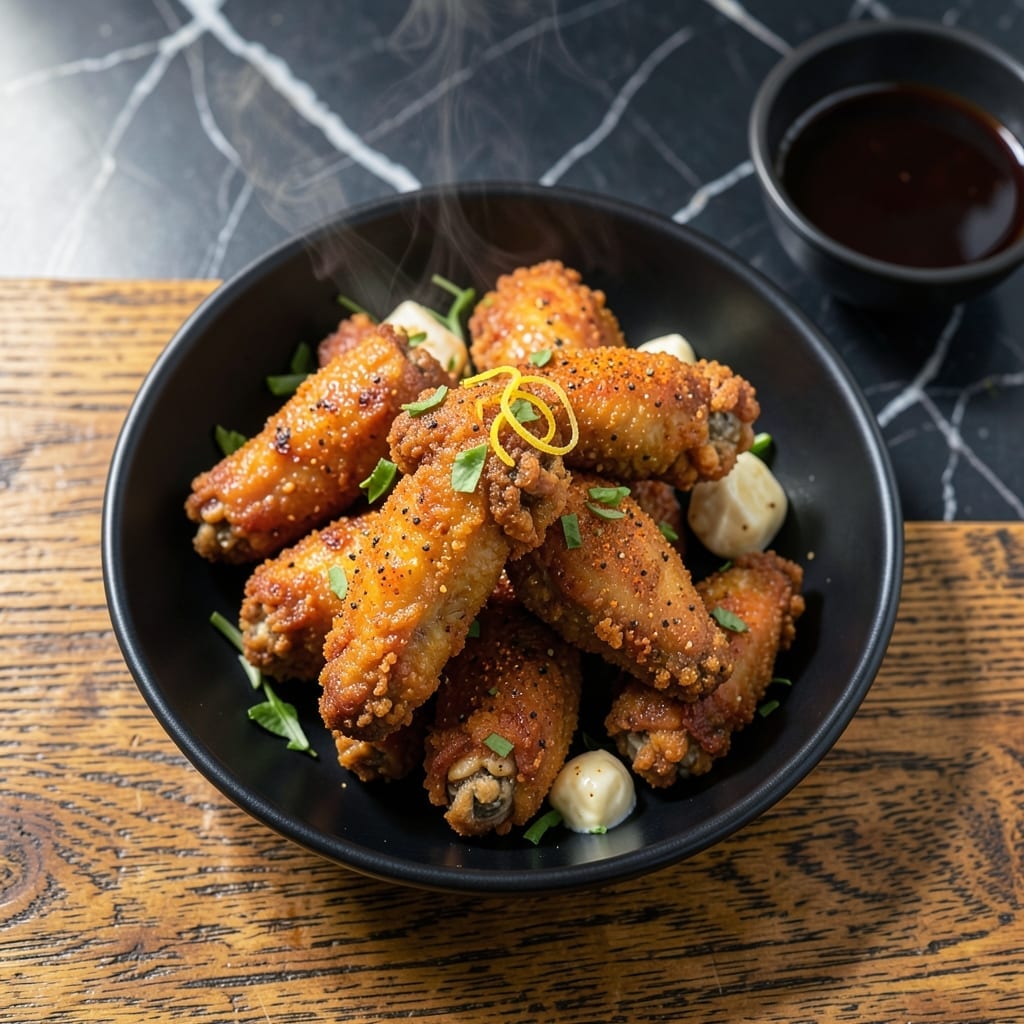
I developed this recipe after countless attempts to replicate that signature crispy coating at home. The key lies in a double-dipping method combined with a precise spice blend that delivers the authentic flavor.
This technique ensures a crispy exterior that stays crunchy even after frying. The chicken remains juicy inside while the coating achieves that golden, shatteringly delicate texture we all crave.
Using simple pantry staples and a 325°F frying temperature, you’ll achieve results that rival the original. The process takes patience but delivers restaurant-quality wings every time.
Perfect for game day or when you need that nostalgic comfort food fix. The method works with both traditional frying and air fryer adaptations.
Ingredients for Kfc Chicken Wings Recipe Fried
Pantry staples and a precise spice blend create that signature crispy, golden coating everyone loves.
| Ingredient | Amount | Notes |
|---|---|---|
| Chicken Wings 🍗 | 2 lb | Split into drumettes and flats |
| All-Purpose Flour 🌾 | 2 cups | For initial dredging |
| Large Eggs 🥚 | 2 whole | Beaten for egg wash |
| Buttermilk 🥛 | 1 cup | Full-fat for tanginess |
| Salt 🧂 | 2 tsp | Diamond Crystal kosher preferred |
| Black Pepper 🌶️ | 1 tsp | Freshly ground for sharpness |
| Garlic Powder 🧄 | 1 tbsp | Fine grind for even distribution |
| Onion Powder 🧅 | 1 tbsp | Balances spice blend |
| Paprika 🌶️ | 1 tbsp | Sweet variety for color |
| Dried Thyme 🍃 | 1 tsp | Crushed between fingers |
| Dried Oregano 🍃 | 1 tsp | Mediterranean variety preferred |
| Cayenne Pepper 🔥 | ½ tsp | Adjust to heat preference |
| Vegetable Oil 🫒 | 4 cups | For frying at 325°F |
| White Sugar 💧 | 1 tsp | Balances savory spices |
| Monosodium Glutamate (MSG) 🧂 | ½ tsp | Optional for umami boost |
[recipe_ingredient_scaler]
The chicken wings are the foundation—fresh, not frozen, and split into drumettes and flats for even cooking. Source from Costco or Sam’s Club for bulk savings without sacrificing quality. The buttermilk must be full-fat (2% won’t deliver the same tang). For the flour, standard all-purpose works best; avoid self-rising as it can affect the coating’s texture. The spice blend requires fine grinds for consistent distribution.
No buttermilk? Whole milk with 1 tbsp vinegar or lemon juice per cup works in a pinch. For the flour dredge, cornstarch at 25% ratio adds extra crispiness. If avoiding MSG, increase salt by 0.25 tsp and add a pinch of smoked paprika for depth. Cayenne can be omitted for mild wings, or doubled for fiery heat. The oil must hit 325°F—use a thermometer for precision.
Fry in batches to avoid crowding (drops oil temp). Drain on a wire rack, not paper towels—keeps them crispy for hours. Store cooked wings in the fridge for up to 3 days; reheat in a 400°F oven for 10 minutes to restore crunch. Freezing isn’t recommended—texture suffers.
Why You’ll Love This Recipe
- Minimal Effort: Honestly, the buttermilk and flour coating comes together in two bowls—no fancy steps, just dip and fry.
- That KFC Crunch: The combo of crispy flour shell and juicy wing underneath? Ridiculously close to the real deal.
- Party or Solo: I’ve served these at game night and also devoured a batch alone on the couch. Works both ways.
- Budget Winner: Chicken wings are cheap, and the coating uses pantry staples. Feeds four for less than takeout.
Step-by-Step Instructions for KFC Chicken Wings Fried
Master the technique for achieving that signature crispy coating with a perfectly seasoned spice blend.
Step 1: Prepare the Spiced Flour Dredge
In a large mixing bowl, combine the 2 cups All-Purpose Flour with 2 tsp Salt, 1 tsp Black Pepper, 1 tbsp Garlic Powder, 1 tbsp Onion Powder, 1 tbsp Paprika, 1 tsp Dried Thyme, 1 tsp Dried Oregano, 0.5 tsp Cayenne Pepper, 1 tsp White Sugar, and 0.5 tsp Monosodium Glutamate (MSG).
Whisk thoroughly until all spices are evenly distributed and the mixture appears uniformly colored. This spice blend creates the foundation of that familiar flavor profile. The sugar helps caramelize the coating for extra crispness.
Step 2: Create the Buttermilk Egg Wash
In a separate bowl, whisk together the 2 whole Large Eggs and 1 cup Buttermilk until fully combined. The buttermilk’s acidity tenderizes the chicken while helping the coating adhere.
I use full-fat buttermilk for maximum richness, which contributes to the crispy texture. The mixture should look smooth and pale yellow. This wash is what gives the flour coating its staying power during frying.
Step 3: Dredge and Coat the Chicken Wings
Pat the 2 lb Chicken Wings dry with paper towels to ensure the coating sticks properly. Dip each wing first into the buttermilk wash, allowing excess to drip off, then into the spiced flour mixture.
Press the flour firmly onto each wing to create an even, thick coating. Place the coated wings on a wire rack set over a baking sheet to allow any excess to drip off. This prevents clumping during frying.
Let the coated wings rest for 10 minutes to help the coating set before frying. This resting period is crucial for achieving maximum crispiness.
Step 4: Fry to Golden Perfection
Heat 4 cups Vegetable Oil in a deep, heavy-bottomed pot to 325°F. Use a deep-fry thermometer for accuracy. The oil should be deep enough to fully submerge the wings without crowding.
Fry the wings in batches to avoid overcrowding, which would lower the oil temperature. Cook for 12-15 minutes, turning occasionally, until the coating is deep golden brown and the internal temperature reaches 165°F.
The wings should sizzle consistently when first added to the oil. If the sizzling stops, the oil temperature has dropped too low. Maintain the temperature between 325-350°F throughout frying for even cooking.
Step 5: Drain and Rest Before Serving
Remove the fried wings with a slotted spoon and drain on a wire rack set over a baking sheet. Avoid draining on paper towels, as this can make the coating soggy. The rack allows air to circulate around the wings, preserving crispness.
Let the wings rest for 5 minutes before serving. This allows the coating to set fully and the juices to redistribute within the meat. The result should be a shatteringly crisp exterior with tender, juicy meat inside.
Serve immediately while hot for the best texture. The coating should maintain its crunch for several minutes after frying.
Pro Tips For Making Kfc Chicken Wings Recipe Fried
- Double Dredge Wings: Dip wings in buttermilk-egg mix, then flour, then back in the wet mix and flour again—this double coating is what gives that extra crunch KFC is known for.
- Rest the Coated Wings: Let the dredged wings sit for 10 minutes before frying; I learned this the hard way—it helps the coating stick and prevents flaking in the oil.
- Heat the Oil Right: Use a thermometer to keep oil at 350°F. After burning three batches, I finally figured out that too-hot oil burns the outside before the inside cooks.
- Salt the Buttermilk: Add 1 teaspoon of salt to your buttermilk mixture—sounds simple, but it seasons the meat all the way through, not just the crust.
Storing and Reheating Leftovers
Refrigerator Storage
Let the wings cool completely before transferring to airtight containers—I use glass containers with snap-tight lids from my local Boston market. Store in the fridge at 40°F or below for up to 3 days. The coating stays crispier than you’d expect, but it’s best fresh. ❄️
Freezing Not Recommended
Honestly, I don’t freeze these wings. The texture suffers significantly after thawing, and the coating loses its signature crunch. If you must freeze, use a single layer on a tray first, then transfer to a freezer bag for up to 1 month, but expect a softer result.
Oven Reheating Method
Preheat your oven to 400°F and spread wings on a wire rack over a baking sheet. Heat for 10-12 minutes until the coating crisps up again. This method works best for restoring that just-fried texture. I tested this in my tiny triple-decker kitchen—it’s foolproof.
Air Fryer Reheating
For a quicker option, use your air fryer at 375°F for 4-5 minutes, shaking halfway through. The circulating air helps revive the crispiness almost as well as the oven. Just don’t overcrowd the basket.
Microwave as Last Resort
If you’re in a rush, microwave on 70% power for 1-2 minutes, but place a paper towel under the wings to absorb moisture. The coating won’t be as crispy, but it’ll still taste great. 💡
Serving After Storage
After reheating, let the wings rest for 2 minutes before serving. This allows the heat to distribute evenly. I always taste one first—sometimes they need a pinch of salt to brighten the flavors after storage.
Nutrition Facts
Frequently Asked Questions
What oil works best for frying?
Use vegetable, peanut, or canola oil with a high smoke point. Maintain 325°F throughout frying. Avoid olive oil as it burns at these temperatures.
Can I use frozen wings?
Always thaw completely and pat dry first. Frozen wings release moisture that prevents crispy coating. Thaw overnight in the fridge for best results.
Why does my coating fall off?
Common causes: not patting wings dry, skipping the 10-minute rest after coating, or overcrowding the fryer. Dry wings and proper timing are key.
How do I make it less spicy?
Reduce or omit the 0.5 tsp Cayenne Pepper. For mild flavor, use just 1/4 tsp or replace with extra paprika for color.

Trained in classic French technique but raised on slow-cooked ribs and spicy rubs, she blends culinary skill with smoke and soul.
- Recipe for Boneless Pork Chops in Cast Iron Skillet: Sear and Baste to Juicy Perfection - October 3, 2026
- Recipe for Boneless Cross Rib Roast: Slow-Roasted Beef with Herb Crust - October 3, 2026
- Hamburgers in Sauce Recipe Crock Pot: Slow-Cooked Savory Delight - October 3, 2026