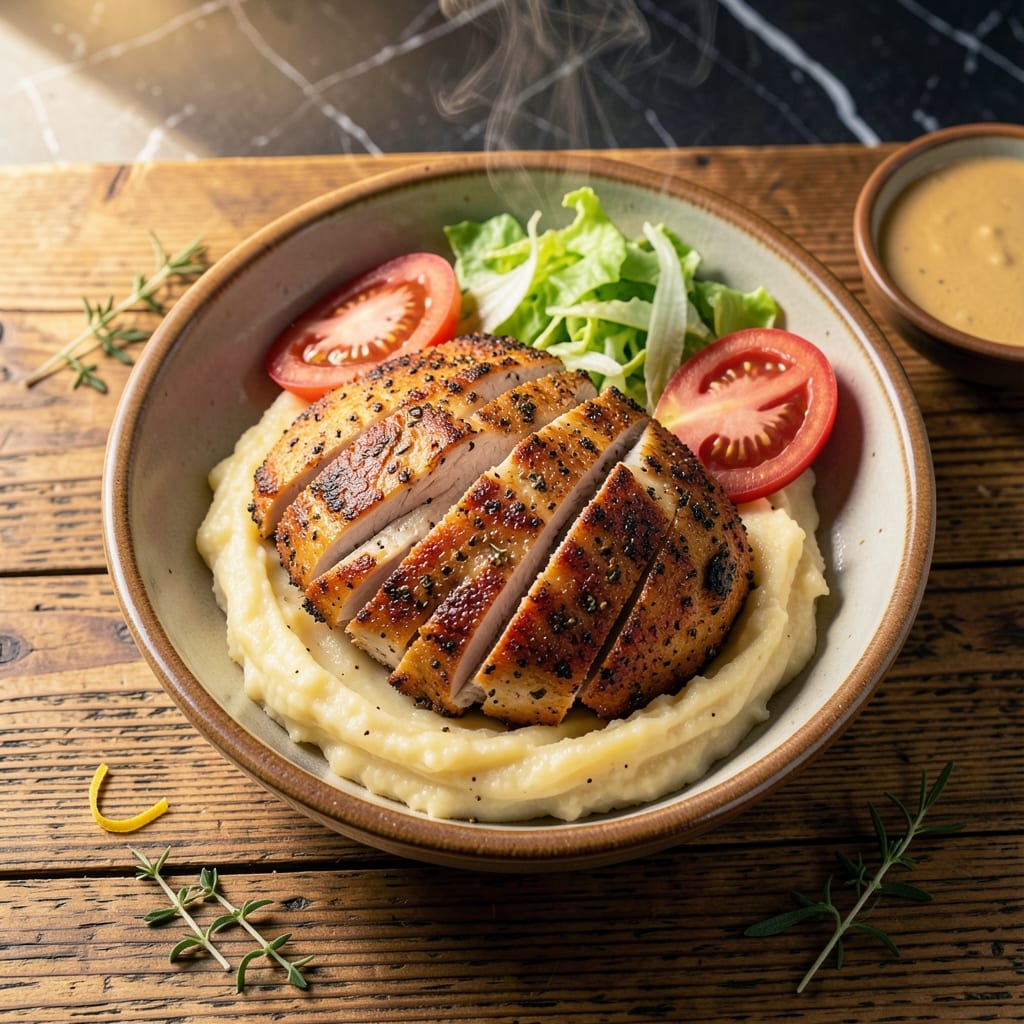
Achieving that famous crispy coating at home is absolutely possible with the right technique and blend of 11 herbs and spices. This copycat version delivers the same satisfying crunch and flavor you know and love.
I developed this method through careful testing to replicate the signature texture and taste. The key is a double-dipping breading process that creates an extra-crispy exterior while keeping the chicken juicy inside.
Each piece emerges with a golden, shatteringly crisp coating that gives way to tender meat. The aroma alone will transport you to your favorite fried chicken spot, but the taste proves you didn’t need to leave home.
Serve hot for maximum crunch and flavor. Here’s how to make it.
Ingredients for Kfc Original Recipe Chicken Breast
Eleven herbs and spices make this copycat crispy chicken unstoppable at home.
| Ingredient | Amount | Notes |
|---|---|---|
| Chicken Breast 🍗 | 1 ½ lb | Boneless, skinless, cut into strips |
| All-Purpose Flour 🌾 | 2 cups | For initial dredging |
| Large Eggs 🥚 | 2 whole | Beaten for egg wash |
| Buttermilk 🥛 | 1 cup | For soaking chicken |
| Salt 🧂 | 2 tsp | Divided for seasoning |
| Black Pepper 🌶️ | 1 tsp | Freshly ground |
| Paprika 🌶️ | 1 tbsp | For color and flavor |
| Dried Thyme 🌿 | 1 tsp | Crushed between fingers |
| Dried Basil 🌿 | 1 tsp | For herbal notes |
| Dried Oregano 🍃 | 1 tsp | Mediterranean flavor |
| Celery Salt 🧂 | 1 tsp | Key for authentic taste |
| Garlic Powder 🧄 | 1 tsp | Savory depth |
| Onion Powder 🧅 | 1 tsp | For aromatic base |
| Ground Ginger 🌿 | ½ tsp | Warm spice note |
| White Pepper 🌶️ | ½ tsp | Mild heat and earthiness |
| Vegetable Oil 🫒 | 4 cups | For deep frying |
[recipe_ingredient_scaler]
The chicken needs to be uniform in size for even cooking—cut breasts into similar-sized strips or tenders. Buttermilk is non-negotiable here; it tenderizes the meat and helps the coating stick. Whole Foods or any major grocery store will have all these spices in the bulk section. If you can’t find celery salt, make your own by mixing equal parts salt and celery seed.
No buttermilk? Mix 1 cup milk with 1 tbsp vinegar or lemon juice and let it sit for 5 minutes. Fresh herbs won’t work here—stick to dried for that concentrated flavor. The flour can be swapped for gluten-free all-purpose if needed. For extra crunch, some bakers add 1/4 cup cornstarch to the flour mix (worth trying).
Fry in batches to avoid crowding the pan—this keeps the oil temp steady. Leftovers? They’re best fresh, but you can reheat in the oven at 375°F for 10-12 minutes to revive some crunch. Store cooked chicken in the fridge for up to 3 days.
Why You’ll Love This Recipe
- Foolproof Coating: I love how the buttermilk and egg wash makes the flour stick perfectly every time.
- That KFC Crunch: The salt in the flour mix gives it that signature crispy, savory bite I crave.
- Weeknight Hero: Honestly, it’s my go-to for quick dinners that still feel like a treat.
- Leftovers? Yes Please: The chicken stays juicy even reheated, so I always make extra for lunches.
Step-by-Step Instructions for Crispy Chicken Breast
Here’s how to achieve that signature crunch and flavor in your own kitchen.
Step 1: Season and Dredge the Chicken
Pat the 1.5 lb chicken breast strips dry with paper towels. In a large bowl, whisk together the 2 cups all-purpose flour, 1 tbsp paprika, 1 tsp black pepper, 1 tsp dried thyme, 1 tsp dried basil, 1 tsp dried oregano, 1 tsp celery salt, 1 tsp garlic powder, 1 tsp onion powder, 0.5 tsp ground ginger, and 0.5 tsp white pepper.
Dredge each chicken piece in the seasoned flour, pressing gently to adhere. Shake off any excess. This first coat creates the base for that extra-crispy texture. The flour should cling evenly to each piece without forming clumps.
Step 2: Soak in Buttermilk and Egg Wash
In another bowl, whisk together the 2 whole large eggs and 1 cup buttermilk until smooth. This mixture acts as the glue for the final flour coating. Dip each floured chicken piece into the buttermilk mixture, turning to coat completely. Let any excess drip off for 10 seconds.
I like to let the chicken soak in this mixture for 2-3 minutes—this tenderizes the meat and helps the coating adhere better. The buttermilk also adds a subtle tang that balances the rich, savory seasoning blend.
Step 3: Double-Coat for Extra Crispiness
Return each buttermilk-soaked chicken piece to the seasoned flour mixture, pressing firmly to create a thick, even coating. This double-dredging is the secret to achieving that restaurant-style crunch. The second coat should look shaggy and substantial—don’t worry about perfection here.
Place the coated chicken on a wire rack set over a baking sheet. This setup allows air to circulate around each piece, preventing the coating from becoming soggy while you finish preparing the rest. Let the chicken rest for 5-10 minutes to help the coating set.
Step 4: Fry to Golden Perfection
Heat the 4 cups vegetable oil in a deep, heavy-bottomed pot to 350°F. Use a deep-fry thermometer to monitor the temperature—it should stay steady. Carefully lower a few chicken pieces into the oil, being careful not to overcrowd the pot (I do 3-4 pieces at a time).
Fry the chicken for 8-10 minutes, turning occasionally, until the coating is deep golden brown and crispy. The internal temperature of the chicken should reach 165°F. Use a slotted spoon to transfer the fried chicken to a wire rack or paper towels to drain.
Step 5: Rest and Serve Hot
Let the chicken rest for 5 minutes before serving—this allows the coating to set and the juices to redistribute. You’ll know it’s ready when the crust stays crispy and doesn’t peel away from the chicken.
The finished chicken should have a deep golden, craggy coating that cracks satisfyingly when you cut into it. Serve immediately while hot and crispy for the best texture. The inside should be juicy and tender, with that familiar blend of herbs and spices in every bite.
Pro Tips For Making Kfc Original Recipe Chicken Breast
- Double-Dredge the Breast: After the buttermilk soak, dip the breast in flour, then back in buttermilk, then flour again—I learned this the hard way, but that extra layer is what gives it that signature KFC crunch.
- Rest the Coated Breast: Let the dredged chicken sit on a wire rack for 10 minutes before frying. Sounds weird, but it works: the coating sets, so it doesn’t slide off in the oil.
- Oil Temp Matters: Keep your oil at 350°F—any lower and the chicken absorbs grease, any higher and the outside burns before the inside cooks. I burned three batches before I finally got a thermometer.
- Use Cold Buttermilk: Straight-from-the-fridge buttermilk makes the coating stick better than room temp. My grandmother swore by this, and she was right: it’s the little things that keep the crust on the meat where it belongs.
Pro Cooking Tips for kfc original recipe chicken breast
Oil Temperature Control
Maintaining 350°F oil temperature is critical for that perfect crunch. I use a Taylor digital deep-fry thermometer clipped to the pot—it beeps if the temp drops. If the oil cools below 325°F, your coating will absorb grease instead of crisping. 🌡️
Double-Dipping Secret
For that extra-shattery crust, let the first flour coat sit for 5 minutes before the buttermilk dip. This creates a gummy layer that the second coat clings to. Press firmly when applying the final flour—this builds those craggy peaks that get ultra-crispy.
Frying Batch Strategy
Fry in batches of 3-4 pieces max to prevent temperature drops. I use a 5-quart Dutch oven—it holds heat well and gives pieces room to move. Overcrowding causes uneven cooking and soggy spots. Keep a slotted spoon handy for easy turning.
Resting Method
After frying, rest pieces on a wire rack (not paper towels) for 5 minutes. This prevents steam from making the coating soggy. I place the rack over a sheet pan to catch drips. The crust will crisp further as it cools slightly.
Seasoning Boost
For deeper flavor, add ½ tsp MSG to your flour mix—this is the umami secret many copycat recipes miss. Also, crush the dried thyme between your fingers before adding to release more aroma. These small tweaks make a noticeable difference.
Oil Reuse Tip
Strain and reuse your oil once—just let it cool completely and filter through a coffee filter to remove bits. Store in a cool, dark place. Never reuse oil more than once for chicken, as it degrades and can impart off-flavors. 💡
Nutrition Facts
Frequently Asked Questions
Can I bake this instead of frying?
Yes, but expect a different texture. Bake at 400°F for 20-25 minutes, flipping halfway. The coating won’t be as crispy, but it’ll still be flavorful.
Why does my coating fall off?
Likely skipping the 5-10 minute rest after breading. This lets the coating set. Also, ensure oil is at 350°F before frying.
Can I use chicken thighs?
Thighs stay juicier and handle frying well. Adjust cooking time to 10-12 minutes for bone-in, or 8-10 minutes for boneless.
How do I keep it crispy for longer?
Rest on a wire rack, not paper towels. Reheat in the oven at 375°F for 10 minutes to revive crunch. Never microwave!

Trained in classic French technique but raised on slow-cooked ribs and spicy rubs, she blends culinary skill with smoke and soul.
- Meatball Curry Recipe Kerala Style: Coconut-Spiced Gravy With Tender Bites - October 3, 2026
- Recipe for Curried Tofu: Aromatic Spices With Crispy Edges - October 3, 2026
- Recipe for Dumplings in Crock Pot: Fluffy Pillows with Minimal Effort - October 3, 2026