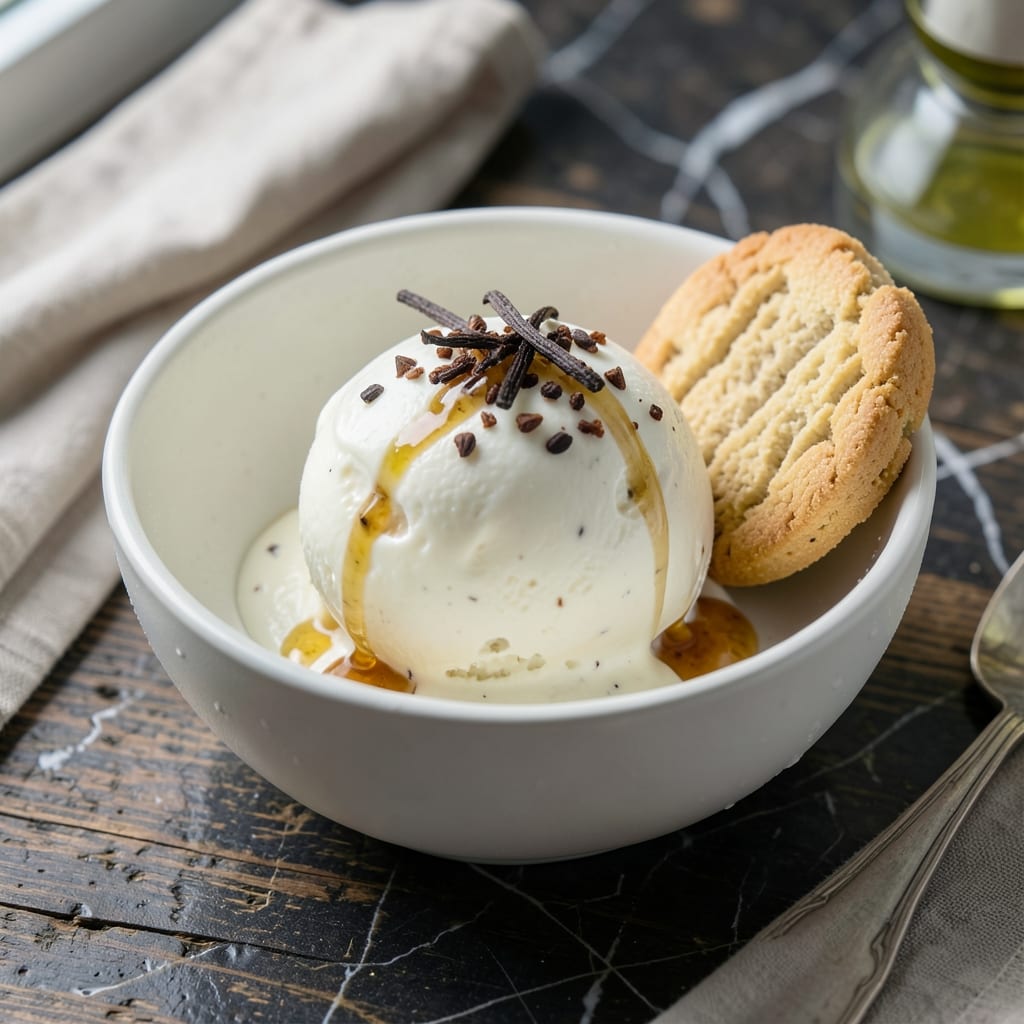
Achieving perfect vanilla ice cream with less fat is absolutely possible in your Cuisinart machine. The key lies in the right balance of ingredients and precise churning technique.
This recipe uses simple pantry staples to create a-base that’s rich in flavor but light on calories. The Cuisinart ice cream maker ensures a consistently silky smooth texture without the need for heavy cream.
You’ll be amazed at how creamy the result is, considering it’s made with low-fat dairy. The vanilla flavor shines through beautifully, making this a guilt-free treat the whole family can enjoy.
Serve immediately for soft-serve consistency or freeze for a firmer texture. The possibilities for toppings and mix-ins are endless with this versatile base.
Ingredients for Low Fat Vanilla Ice Cream Recipe for Cuisinart
Simple ingredients deliver rich vanilla flavor with a lighter touch for your Cuisinart.
| Ingredient | Amount | Notes |
|---|---|---|
| Whole Milk 🥛 | 2 cups | 2% fat for best texture |
| Granulated Sugar 🍚 | ¾ cup | Fine white sugar preferred |
| Non-Fat Greek Yogurt 🥛 | 1 cup | Plain, unsweetened variety |
| Pure Vanilla Extract 🌿 | 2 tsp | High-quality for best flavor |
| Vanilla Bean 🌿 | 1 whole | Split and scraped (optional) |
| Egg Whites 🥚 | 2 whole | Large, pasteurized preferred |
| Light Corn Syrup 🧈 | 2 tbsp | Improves scoopability |
| Salt 🧂 | ¼ tsp | Fine sea salt preferred |
| Heavy Cream 🥛 | ¼ cup | Optional for richness |
| Vanilla Bean Paste 🌿 | 1 tbsp | Alternative to extract |
[recipe_ingredient_scaler]
The milk and yogurt are doing the heavy lifting here. Whole milk at 2% fat gives you creaminess without excess calories. Greek yogurt—make sure it’s plain and unsweetened—adds body and that signature tang. For the vanilla, Nielsen-Massey or Rodelle extracts are worth the splurge. If you’re using a bean, split it lengthwise and scrape those tiny seeds right into the mixture (don’t skip the pod—simmer it in the milk first).
No Greek yogurt? Low-fat regular yogurt at double the amount works, but strain it first to remove excess liquid. Swap granulated sugar for superfine sugar if you want a smoother texture (it dissolves faster). Skip the corn syrup? Honey or agave at the same amount can stand in, though they’ll add a slight flavor. The egg whites are pasteurized for safety—liquid egg whites from a carton are a convenient alternative.
The base keeps in the fridge for 2-3 days before churning. Once churned, it’s best fresh for soft-serve, but freezes well for up to 2 weeks. Let it sit at room temperature for 10 minutes before scooping—easier on the wrist and the bowl.
Why You’ll Love This Recipe
- Cuisinart Simple: I just dump everything in the machine and let it do the work—no custard to temper, no constant stirring.
- Vanilla Bean Magic: The real vanilla bean and extract give it that deep, rich flavor without the guilt of heavy cream.
- Weeknight Treat: It’s light enough for a Tuesday dessert but still feels like a special occasion.
- Leftovers? No Problem: Honestly, it freezes beautifully—scoopable straight from the tub even after a week.
Step-by-Step Instructions for Low Fat Vanilla Ice Cream for Cuisinart
Master the technique for flawlessly smooth, light ice cream with professional results.
Step 1: Infuse and Heat the Base
In a medium saucepan, combine the 2 cups Whole Milk, 0.75 cup Granulated Sugar, and 0.25 tsp Salt. If using the 1 whole Vanilla Bean, split it lengthwise, scrape the seeds into the milk, and add the pod as well. Heat over medium heat until the mixture reaches 170°F—this ensures proper pasteurization.
Stir occasionally to dissolve the sugar completely. Watch for small bubbles forming at the edges but avoid boiling. This gentle heating preserves the delicate vanilla flavor while allowing the sugar to fully incorporate.
Step 2: Temper and Combine the Dairy Elements
In a separate bowl, whisk together the 1 cup Non-Fat Greek Yogurt, 2 whole Egg Whites, 2 tbsp Light Corn Syrup, and 0.25 cup Heavy Cream. Slowly pour about 1 cup of the hot milk mixture into this bowl while whisking constantly—this tempering step prevents the egg whites from curdling.
Once incorporated, pour the tempered mixture back into the saucepan with the remaining milk. Add the 2 tsp Pure Vanilla Extract and 1 tbsp Vanilla Bean Paste for maximum vanilla intensity. Cook over low heat for an additional 2-3 minutes, stirring constantly, until the mixture thickens slightly and coats the back of a spoon.
Step 3: Chill the Custard Thoroughly
Strain the mixture through a fine-mesh sieve into a clean bowl to remove any cooked egg bits or vanilla pod remnants. Press plastic wrap directly onto the surface of the custard to prevent a skin from forming. Refrigerate for at least 4 hours, or preferably overnight, until completely chilled to 40°F or below.
Proper chilling is non-negotiable for smooth texture. The custard should be as cold as possible before churning to achieve that silky finish. I always prepare this the night before to ensure it’s perfectly chilled.
Step 4: Churn in the Cuisinart Machine
Pour the chilled custard into your Cuisinart ice cream maker and churn according to the manufacturer’s instructions, typically 20-25 minutes. The mixture will thicken to the consistency of soft-serve and hold its shape when scooped.
Watch for the moment when the paddles start to slow down significantly—that’s your visual cue that it’s nearly done. Don’t overfill the machine; leave at least 1 inch of space at the top for expansion during churning.
Step 5: Freeze to Perfect Consistency
Transfer the churned ice cream to a lidded container, smoothing the top with a spatula. Press parchment paper directly onto the surface to minimize ice crystals. Freeze for at least 4 hours or until firm.
The final texture should be scoopable but not rock-hard. For best results, let it sit at room temperature for 5-10 minutes before serving to achieve that ideal creamy consistency. This resting period allows the flavors to fully develop.
Pro Tips For Making Low Fat Vanilla Ice Cream Recipe For Cuisinart
- Chill the Base: Always refrigerate your milk-sugar-yogurt mixture for at least 4 hours before churning—I learned this the hard way after ending up with soupy ice cream that never quite set.
- Scrape the Bean: Split the vanilla bean lengthwise and scrape out every last speck of seeds; those tiny black flecks carry most of the flavor, and skipping this leaves your ice cream tasting flat.
- Skip the Shortcut: Resist the urge to substitute vanilla extract for the real bean entirely; a single bean makes a real difference in depth of flavor, even if it feels like a splurge.
- Pre-Freeze the Bowl: Your Cuisinart bowl needs a solid 12-24 hours in the freezer—yes, even if you’re impatient like me—otherwise the mixture won’t freeze evenly and you’ll get icy patches.
Troubleshooting This Recipe
Grainy Texture Fix
If your ice cream turns out grainy, the custard likely wasn’t chilled enough before churning. Ensure it reaches 40°F or below—I chill mine overnight. Also, make sure your sugar fully dissolved during heating. 💡
Ice Crystals Prevention
Those pesky ice crystals form when the mixture isn’t cold enough or sits too long in the freezer uncovered. Press parchment paper directly on the surface before freezing and use within 2 weeks for best texture.
Too Soft After Churning
If it resembles soup after 20-25 minutes in the machine, your freezer bowl may not have been fully frozen. Pre-freeze it for at least 12 hours before using. The custard also needs to be ice-cold.
Vanilla Flavor Weak
For bolder vanilla taste, use both the vanilla bean and extract. Simmer the scraped pod in the milk during heating. I also add 1 tbsp vanilla bean paste for extra depth. 🌟
Machine Overflows
Never fill your Cuisinart more than ⅔ full. The mixture expands significantly during churning. If you’re making a double batch, churn in two separate sessions.
Eggy Taste
This usually means the egg whites weren’t properly tempered. Pour the hot milk very slowly while whisking constantly. Cook the tempered mixture on low heat to avoid scrambling.
Nutrition Facts
Frequently Asked Questions
Can I use almond milk instead of whole milk?
Yes, but the texture will be less creamy. For best results, use a barista-style almond milk with added fat. The flavor will be slightly nutty rather than pure vanilla.
Why do I need to chill the custard overnight?
Thorough chilling ensures a smooth texture and prevents ice crystals. The mixture must reach 40°F or below before churning for optimal results.
Can I add mix-ins during churning?
Add mix-ins like fruit or chocolate chips during the last 5 minutes of churning. This prevents them from sinking to the bottom.
How long can I store the finished ice cream?
Store in an airtight container with parchment paper pressed on the surface. It keeps well for up to 2 weeks in the freezer.

Trained in classic French technique but raised on slow-cooked ribs and spicy rubs, she blends culinary skill with smoke and soul.
- Recipe for Boneless Pork Chops in Cast Iron Skillet: Sear and Baste to Juicy Perfection - October 3, 2026
- Recipe for Boneless Cross Rib Roast: Slow-Roasted Beef with Herb Crust - October 3, 2026
- Hamburgers in Sauce Recipe Crock Pot: Slow-Cooked Savory Delight - October 3, 2026