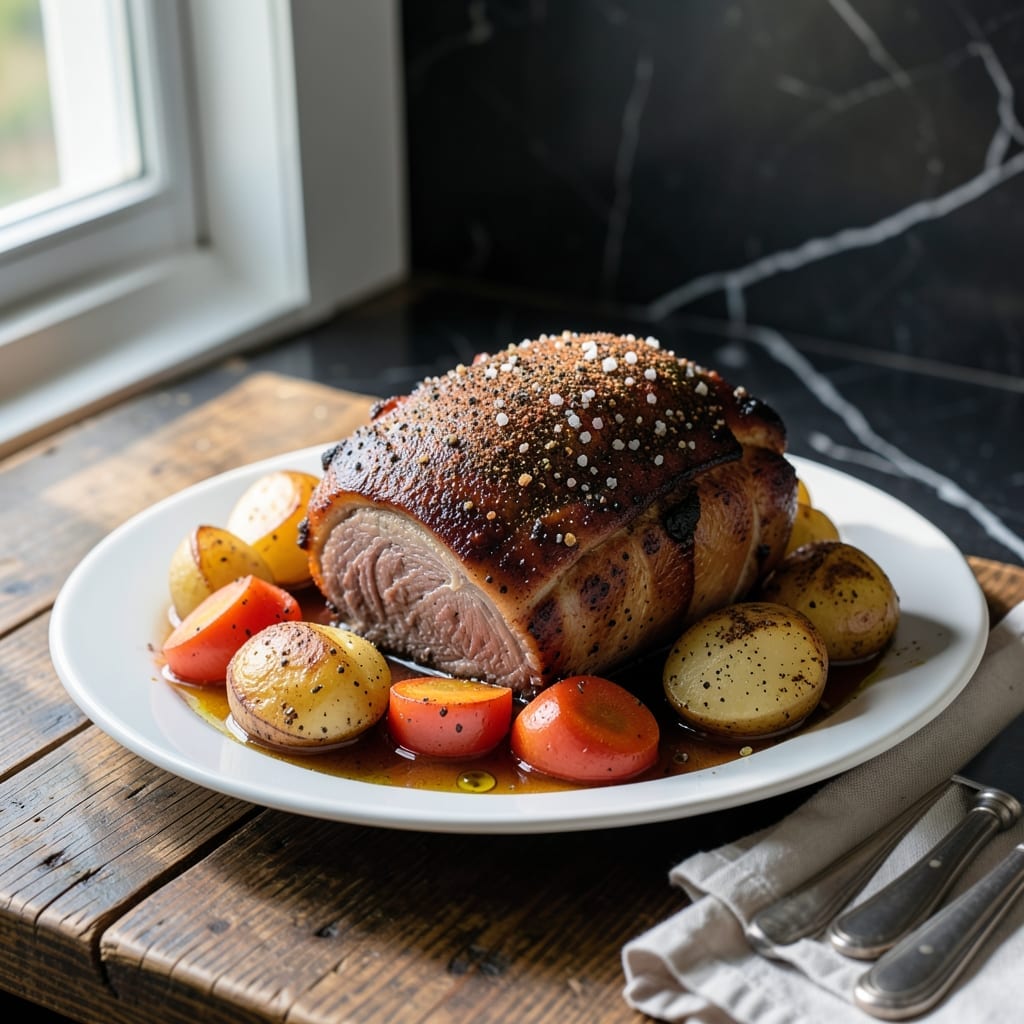
Slow-cooked beef transforms tough cuts into tender, fall-apart perfection with this proven method. I developed this recipe after years of experimenting with time and temperature to achieve professional results at home.
The key is low and slow cooking, allowing the connective tissue to break down completely while building layers of flavor. A simple rub and aromatic vegetables create a base that develops into a rich gravy as it cooks.
What emerges is melt-in-your-mouth beef with a velvety sauce that soaks into every bite. The process requires patience but rewards with restaurant-quality results that make every minute worthwhile.
Serve with mashed potatoes or crusty bread to complete the meal. This technique works for any tough cut of beef.
Ingredients for Mock Tender Roast
Transform tough beef into tender perfection with these carefully selected ingredients for slow-cooked excellence.
| Ingredient | Amount | Notes |
|---|---|---|
| Mock Tender Roast 🥩 | 2 ½ lb | Well-marbled, trimmed of excess fat |
| Kosher Salt 🧂 | 2 tsp | Diamond Crystal preferred for even seasoning |
| Black Pepper 🌶️ | 1 tsp | Freshly cracked for optimal flavor |
| Garlic Powder 🧄 | 1 tsp | Not garlic salt |
| Onion Powder 🧅 | 1 tsp | Fresh ground preferred |
| Smoked Paprika 🌶️ | 1 tsp | Adds depth to rub |
| Olive Oil 🫒 | 2 tbsp | Divided for searing and vegetables |
| Yellow Onion 🧅 | 1 whole | Large, roughly chopped |
| Carrots 🥕 | 3 whole | Peeled, cut into large chunks |
| Celery Stalks 🥬 | 3 whole | Cut into large chunks |
| Beef Broth 🥫 | 2 cups | Low-sodium preferred for control |
| Red Wine 🍷 | 1 cup | Dry variety for deglazing |
| Tomato Paste 🍅 | 2 tbsp | For umami depth |
| Fresh Thyme Sprigs 🌿 | 4 pieces | Tied with kitchen twine |
| Bay Leaves 🍃 | 2 pieces | Dried, whole |
[recipe_ingredient_scaler]
The beef quality is paramount. Opt for mock tender roast with visible marbling, as the fat renders down to create that velvety sauce. Whole Foods or Costco typically carry well-marbled cuts. Avoid pre-cut stew meat—it lacks the connective tissue needed for this method. The aromatic base (onion, carrot, celery) should be fresh and firm, not wilted or soft.
For the wine, any dry red—Cabernet, Merlot, or Pinot Noir—works beautifully. No wine? Additional beef broth with 1 tbsp balsamic vinegar mimics the acidity. Fresh thyme is ideal but dried thyme at one-third the amount substitutes well. The tomato paste can be from a can or those convenient squeeze tubes from Trader Joe’s.
This dish improves overnight as flavors meld. Store in an airtight container for up to 4 days in the fridge or 3 months in the freezer. Reheat gently on the stovetop with a splash of broth to restore the sauce’s consistency.
Why You’ll Love This Recipe
- Set It and Forget: I rub the roast with salt, pepper, and those powders, then let the oven do the work—no babysitting required.
- Savory Crust: The garlic and onion powder form this ridiculous crust that makes every bite worth it.
- Feeds the Crew: One roast, multiple meals—I slice it thin for sandwiches or chunk it for stews later that week.
- Budget Hero: Mock tender is cheaper than prime cuts, but with this seasoning, nobody notices the difference.
Step-by-Step Instructions for Mock Tender Roast
Here’s the method. Straightforward, tested, works every time.
Step 1: Sear the Roast to Build Flavor
Pat the 2.5 lb Mock Tender Roast completely dry with paper towels. This is critical for achieving a proper sear. Season all sides aggressively with the 2 tsp Kosher Salt, 1 tsp Black Pepper, 1 tsp Garlic Powder, 1 tsp Onion Powder, and 1 tsp Smoked Paprika. The rub should create a visible crust on the meat.
Heat 1 tbsp Olive Oil in a Dutch oven over medium-high heat until it shimmers but doesn’t smoke. Add the roast and sear for 3-4 minutes per side until deeply browned. You’re looking for a rich, mahogany crust that develops fond in the pan—this is the flavor foundation for your gravy.
Step 2: Sauté Aromatics and Deglaze
Remove the roast from the Dutch oven and set aside. Add the remaining 1 tbsp Olive Oil to the pot. Toss in the roughly chopped 1 whole Yellow Onion, 3 whole Carrots, and 3 whole Celery Stalks. Cook for 5 minutes until the vegetables begin to soften and brown slightly.
Add the 2 tbsp Tomato Paste and cook for 1-2 minutes, stirring constantly, until it darkens slightly. This step caramelizes the tomato paste and deepens its umami contribution. Pour in the 1 cup Red Wine and scrape up all the browned bits from the bottom of the pot as it simmers for 2-3 minutes.
Step 3: Braise with Herbs and Broth
Return the roast to the Dutch oven along with any accumulated juices. Add the 2 cups Beef Broth, 4 pieces Fresh Thyme Sprigs tied together, and 2 pieces Bay Leaves. The liquid should come about halfway up the sides of the roast—add a splash more broth if needed.
Bring the mixture to a simmer, then cover the pot and transfer it to a preheated 325°F oven. Braise for 2.5 to 3 hours, turning the roast every 45 minutes, until the meat is fork-tender and pulls apart easily with no resistance. The braising liquid should be bubbling gently throughout the cooking time.
Step 4: Rest and Prepare the Gravy
Carefully transfer the roast to a cutting board and tent loosely with foil. Let it rest for 15-20 minutes before slicing—this allows the juices to redistribute for maximum tenderness. Skim excess fat from the surface of the braising liquid, then bring it to a boil on the stovetop.
Simmer for 5-7 minutes until reduced by about one-third and coats the back of a spoon. Taste and adjust seasoning with additional Kosher Salt or Black Pepper if needed. The gravy should be rich, glossy, and intensely flavorful from the concentrated braising liquid.
Pro Tips For Making Mock Tender Roast
- Sear It Hard: I learned this the hard way—get your pan screaming hot before adding the roast, then don’t touch it for 3-4 minutes per side. A deep brown crust on a mock tender cuts through its chewiness.
- Salt It Overnight: Sprinkle the roast with kosher salt at least 12 hours before cooking, then leave it uncovered in the fridge. Sounds weird, but it works: the salt penetrates deep and keeps the meat juicy.
- Skip the Cold Roast: After burning the edges on a cold cut once, I now pull the mock tender from the fridge 30-45 minutes before cooking. Room temp meat cooks more evenly and doesn’t seize up.
- Use a Meat Thermometer: Mock tender can go from perfect to tough in minutes, so I check for 130-135°F for medium-rare. Guessing by time or color is how you end up with a dry, sad roast.
Essential Equipment for This Recipe
Dutch Oven Essential
A heavy 5-6 quart Dutch oven is non-negotiable for this recipe. I use my Le Creuset for its even heat distribution and ability to go from stovetop to oven seamlessly. The tight-fitting lid traps moisture, which is crucial for breaking down the tough fibers in the beef. 🔥
Quality Knife Matters
Invest in a good 8-inch chef’s knife for trimming the roast and chopping vegetables. My Wüsthof has been my go-to for years. A sharp knife makes prep safer and more precise, especially when working with tougher cuts of meat.
Meat Thermometer
Don’t guess at doneness—use an instant-read thermometer. I recommend the ThermoWorks ThermoPop for its accuracy and speed. For this dish, you’re aiming for that perfect fork-tender stage rather than a specific temperature, but the thermometer helps monitor progress.
Wooden Spoon
A sturdy wooden spoon is perfect for stirring the aromatics and scraping up the fond from the Dutch oven. I keep a bamboo spoon dedicated to my braising projects. It won’t scratch your cookware and can handle the high heat of deglazing.
Kitchen Twine
Use unbleached cotton kitchen twine to tie your thyme sprigs together. This keeps the herbs contained and makes them easy to remove before serving. I always keep a roll in my drawer—it’s one of those small tools that makes a big difference in organization. 💡
Tongs for Turning
Long 12-inch locking tongs give you the reach and control to turn the roast without burning your hands. I prefer OXO’s stainless steel tongs for their grip and durability. They’re perfect for handling the heavy roast during searing and braising.
Nutrition Facts
Frequently Asked Questions
What’s the best cooking method for this cut?
Low and slow braising works best. Cook at 325°F for 2.5-3 hours until fork-tender. This breaks down connective tissue while keeping the meat juicy.
Can I use a slow cooker instead?
Yes! Sear the roast first, then cook on low for 8-10 hours or high for 5-6 hours. Add 1/2 cup extra broth since slow cookers don’t reduce liquid as much.
How do I store leftovers?
Keep in an airtight container with gravy for up to 4 days in the fridge. For longer storage, freeze for up to 3 months. Reheat gently to preserve texture.
Why is my roast tough?
It likely didn’t cook long enough. This cut needs time to break down. If it’s still tough after 3 hours, cook for another 30-45 minutes and check again.

Trained in classic French technique but raised on slow-cooked ribs and spicy rubs, she blends culinary skill with smoke and soul.
- Recipe for Boneless Pork Chops in Cast Iron Skillet: Sear and Baste to Juicy Perfection - October 3, 2026
- Recipe for Boneless Cross Rib Roast: Slow-Roasted Beef with Herb Crust - October 3, 2026
- Hamburgers in Sauce Recipe Crock Pot: Slow-Cooked Savory Delight - October 3, 2026