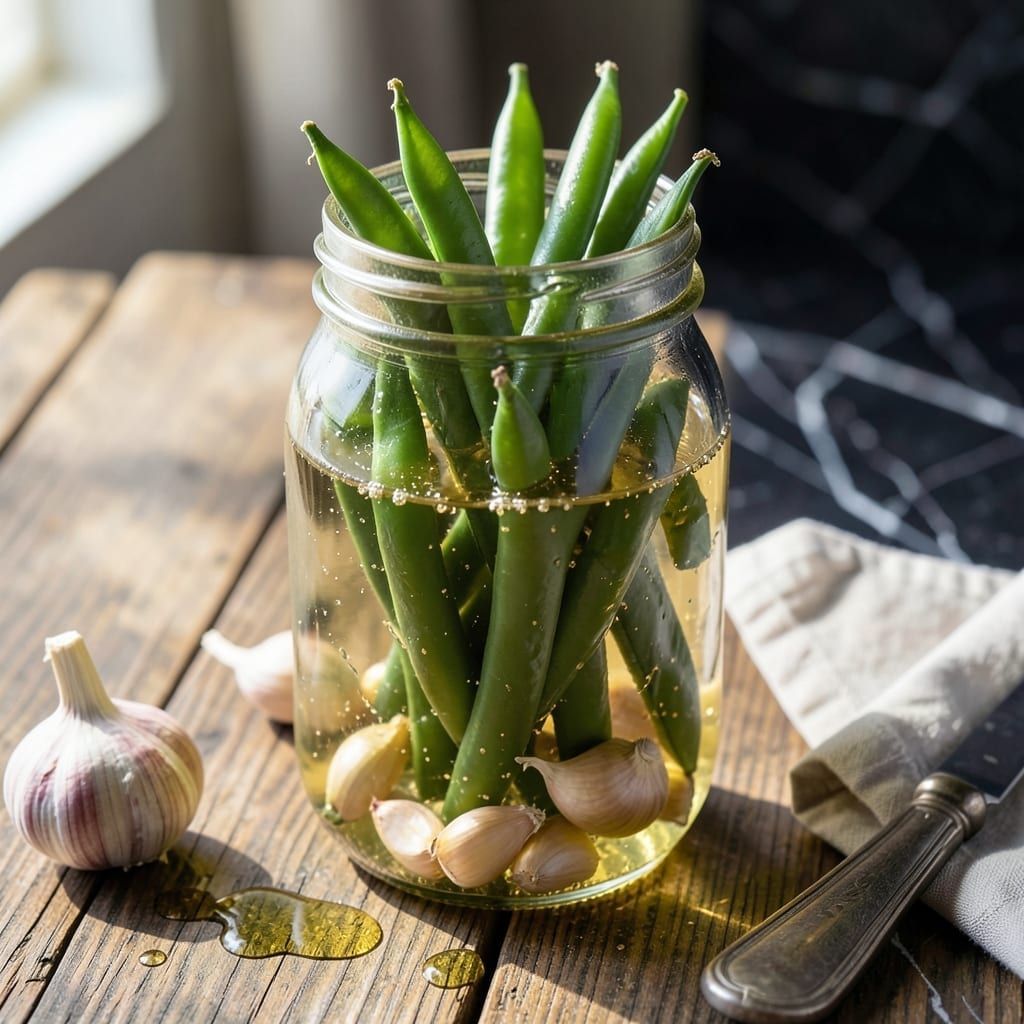
This quick pickling method transforms fresh green beans into crisp, tangy bites in just 20 minutes. No canning required—just a simple brine and a little patience.
I developed this technique for busy weeknights when I wanted that restaurant-style pickled crunch without the long wait. The secret is using thin green beans and a hot brine, which speeds up the pickling process while maintaining perfect texture.
The result is vibrant, tangy beans with a satisfying snap, ideal for snacking, salads, or charcuterie boards. Their bright flavor cuts through rich dishes beautifully.
Store in the fridge for up to three weeks, though they rarely last that long in my house.
Ingredients for Pickled Green Bean Recipe Quick
Fresh green beans and a simple brine are all you need for this quick pickling method.
| Ingredient | Amount | Notes |
|---|---|---|
| Fresh Green Beans 🌿 | 1 lb | Thin variety, trimmed |
| White Vinegar 💧 | 1 ½ cups | 5% acidity preferred |
| Water 💧 | 1 ½ cups | Filtered for best flavor |
| Granulated Sugar 🍚 | 2 tbsp | Organic or white |
| Kosher Salt 🧂 | 1 tbsp | Diamond Crystal preferred |
| Garlic Cloves 🧄 | 4 cloves | Smashed, peeled |
| Black Peppercorns 🌶️ | 1 tsp | Whole, not ground |
| Mustard Seeds 🌿 | 1 tsp | Yellow or brown |
| Dill Seeds 🌿 | ½ tsp | Optional for extra flavor |
| Red Pepper Flakes 🌶️ | ½ tsp | Adjust for heat preference |
| Bay Leaves 🍃 | 2 whole | Dried, for brine |
[recipe_ingredient_scaler]
The green beans are the star here—look for thin, crisp ones at the farmers market or grocery store. Avoid the thick, woody kind. Trader Joe’s has great pre-trimmed ones if you’re in a hurry. The vinegar should be 5% acidity (most white vinegar is), which is key for that perfect tang. I always grab Heinz or store brand—no need to splurge.
No white vinegar? Apple cider vinegar works too (just a slightly fruitier taste). Swap sugar for maple syrup or agave at the same amount. Missing mustard seeds? Coriander seeds at half the quantity add a nice citrusy note. The dill seeds are optional but worth it if you like that classic deli pickle flavor. Bay leaves can be skipped in a pinch.
These keep in the fridge for 3 weeks (if they last that long). Store in a clean glass jar with a tight lid. The beans stay crispest if you wait 24 hours before digging in, but honestly, I never do. They’re still delicious right away.
Why You’ll Love This Recipe
- Ready in 20: Honestly, just trim the beans, boil the brine, and let them sit—no fancy steps.
- Tangy Crunch: That sharp vinegar bite with the snap of fresh beans? I crave it straight from the jar.
- Fridge Staple: I toss these in salads, on charcuterie boards, or eat them as a snack all week.
- Pantry Hero: Five basic ingredients I always have, and it costs pennies compared to store-bought pickles.
Step-by-Step Instructions for Pickled Green Beans
Here’s how I make these tangy, crisp green beans in record time.
Step 1: Prep the Green Beans and Jars
Start by washing the 1 lb Fresh Green Beans and trimming the ends. I like to leave them whole for a nice presentation, but you can cut them into spear lengths if you prefer. Pack them tightly into clean jars—this ensures they stay submerged in the brine.
While you’re prepping, have your 4 cloves Garlic Cloves, 1 tsp Black Peppercorns, 1 tsp Mustard Seeds, 0.5 tsp Dill Seeds, 0.5 tsp Red Pepper Flakes, and 2 whole Bay Leaves ready to go. These spices will flavor the brine and give the beans that classic pickled taste.
Step 2: Make the Brine
In a medium saucepan, combine the 1.5 cups White Vinegar, 1.5 cups Water, 2 tbsp Granulated Sugar, and 1 tbsp Kosher Salt. Bring the mixture to a boil over medium-high heat, stirring until the sugar and salt dissolve completely.
This step is crucial—you want a fully homogeneous brine so the flavors distribute evenly. Once it reaches a rolling boil, remove it from the heat. The brine should be clear with no visible sugar or salt crystals.
Step 3: Assemble and Cool
Divide the spices and garlic evenly between your jars of green beans. Then, carefully pour the hot brine over the beans, making sure they’re fully submerged. Tap the jars gently on the counter to remove any air bubbles.
Let the jars cool to room temperature. This usually takes about 20-30 minutes. The beans will start to absorb the tangy flavors as they cool, and the heat from the brine helps soften them just slightly while keeping their crunch.
Step 4: Seal and Store
Once cooled, seal the jars tightly with lids. For the best flavor, let them sit at room temperature for at least 1 hour before refrigerating. If you can wait, 24 hours in the fridge gives the beans their full tangy, spiced character.
Store the jars in the refrigerator, where they’ll keep for up to 2 weeks. The beans will stay crisp and the flavors will deepen over time. Serve them cold as a snack, in salads, or alongside your favorite dishes.
Pro Tips For Making Pickled Green Bean Recipe Quick
- Trim the Ends: Snap off both ends of the green beans—leaving them whole looks pretty, but the stem ends stay tough no matter how long they soak. I learned this the hard way after crunching on a bitter bite in my first batch.
- Boil the Brine: Heat the vinegar, water, sugar, and salt just until the sugar dissolves, then cool completely before pouring over the beans. Sounds tedious, but it keeps the beans crisp and prevents cloudy brine.
- Skip the Overpacking: Resist the urge to cram too many beans into the jar—leave at least an inch of headspace. After my first jar overflowed in the fridge, I now use a chopstick to push beans down gently as I pack them.
- Use a Mason Jar: A clean quart-sized mason jar with a tight lid is the easiest way to submerge the beans fully. I used to use random containers, but the beans pickled unevenly—now I just repurpose my pasta sauce jars when I’m out of mason jars.
Storing and Reheating Leftovers
Refrigerator Storage
Let your pickled green beans cool completely before sealing the jars. Store them in the fridge where they’ll keep for up to 3 weeks. I always use clean glass jars with tight-fitting lids for the best results. ❄️
Room Temperature Tip
For that first taste, you can leave the jars at room temperature for 1-2 hours after cooling. This jumpstarts the pickling process. Just don’t leave them out longer than that to prevent spoilage.
Flavor Development
The beans are still delicious right after cooling, but I find they reach peak flavor after 24 hours in the fridge. The spices and vinegar really meld together during this time.
Freezing Not Recommended
Pickled green beans don’t freeze well—the texture becomes mushy when thawed. Stick to refrigerator storage for the best crunch and flavor.
Serving from Fridge
When ready to serve, simply open the jar and enjoy. These beans are perfect straight from the fridge as a cold snack or added to salads. The cold temperature actually enhances their crisp texture.
Jar Maintenance
Always use a clean utensil when removing beans to prevent contamination. This helps extend their shelf life. I keep a small spoon in the jar for easy serving.
Nutrition Facts
Frequently Asked Questions
How long do quick pickled beans stay crisp?
They maintain their crunch for up to 3 weeks in the fridge. The hot brinemethod preserves texture beautifully.
Can I use other vinegars instead of white?
Yes! Apple cider vinegar adds fruitiness, while rice vinegar gives a milder tang. Keep the 5% acidity for safety.
Why did my beans turn soft?
Overcooking or using thick beans causes mushiness. Always use thin beans and pour boiling brine over raw ones.
What spices can I swap in?
Try coriander seeds or fennel instead of mustard. Fresh dill works too for a brighter flavor.

Trained in classic French technique but raised on slow-cooked ribs and spicy rubs, she blends culinary skill with smoke and soul.
- Recipe for Boneless Pork Chops in Cast Iron Skillet: Sear and Baste to Juicy Perfection - October 3, 2026
- Recipe for Boneless Cross Rib Roast: Slow-Roasted Beef with Herb Crust - October 3, 2026
- Hamburgers in Sauce Recipe Crock Pot: Slow-Cooked Savory Delight - October 3, 2026