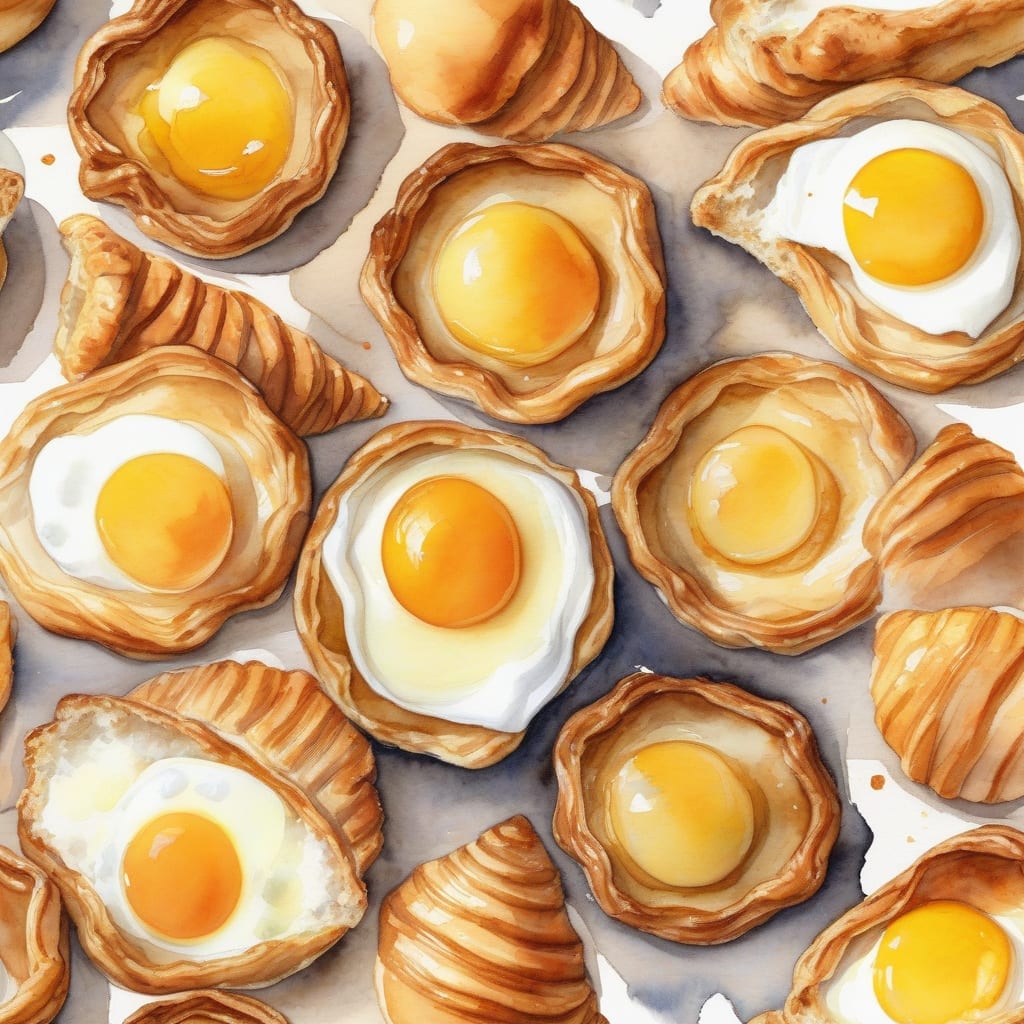
Puff Pastry Shells Recipe: Flaky, Buttery Crusts in Minutes
Mastering puff pastry shells is easier than you think, and I’m sharing my foolproof technique for achieving perfectly flaky, buttery crusts every time. The secret lies in keeping ingredients cold and handling the dough minimally.
You’ll need high-quality puff pastry, which you’ll thaw according to package instructions. While that’s thawing, preheat your oven to 400°F and line a baking sheet with parchment paper.
To create the shells, roll out the puff pastry to about 1/4-inch thickness. Cut out your desired shapes using a cookie cutter or knife, then place them on the prepared baking sheet. Brush with egg wash for that golden finish.
Bake for 15-20 minutes or until puffed and golden. Let cool completely before filling with your favorite sweet or savory ingredients. The result is a beautifully flaky crust that’s sure to impress.
Ingredients for puff pastry shells
Here’s everything you need to create beautiful puff pastry shells at home easily.
| Ingredient | Amount | Notes |
|---|---|---|
| Puff Pastry Dough 🥧 | 1 package | Thawed according to package instructions |
| Large Egg 🥚 | 1 whole | Beaten for egg wash |
| Water 💧 | 1 tbsp | For egg wash |
| Salt 🧂 | ¼ tsp | For sprinkling |
| Parchment Paper 📦 | 1 sheet | For lining baking sheet |
[recipe_ingredient_scaler]
Find high-quality puff pastry in the freezer section at your local grocery store or specialty bakery. Look for brands that list 'butter' as a primary ingredient for the best flavor. When thawing, follow package instructions carefully to prevent dough from becoming too soft. Keep all ingredients chilled until ready to use for optimal flakiness.
If you don't have a cookie cutter, use a glass or knife to cut pastry into desired shapes. For an extra-golden finish, brush pastry with egg wash twice before baking. You can substitute melted butter for egg wash for a richer flavor, though it won't be as shiny. Make sure to space pastry shapes about 1 inch apart on the baking sheet to allow for even puffing.
Store leftover puff pastry shells in an airtight container at room temperature for up to 2 days. You can freeze them for up to 1 month – simply thaw at room temperature before filling. Keep puff pastry dough chilled until use and handle it gently to maintain flaky layers. For best results, bake shells just before filling.
Step-by-Step Instructions for Puff Pastry Shells
I’ll guide you through creating perfect puff pastry shells that are both flaky and delicious.
🔥 Step 1: Prepare the Puff Pastry
Start by unwrapping the 1 package Puff Pastry Dough and placing it on a lightly floured surface. If it’s been refrigerated, let it sit at room temperature for 10-15 minutes until it becomes pliable but still cold. Roll out the dough to a ¼-inch thickness, maintaining an even thickness throughout.
As you roll, rotate the dough 90 degrees every few rolls to prevent it from sticking to the surface. If you notice any tears, simply press them together gently. The dough should be smooth and even, with no visible cracks or creases.
👨🍳 Step 2: Cut Out the Pastry Shells
Using a sharp knife or a 3-inch round cookie cutter, cut out circles of dough. You should be able to get about 4 circles depending on how tightly you pack the cuts. Place the cut circles on the 1 sheet Parchment Paper lined baking sheet, leaving about 1 inch of space between each shell.
To create the shell effect, use a smaller cutter or knife to cut a ½-inch border around the edge of each circle, being careful not to cut all the way through the dough. This will create a border that rises during baking.
🔥 Step 3: Brush with Egg Wash and Bake
Preheat your oven to 400°F. In a small bowl, whisk together the 1 whole Large Egg and 1 tbsp Water to create the egg wash. Brush the egg wash gently over the pastry shells, making sure to stay within the borders.
Sprinkle a pinch of 0.25 tsp Salt over the egg wash for added flavor. Place the baking sheet in the oven and bake for 15-20 minutes, or until the pastry is puffed and golden brown. Rotate the baking sheet halfway through the baking time to ensure even browning.
⏰ Step 4: Cool the Pastry Shells
Remove the baking sheet from the oven and let the pastry shells cool on the sheet for 5 minutes. Then, transfer them to a wire rack to cool completely. As they cool, they’ll become crisper and more flaky.
Once cooled, use the shells immediately or store them in an airtight container for up to 24 hours. If you need to store them longer, you can freeze the shells for up to 1 month and thaw them at room temperature when needed.
Now that you have the basic ingredients and idea of what puff pastry shells are, let’s dive into the fun part – making them! 🎉 Making puff pastry shells from scratch can be a bit intimidating, but trust us, it’s worth the effort. With a few simple ingredients and some patience, you’ll be enjoying flaky, buttery crusts in no time.
🔪 Preparing the Dough
To start, combine 1 cup of cold unsalted butter, cut into small pieces, with 1 1/2 cups of all-purpose flour in a bowl. Use a pastry blender or your fingertips to work the butter into the flour until the mixture resembles coarse crumbs.
🥘 Rolling Out the Dough
Gradually add 1/4 cup of ice-cold water, stirring with a fork until the dough comes together in a ball. Wrap the dough in plastic wrap and refrigerate for at least 30 minutes. On a lightly floured surface, roll out the dough to a thickness of about 1/8 inch.
👨🍳 Shaping the Shells
Use a cookie cutter or the rim of a glass to cut out circles of dough. You can also use a knife to cut the dough into desired shapes. Place the dough shapes into a muffin tin or onto a baking sheet lined with parchment paper.
- For a more delicate shell, brush the tops with a little bit of egg wash (beaten egg mixed with a splash of water).
- For a golden brown finish, brush the tops with a little bit of melted butter.
💡 Pro tip: To ensure your puff pastry shells turn out flaky and tender, make sure to keep the butter cold and handle the dough as little as possible.
| Baking Temperature | Baking Time |
|---|---|
| 400°F (200°C) | 15-20 minutes |
Once you’ve mastered the art of making puff pastry shells, you can fill them with your favorite sweet or savory ingredients. The possibilities are endless! 🍰👌
Tips & Tricks for Perfect Puff Pastry Shells
These tried-and-tested tips will help you achieve bakery-quality puff pastry shells at home.
Temperature Control: Keep your puff pastry dough cold by returning it to the refrigerator for 5-10 minutes if it becomes too soft while rolling. This prevents the butter from melting and ensures flaky layers. 🔥
Handling the Dough: When cutting out the pastry circles, use a sharp cutter and press straight down without twisting. Twisting can seal the edges and prevent proper rising. You should get about 4 circles from the dough.
Egg Wash Technique: Brush the egg wash gently over the pastry, staying within the borders to prevent the egg from seeping into the center. This creates a beautiful golden brown color and adds shine. For an extra-golden finish, you can brush the pastry with egg wash twice, allowing the first layer to dry briefly before applying the second.
Storage Tips: If you don’t plan to use the shells immediately, store them in an airtight container for up to 24 hours. For longer storage, freeze the shells for up to 1 month and thaw at room temperature when needed.
Nutrition Facts
120kcal
You’ll love how these puff pastry shells bring a touch of elegance to any meal. The flaky, buttery crust is perfect for both sweet and savory fillings, making them incredibly versatile. With just a few simple ingredients, you can create impressive appetizers or desserts that will wow your guests.
These pastry shells are a great source of energy from their carbohydrate content, providing a good base for various fillings. While they’re not particularly high in protein or fiber, they do contain some fat from the butter in the puff pastry, giving them a rich flavor. The egg wash on top adds a nice golden color.
Enjoy these pastry shells in moderation as part of a balanced meal. They pair beautifully with both savory and sweet fillings, allowing you to create a wide range of delicious dishes. Be mindful of portion sizes, as they’re quite rich and calorie-dense despite being relatively low in calories on their own.
[recipe_ingredient_scaler]

Trained in classic French technique but raised on slow-cooked ribs and spicy rubs, she blends culinary skill with smoke and soul.
- Recipe for Boneless Pork Chops in Cast Iron Skillet: Sear and Baste to Juicy Perfection - October 3, 2026
- Recipe for Boneless Cross Rib Roast: Slow-Roasted Beef with Herb Crust - October 3, 2026
- Hamburgers in Sauce Recipe Crock Pot: Slow-Cooked Savory Delight - October 3, 2026