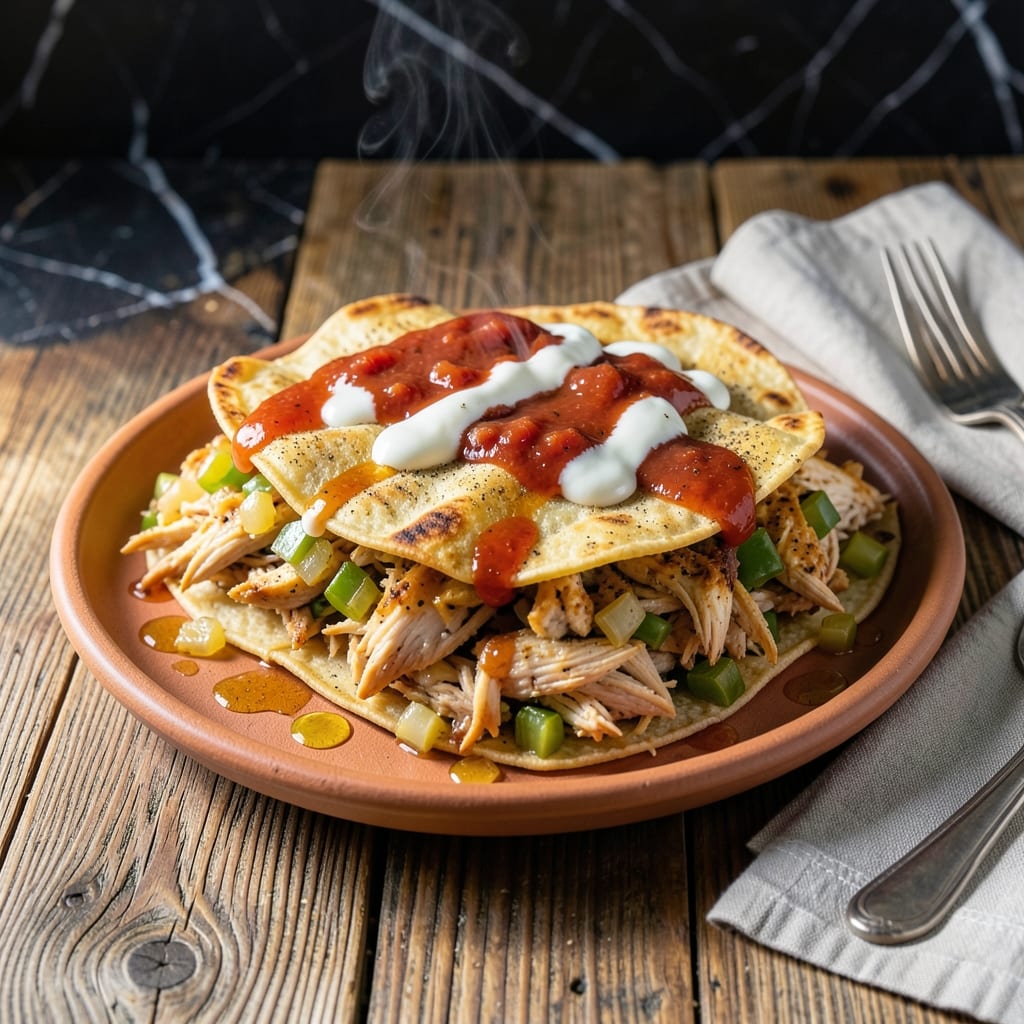
I developed this recipe after years of testing to achieve the perfect balance of crispy exterior and flavorful filling that defines great chimichangas. The key is using flour tortillas and sealing them properly before frying.
This method transforms simple ingredients into a restaurant-quality dish with minimal effort. The chicken filling comes together quickly with pantry staples, while the tortillas crisp to golden perfection in hot oil.
You’ll end up with chimichangas that hold their shape beautifully, with a shatteringly crispy shell giving way to tender, spiced chicken inside. The contrast between textures makes every bite satisfying.
Serve with your favorite toppings for a complete meal that impressed my most skeptical taste testers.
Ingredients for Recipe for Chicken Chimichangas
Flour tortillas, spiced chicken, and a few pantry staples create this restaurant-style dish at home.
| Ingredient | Amount | Notes |
|---|---|---|
| Boneless Skinless Chicken Breasts 🍗 | 1 ½ lb | Shredded after cooking |
| Flour Tortillas 🌯 | 8 whole | Burrito-sized, about 10-inch |
| Vegetable Oil 🫒 | 2 cups | For deep frying |
| Yellow Onion 🧅 | 1 whole | Medium, finely diced |
| Garlic Cloves 🧄 | 3 cloves | Minced for filling |
| Ground Cumin 🌿 | 1 ½ tsp | Toasted for depth |
| Chili Powder 🌶️ | 1 tbsp | Mild or hot variety |
| Dried Oregano 🍃 | 1 tsp | Mexican oregano preferred |
| Salt 🧂 | 1 tsp | Kosher or sea salt |
| Black Pepper 🌶️ | ½ tsp | Freshly ground |
| Chicken Broth 💧 | ½ cup | Low-sodium preferred |
| Tomato Sauce 🍅 | ½ cup | Plain, no added seasonings |
| Green Bell Pepper 🌶️ | 1 whole | Diced, seeds removed |
| All-Purpose Flour 🌾 | 1 tbsp | For sealing tortillas |
| Water 💧 | 2 tbsp | For sealing paste |
[recipe_ingredient_scaler]
The tortillas are non-negotiable here—flour tortillas crisp up perfectly, while corn ones just crack. Look for burrito-sized (10-inch) at any grocery store. I grab mine from HEB or Walmart—both have solid options. The chicken? Boneless, skinless breasts shred easiest, but thighs work too if you prefer darker meat (just cook them a bit longer).
No chili powder? Taco seasoning at half the amount works in a pinch. Short on cumin? Coriander or smoked paprika add a different but still tasty flavor. The tomato sauce can be swapped for crushed tomatoes—just drain off the excess liquid. For extra veggies, toss in some diced zucchini or corn with the bell pepper.
Fry these up fresh for the best texture—though leftovers reheat decently in the oven at 350°F for 10-12 minutes. Store uncooked chimichangas in the fridge for 1 day max, or freeze for up to 1 month (thaw before frying).
Why You’ll Love This Recipe
- One Pan Wonder: I love that I can sear the chicken, sauté the onions and garlic, and crisp the chimichangas all in the same pan—minimal cleanup, maximum flavor.
- That Garlic Kick: The sizzle of fresh garlic with the onions gives the filling a rich, aromatic depth that makes every bite irresistible.
- Feeds a Crowd: I’ve served these at game nights and potlucks, and they’re always the first to disappear—easy to scale up for any gathering.
- Next-Day Magic: Honestly, they taste even better the next day. The tortillas soften just enough while keeping their crisp, and the flavors meld overnight.
Step-by-Step Instructions for Chicken Chimichangas
Here’s the method I use to get that perfect crisp every single time.
Step 1: Cook and Shred the Chicken
Heat 1 tablespoon of the vegetable oil in a large skillet over medium-high heat. Add the yellow onion and green bell pepper, both finely diced, and sauté for 4-5 minutes until softened and just starting to brown.
Add the garlic cloves, ground cumin, chili powder, dried oregano, salt, and black pepper. Stir for 30 seconds until fragrant. Pour in the chicken broth and tomato sauce, then add the boneless skinless chicken breasts. Reduce heat to medium and simmer for 15-18 minutes, turning occasionally, until the chicken is cooked through and reaches 165°F internally.
Remove the chicken from the skillet and shred it using two forks. Return the shredded chicken to the skillet and stir to combine with the sauce. Cook for another 2-3 minutes until most of the liquid has been absorbed. Transfer to a bowl and let cool slightly.
Step 2: Prepare the Tortillas for Filling
Warm the flour tortillas one at a time in a dry skillet over medium heat for 10-15 seconds per side until pliable. This prevents them from cracking when you fold them. Keep the warmed tortillas covered with a clean kitchen towel to retain moisture.
Place about ⅓ cup of the chicken filling in the center of each tortilla. Fold the sides inward, then roll up tightly from the bottom, burrito-style. The filling should be completely enclosed.
Step 3: Seal and Deep-Fry to Crispy Perfection
In a small bowl, mix the all-purpose flour with the water to create a thin paste. Use this paste to seal the edges of each chimichanga by brushing it along the final fold. This keeps them from unraveling during frying.
Heat the remaining vegetable oil in a deep, heavy pot to 350°F. Working in batches to avoid crowding, carefully place the chimichangas seam-side down in the hot oil. Fry for 2-3 minutes per side until deep golden brown and crispy. Use a slotted spoon to transfer them to a paper towel-lined plate to drain excess oil.
Step 4: Serve Immediately While Hot
Let the chimichangas rest for 2-3 minutes after frying to allow the filling to set slightly. The exterior should be uniformly crispy with no soft spots, and the inside should be hot and flavorful.
Serve immediately while still hot and crispy. These are best enjoyed fresh out of the fryer, when the tortilla is at its peak crunch and the filling is perfectly warm. Pair with your favorite toppings like sour cream, guacamole, or salsa for a complete meal.
Pro Tips For Making Recipe For Chicken Chimichangas
- Pre-cook the Chicken: Shred the chicken breasts before assembling—simmer them in the cooking liquid first until they pull apart easily with forks. I learned this the hard way after struggling with dry, rubbery chunks in my first few batches.
- Warm the Tortillas: Heat the flour tortillas for 10-15 seconds per side in a dry pan before filling. Sounds weird, but it works: they stay pliable and won’t crack when you roll them tight.
- Seal with a Toast: After rolling, place the chimichanga seam-side down in the hot oil for 30 seconds before flipping—this sets the edge and keeps it from unraveling. My grandmother swore by this, and she was right.
- Drain on a Rack: Skip the paper towels and let the fried chimichangas drain on a wire rack instead. This keeps them crisp instead of soggy from trapped steam—yes, even if you’re impatient like me.
Creative Variations of This Recipe
Beef chimichangas
Swap 1.5 lb ground beef for the chicken—brown it in the skillet first, then drain excess fat before adding onions and peppers. I love this version for a heartier texture. The beef absorbs all those beautiful spices just as well. 💪
Vegetarian black bean
Replace chicken with 2 cups cooked black beans, mashed slightly. Add 1 cup corn kernels and ½ cup diced zucchini for extra texture. This was my first successful vegetarian adaptation, and it still gets rave reviews from meat lovers.
Breakfast chimichangas
Use scrambled eggs with ½ lb cooked chorizo and 1 cup shredded cheddar cheese. Add ¼ cup chopped cilantro for freshness. Serve with salsa and a fried egg on top for Sunday brunch—my family’s favorite weekend treat.
Spicy chipotle twist
Add 2 tbsp adobo sauce (from canned chipotles) to the chicken mixture along with 1 finely chopped chipotle pepper. This smoky heat level is perfect for those who love a kick. I tested this five times to get the balance just right. 🌶️
Cheesy chicken version
Mix 1 cup shredded Monterey Jack into the chicken filling before wrapping. The cheese melts beautifully and adds richness. Use low-moisture cheese to avoid a soggy tortilla—this is a lesson I learned the hard way.
Air-fryer method
Brush chimichangas with 1 tbsp oil and air-fry at 375°F for 12-15 minutes, turning halfway. They won’t be as crispy as deep-fried but still delicious. This is my go-to for a lighter weeknight version.
Nutrition Facts
Frequently Asked Questions
Can I bake these instead of frying?
Yes! Brush with 1 tablespoon oil and bake at 425°F for 20-25 minutes, flipping halfway. They won’t be as crispy but still delicious and lighter.
How do I keep them from opening while frying?
Secure the folded edge with a flour-water paste and place seam-side down in the oil first. This prevents unraveling and ensures even cooking.
Can I make these ahead of time?
Assemble and refrigerate uncooked chimichangas for up to 1 day, or freeze for 1 month. Fry from frozen, adding 1-2 extra minutes per side.
What’s the best way to reheat leftovers?
Oven at 350°F for 10-12 minutes works best to restore crispiness. Microwaving makes them soggy—avoid if possible!

Trained in classic French technique but raised on slow-cooked ribs and spicy rubs, she blends culinary skill with smoke and soul.
- Smoked Whitefish Recipe: Wood-Fired Flakes with Herbed Butter Drizzle - October 15, 2026
- Smoked Teriyaki Beef Jerky Recipe: Umami-Deep Flavor in Every Chewy Bite - October 15, 2026
- Stewed Beef Brisket Recipe: Deep-Rich Flavor After 8 Hours of Slow Simmering - October 15, 2026