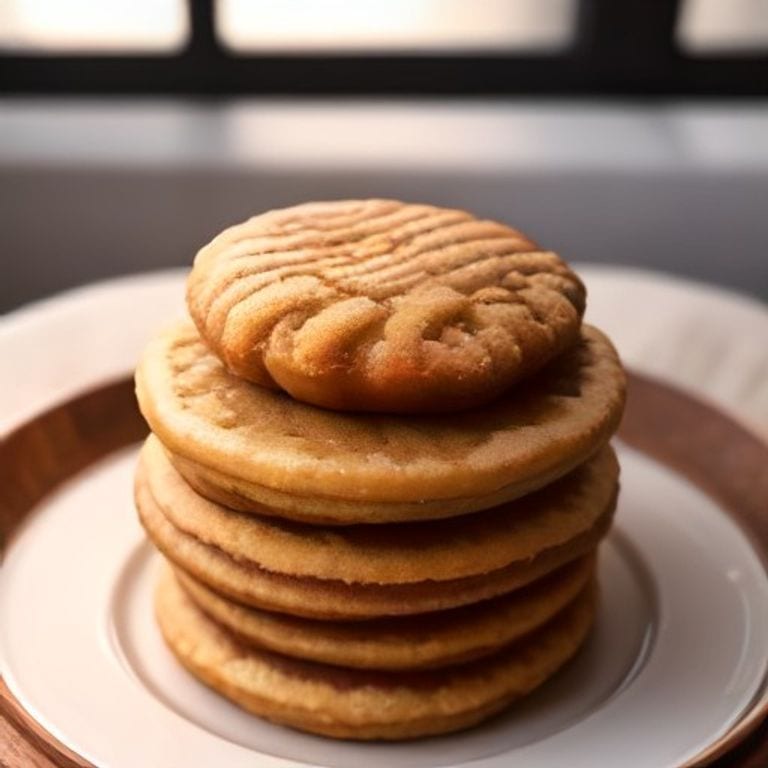
Bring the fairground magic home with this foolproof method for crispy, golden fried Oreos using Bisquick. The secret lies in the batter consistency and precise frying temperature to achieve that perfect crunch without overwhelming the classic cookie flavor.
I developed this recipe after too many county fair disappointments with soggy versions. The Bisquick creates a light, airy coating that puffs up beautifully when fried at 350°F for exactly 2-3 minutes per side.
What emerges is a treat with shatteringly crisp edges giving way to warm, gooey chocolate cream centers. The contrast between the hot, crisp exterior and the cool, creamy filling makes each bite irresistible.
Dust with powdered sugar for presentation or serve with cold milk for dipping. This technique guarantees carnival-quality results every time.
Ingredients for Recipe for Fried Oreos Using Bisquick
Just a handful of simple ingredients transform into that irresistible crispy carnival classic at home.
| Ingredient | Amount | Notes |
|---|---|---|
| Oreo Cookies 🍪 | 12 pieces | Original flavor, regular size |
| Bisquick Original Baking Mix 🥞 | 2 cups | Pancake and baking mix |
| Large Egg 🥚 | 1 whole | Room temperature preferred |
| Whole Milk 🥛 | 1 ½ cups | Cold for crispier batter |
| Vegetable Oil 🫒 | 48 oz | For deep frying, high smoke point |
| Powdered Sugar 🍚 | ½ cup | For dusting finished treats |
| Vanilla Extract 🌿 | 1 tsp | Pure for best flavor |
| Salt 🧂 | ¼ tsp | Fine table salt |
| Granulated Sugar 🍬 | 2 tbsp | Optional for sweeter batter |
[recipe_ingredient_scaler]
Bisquick is the star here—any variety works, but the original formula gives the lightest texture. I grab mine from Walmart or Target in the baking aisle. The Oreos must be the standard size (not Double Stuf or Thins) for even coating. For the oil, peanut or canola are best for high-heat frying, but vegetable oil is perfectly fine and more accessible.
No Bisquick? Homemade baking mix (1 cup flour + 1.5 tsp baking powder + 0.5 tsp salt) works in a pinch. Out of milk? Any dairy milk (even skim) or unsweetened almond milk will do—just avoid sweetened versions. The vanilla extract is optional but adds depth. If you’re feeling fancy, swap it for almond extract (use half the amount).
Finished treats are best eaten immediately but can be kept at room temperature for 2-3 hours. Reheat in a 350°F oven for 5 minutes to restore crispiness. Never refrigerate—it makes the coating soggy. Leftover batter? Make mini pancakes the next morning.
Why You’ll Love This Recipe
- One Bowl Mix: I just dump the Bisquick, egg, and milk together—no fancy steps, and it’s ready for dipping.
- Warm Cookie Magic: That crispy Bisquick shell cracking into the melting Oreo center? Ridiculously good.
- Fair Favorite: I’ve served these at parties, movie nights, even Sunday brunch—everyone goes back for more.
- Pantry Friendly: Between us, I always have Bisquick and Oreos on hand, so dessert is never far away.
Step-by-Step Instructions for Fried Oreos Using Bisquick
Here’s the method. Straightforward, tested, works every time.
Step 1: Prepare the Frying Oil and Batter
Pour the 48 oz Vegetable Oil into a deep, heavy-bottomed pot or Dutch oven. Heat over medium-high heat until the oil reaches 350°F on a deep-fry thermometer. While the oil heats, prepare your batter by whisking together the 2 cups Bisquick Original Baking Mix, 1 whole Large Egg, 1.5 cups Whole Milk, 1 tsp Vanilla Extract, 0.25 tsp Salt, and 2 tbsp Granulated Sugar until smooth.
The batter should be thick enough to coat the back of a spoon but still pourable. If it’s too thin, the coating won’t crisp properly. Maintain the oil temperature carefully—too hot, and the outside will burn before the inside cooks; too cool, and the Oreos will absorb oil and become greasy.
Step 2: Coat the Oreo Cookies
Dip each of the 12 pieces Oreo Cookies into the batter, ensuring they’re completely submerged. Use a fork or slotted spoon to lift them out, allowing excess batter to drip off for 5-10 seconds. This prevents thick, doughy coatings that won’t cook through.
Place the battered Oreos on a wire rack set over a baking sheet to catch drips. Don’t stack them—they’ll stick together. For extra crispiness, you can double-dip by letting the first coating set for 1 minute before dipping again, but this isn’t strictly necessary for great results.
Step 3: Fry to Golden Perfection
Carefully lower 3-4 battered Oreos at a time into the hot oil using a slotted spoon. Fry for 2-3 minutes per side until they’re deep golden brown and crispy. Avoid overcrowding the pot, which would lower the oil temperature and lead to soggy results.
Use a slotted spoon to remove the fried Oreos, transferring them to a paper towel-lined plate to drain. The cookies should float to the surface almost immediately—if they sink, your oil isn’t hot enough. Let them drain for 1-2 minutes before dusting with the 0.5 cup Powdered Sugar while still warm.
Step 4: Dust and Serve Immediately
While the fried Oreos are still hot, generously dust them with the 0.5 cup Powdered Sugar. Use a fine-mesh sieve for even coverage. The residual heat will help the sugar adhere to the crispy exterior, creating that signature carnival-style finish.
Serve immediately while warm and crispy. The contrast between the hot, crunchy exterior and the cool, creamy Oreo center is what makes this treat irresistible. These are best enjoyed fresh but can be kept warm in a 200°F oven for up to 15 minutes if needed.
Pro Tips For Making Recipe For Fried Oreos Using Bisquick
- Heat the Oil First: I learned this the hard way—get that vegetable oil to 350°F before adding the battered Oreos, or they’ll absorb too much grease and turn soggy instead of crispy.
- Chill the Oreos: Pop the whole cookies in the freezer for 15 minutes before dipping; it keeps the cream from oozing out when they hit the hot oil.
- Skip Overmixing: Stir the Bisquick, egg, and milk just until combined—lumpy batter fries up lighter than the tough, dense mess you get from overworking it.
- Use a Slotted Spoon: Sounds obvious, but a metal slotted spoon lets excess oil drain better than tongs, so your fried Oreos stay crunchy, not greasy.
Storing and Reheating This Dish
Room Temperature Storage
These treats are best eaten fresh, but I’ve found they’ll keep at room temperature for 2-3 hours without losing too much crispness. Arrange them in a single layer on a wire rack to prevent steam from making the coating soggy. 💡
Short-Term Warming
If you need to hold them a bit longer, place finished Oreos on a baking sheet in a 200°F oven for up to 15 minutes. This keeps them warm without overcooking. Avoid stacking—they’ll stick together and lose that perfect crunch.
Reheating for Crispiness
To revive leftovers, preheat your oven to 350°F and bake for 5-7 minutes on a wire rack. This restores the crisp texture better than a microwave, which will make them chewy. Let them cool slightly before dusting with fresh powdered sugar.
Avoid the Fridge
Never refrigerate fried Oreos—the cold turns the coating gummy. If you must store them overnight, keep them uncovered at room temperature, but expect some softening. Honestly, they’re so good fresh that leftovers rarely last that long in my house.
Oil Disposal
After frying, let the vegetable oil cool completely before straining and storing in an airtight container. I reuse mine once for frying, then repurpose it for less delicate cooking. Never pour hot oil down the drain—it’s a kitchen disaster waiting to happen.
Nutrition Facts
Frequently Asked Questions
Can I use pancake mix instead of Bisquick?
Yes! Any pancake mix works as a direct substitute. Use the same 2 cups measurement. For best results, choose a buttermilk or original variety for that classic flavor.
Why did my coating fall off during frying?
This usually happens if the batter is too thin or the oil isn’t hot enough. Ensure your oil reaches 350°F and let excess batter drip off for 5-10 seconds before frying.
How do I keep them crispy for a party?
Fry in batches and keep finished treats warm on a wire rack in a 200°F oven for up to 15 minutes. Dust with powdered sugar just before serving.

Trained in classic French technique but raised on slow-cooked ribs and spicy rubs, she blends culinary skill with smoke and soul.
- Stewed Beef Brisket Recipe: Deep-Rich Flavor After 8 Hours of Slow Simmering - October 15, 2026
- Beef Brisket Rolls Recipe: Flaky Layers and Smoky Sweet Filling - October 15, 2026
- Masterbuilt Smoker Beef Brisket Recipe: Bark-To-Meat Ratio Hack for Unmatched Flavor - October 15, 2026