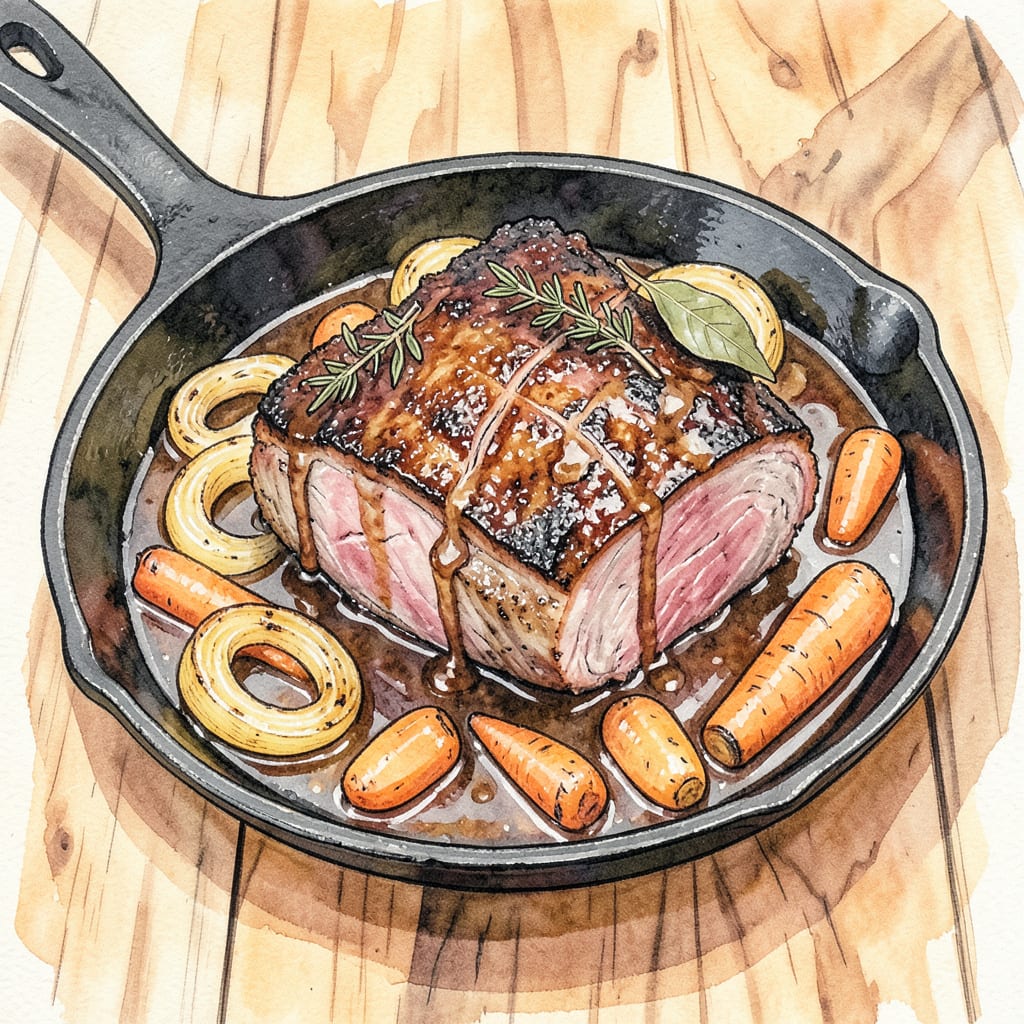
There’s a reason shoulder chuck roast remains a staple in professional kitchens and home cooking alike—when prepared correctly, it delivers unmatched comfort and tenderness. This cut transforms from tough to luxuriously soft through precise slow-cooking techniques I’ve perfected over years of working with beef. The secret lies in patience and proper temperature control, allowing connective tissues to break down completely while developing deep, savory flavors.
The method I use combines traditional French braising principles with my pitmaster’s understanding of low-and-slow cooking. By starting with a proper sear to develop fond, then cooking at a controlled 275°F until the internal temperature reaches 195°F, you’ll achieve meat that pulls apart effortlessly while maintaining its rich beefy character. This isn’t just dinner—it’s the kind of meal that creates memories around the table.
Ingredients for Shoulder Chuck Roast
This is where rich, beefy comfort begins—simple ingredients transformed through patience and technique.
| Ingredient | Amount | Notes |
|---|---|---|
| Boneless Shoulder Chuck Roast 🥩 | 3 ½ lb | Well-marbled, cut into 4 equal pieces |
| Diamond Crystal Kosher Salt 🧂 | 2 tbsp | Divided for seasoning and cooking |
| Coarsely Ground Black Pepper 🌶️ | 1 ½ tsp | Freshly ground preferred |
| Extra-Virgin Olive Oil 🫒 | 2 tbsp | High smoke point for searing |
| Yellow Onions 🧅 | 2 whole | Large, sliced into 1/2-inch rings |
| Carrots 🥕 | 3 whole | Peeled, cut into 2-inch chunks |
| Celery Stalks 🌿 | 3 whole | Cut into 2-inch pieces |
| Garlic Cloves 🧄 | 6 cloves | Lightly smashed, peeled |
| Tomato Paste 🍅 | 2 tbsp | San Marzano preferred |
| Dry Red Wine 🍷 | 2 cups | Bold variety like Cabernet Sauvignon |
| Low-Sodium Beef Stock 💧 | 3 cups | Homemade or high-quality store-bought |
| Fresh Thyme Sprigs 🌿 | 4 whole | Tied with kitchen twine |
| Bay Leaves 🍃 | 2 whole | Dried, Turkish variety preferred |
| Unsalted Butter 🧈 | 2 tbsp | For finishing sauce |
| Fresh Flat-Leaf Parsley 🌿 | ¼ cup | Chopped, for garnish |
[recipe_ingredient_scaler]
The chuck roast is everything here. Look for deep marbling—those fat streaks melt during cooking, creating that unmatched tenderness. I source mine from Whole Foods or local butchers who carry USDA Choice (Prime if you’re splurging). The wine matters too: a bold, dry red like Cabernet Sauvignon or Malbec adds depth without sweetness. For the stock, Better Than Bouillon makes a solid low-sodium beef base if you’re not making your own. Don’t skip the tomato paste—San Marzano brands have the right balance of sweetness and acidity (worth the extra dollar).
No wine? Substitute 1.5 cups beef stock plus 0.5 cup balsamic vinegar for similar depth. Fresh thyme is ideal, but 1 tsp dried thyme works in a pinch. If you’re missing red wine vinegar (not listed but sometimes added), a splash of apple cider vinegar brightens the sauce. The butter at the end is non-negotiable—it creates that velvety finish. For a dairy-free version, coconut oil works surprisingly well. And if you can’t find Diamond Crystal salt, reduce Morton’s by half (it’s saltier by volume).
The roast can be prepped 24 hours ahead—just pat it dry and keep it uncovered in the fridge for better browning. Leftover braising liquid makes incredible French onion soup base or gravy. Store cooked meat in its juices for up to 5 days, or freeze portions with liquid for 3 months. The flavor actually improves overnight as everything melds together.
Step-by-Step Instructions for Shoulder Chuck Roast
This method transforms tough meat into fork-tender perfection with rich, developed flavors.
Step 1: Season and Sear the Chuck Roast
Pat the boneless shoulder chuck roast completely dry with paper towels. This ensures a proper sear rather than steaming the meat. Season all sides aggressively with 1 tablespoon Diamond Crystal kosher salt and all of the 1.5 teaspoons coarsely ground black pepper. The coarse grind provides better texture and flavor distribution than fine pepper.
Heat 2 tablespoons extra-virgin olive oil in a large Dutch oven over medium-high heat until shimmering. Add the roast pieces and sear undisturbed for 4-5 minutes per side until a deep, mahogany crust forms. You’ll know it’s ready to flip when the meat releases easily from the pot. Transfer the seared meat to a plate and set aside.
Step 2: Build the Aromatic Base
In the same pot, add the 2 whole yellow onions (sliced into rings), 3 whole carrots (cut into chunks), and 3 whole celery stalks (cut into pieces). Cook over medium heat for 8-10 minutes, stirring occasionally, until the vegetables soften and develop golden edges. This builds the flavor foundation for your braising liquid.
Add the 6 cloves garlic (lightly smashed) and 2 tablespoons tomato paste, stirring constantly for 1-2 minutes until the tomato paste darkens slightly. This step develops the paste’s natural sweetness and eliminates any raw flavor. The mixture should become fragrant and stick slightly to the bottom of the pot.
Step 3: Deglaze and Braise
Pour in the 2 cups dry red wine, scraping up all the browned bits from the bottom of the pot with a wooden spoon. Bring to a simmer and cook for 5-7 minutes until the liquid reduces by about half. You’ll notice the alcohol smell dissipating as the wine concentrates into a richer, more complex flavor.
Return the seared chuck roast to the pot along with any accumulated juices. Add the 3 cups low-sodium beef stock, 4 whole fresh thyme sprigs (tied together), and 2 whole bay leaves. The liquid should come about three-quarters up the sides of the meat. Bring to a gentle simmer, then cover and transfer to a 325°F oven.
Step 4: Slow Cook to Tenderness
Braise the chuck roast for 2.5 to 3 hours, turning the pieces halfway through cooking. The meat is done when it yields easily to a fork and can be pulled apart with minimal resistance. You’ll see the connective tissue has melted into the braising liquid, creating a rich, velvety sauce.
Remove the pot from the oven and transfer the chuck roast to a serving platter. Tent loosely with foil to keep warm. Skim any excess fat from the surface of the braising liquid, then simmer uncovered over medium heat for 10-15 minutes to reduce slightly. Stir in the 2 tablespoons unsalted butter at the end for a silky finish.
Step 5: Rest and Serve
Let the chuck roast rest for 10 minutes before serving. This allows the juices to redistribute throughout the meat. Remove the thyme bundle and bay leaves from the sauce, then taste and adjust seasoning with the remaining 1 tablespoon Diamond Crystal kosher salt if needed.
Slice the roast against the grain or pull apart into large chunks. Spoon the reduced braising liquid over the meat and garnish with the 0.25 cup fresh flat-leaf parsley. The parsley adds a bright, fresh contrast to the rich, slow-cooked flavors. Serve with crusty bread or mashed potatoes to soak up every bit of the delicious sauce.
Common Mistakes When Making This Recipe
Skipping the Sear
I can’t stress this enough—never skip searing your chuck roast. That deep brown crust isn’t just for looks; it’s where the Maillard reaction creates complex flavors. When I first started cooking, I thought I could save time by skipping this step, but the result was bland, steamed meat instead of rich, caramelized perfection. Use medium-high heat and don’t rush it—wait for that crust to form before flipping. 🔥
Wrong Temperature Control
One of the biggest mistakes I see is cooking at too high a temperature. Chuck roast needs low-and-slow treatment—325°F in the oven is ideal. Higher temps will make the meat tough before the connective tissue breaks down. I learned this the hard way at my first BBQ competition when my roast came out dry. A good rule: if your braising liquid is boiling vigorously, your heat is too high.
Also, avoid temperature fluctuations. Every time you open the oven door, you lose 25-50°F of heat. I use an oven thermometer to verify my dial settings—some ovens run hot or cold. The goal is steady, gentle heat that coaxes the meat into tenderness over 2.5-3 hours.
Not Enough Liquid
Your braising liquid should come about three-quarters up the meat—not submerged, but not barely covering either. I once made the mistake of using just 2 cups of liquid for a 3.5 lb roast, and it dried out before becoming tender. The liquid needs to circulate and break down collagen. If yours reduces too much during cooking, add ½ cup hot beef stock to maintain the level.
Cutting Too Soon
Patience is everything with chuck roast. I’ve seen people slice into it right out of the oven, only to watch all those precious juices run out onto the cutting board. Always let it rest for 10-15 minutes tented with foil. This lets the muscle fibers relax and reabsorb the juices. Trust me, those extra minutes make the difference between good and extraordinary.
Ignoring the Sauce
The braising liquid is liquid gold—don’t waste it! After removing the meat, you need to reduce that sauce. Simmer it uncovered for 10-15 minutes until it coats the back of a spoon. I finish mine with 2 tablespoons butter for that velvety texture. Skim off excess fat first, or your sauce will be greasy instead of rich and balanced. ✨
Wrong Cut Selection
Not all chuck roasts are created equal. Look for one with heavy marbling—those fat streaks are flavor insurance. I source mine from local butchers who can show me different options. Avoid pre-cut “stew meat” pieces; they’re often from less ideal parts of the chuck. A whole 3-4 lb roast gives you better control over doneness and slicing.
Nutrition Facts

Trained in classic French technique but raised on slow-cooked ribs and spicy rubs, she blends culinary skill with smoke and soul.
- Recipe for Boneless Pork Chops in Cast Iron Skillet: Sear and Baste to Juicy Perfection - October 3, 2026
- Recipe for Boneless Cross Rib Roast: Slow-Roasted Beef with Herb Crust - October 3, 2026
- Hamburgers in Sauce Recipe Crock Pot: Slow-Cooked Savory Delight - October 3, 2026