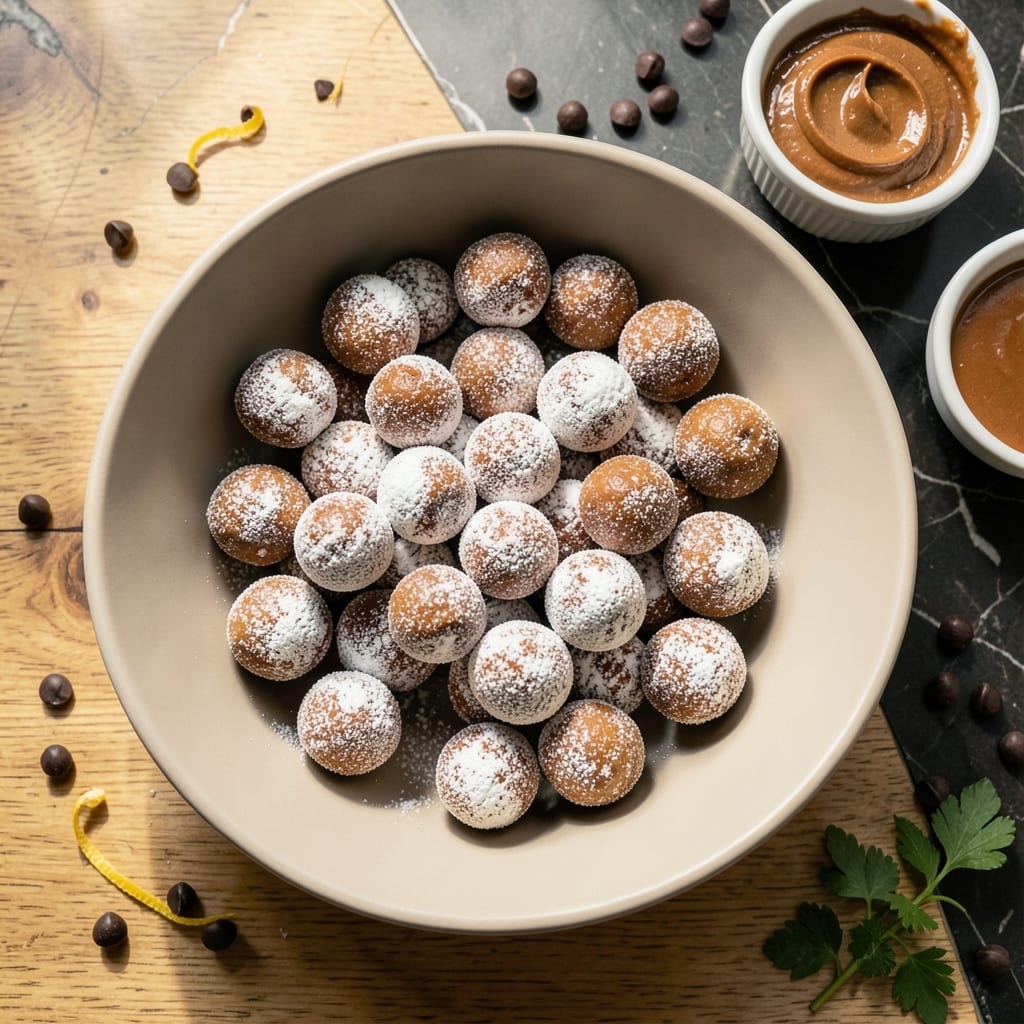
These chocolate-covered treats are the ultimate no-bake indulgence, requiring just a handful of pantry staples. I’ve tested this method in my small Boston kitchen to ensure foolproof results every time.
The beauty of this recipe lies in its simplicity. Skippy peanut butter forms the perfect base, blending smoothly with powdered sugar and butter. A quick chill sets the filling before dipping in melted chocolate.
You’ll end up with rich, creamy centers enrobed in a smooth chocolate shell. They’re ideal for gifting, parties, or a late-night sweet tooth fix.
No oven, no fuss—just pure, satisfying indulgence in every bite.
Ingredients for Skippy Peanut Butter Balls
A handful of pantry staples transforms into rich, no-bake chocolate treats with ease.
| Ingredient | Amount | Notes |
|---|---|---|
| Skippy Creamy Peanut Butter 🥜 | 1 ½ cups | Room temperature for easy mixing |
| Unsalted Butter 🧈 | ½ cup | Softened to room temperature |
| Powdered Sugar 🍚 | 3 cups | Sifted for smooth texture |
| Vanilla Extract 🌿 | 1 tsp | Pure vanilla for best flavor |
| Salt 🧂 | ¼ tsp | Fine grain sea salt |
| Semi-Sweet Chocolate Chips 🍫 | 2 cups | High-quality for dipping |
| Coconut Oil 🥥 | 1 tbsp | For thinning chocolate if needed |
| Graham Cracker Crumbs 🍪 | ½ cup | Optional for added texture |
| Heavy Cream 🥛 | 2 tbsp | Optional for creamier filling |
| Finely Chopped Nuts 🌰 | ¼ cup | Optional for garnish |
[recipe_ingredient_scaler]
The peanut butter is non-negotiable here—Skippy Creamy gives the perfect smooth texture and balanced sweetness. Whole Foods and Target always stock it. Use the name brand; store brands can be too oily or dry. Butter should be unsalted so you control the salt level. Room temperature ingredients blend smoothly, so take the butter and peanut butter out 30 minutes before starting (worth the wait).
No Skippy? Jif Creamy works in a pinch, but avoid natural peanut butters—they separate and make the filling greasy. Need a nut-free version? SunButter is your best bet. The graham cracker crumbs add a nice crunch but can be omitted. For a richer filling, add the heavy cream—it’s subtle but noticeable. Dark chocolate chips can replace semi-sweet for a less sweet shell.
Filling keeps in the fridge for 5 days before dipping. Completed balls store in an airtight container at room temperature for 1 week or freeze for 3 months. Layer with parchment paper to prevent sticking (don’t skip this part).
Why You’ll Love This Recipe
- No-Bake Magic: I just mix Skippy Creamy Peanut Butter, butter, and powdered sugar—no oven, no fuss.
- Pure Comfort: The creamy peanut butter and vanilla create that rich, nostalgic flavor I crave.
- Holiday Staple: Honestly, these are my go-to for cookie swaps and last-minute gift trays.
- Budget Winner: Five ingredients, most of which I already have, and they make enough to share.
Step-by-Step Instructions for Peanut Butter Balls
This no-bake method delivers perfectly textured truffles with a silky chocolate shell and rich peanut butter center.
Step 1: Combine Peanut Butter and Butter Base
In a large mixing bowl, combine the 1.5 cups Skippy Creamy Peanut Butter and 0.5 cup Unsalted Butter. The butter should be softened to room temperature to blend smoothly with the peanut butter without creating lumps. Use a wooden spoon or silicone spatula to mix until completely homogeneous.
This base provides the rich, creamy foundation for your filling. The natural oils in both ingredients will help bind everything together during the next steps. Ensure no streaks of butter remain visible in the mixture.
Step 2: Incorporate Dry Ingredients and Flavorings
Gradually add the 3 cups Powdered Sugar to the peanut butter mixture, about 1 cup at a time, mixing thoroughly between additions. The sugar should be sifted to prevent clumps and create a smooth, uniform texture in the final truffles.
Stir in the 1 tsp Vanilla Extract and 0.25 tsp Salt. The vanilla enhances the peanut butter flavor while the salt balances the sweetness. For additional texture, mix in the 0.5 cup Graham Cracker Crumbs and 2 tbsp Heavy Cream at this stage if using.
The mixture should hold together when pressed but not be sticky. If it feels too dry, the heavy cream will help achieve the proper consistency.
Step 3: Form Uniform Balls
Using a small cookie scoop or tablespoon, portion the mixture into 1-inch balls. Roll each portion between your palms to create smooth, evenly rounded truffles. The warmth of your hands will help the mixture hold its shape without crumbling.
Place the formed balls on a parchment-lined baking sheet. For best results, chill the truffles in the refrigerator for 30 minutes to firm up before dipping. This prevents them from falling apart when coated with chocolate.
At this stage, you should have about 4 dozen truffles, perfect for serving 4 as a generous portion.
Step 4: Prepare Chocolate Coating
In a microwave-safe bowl, combine the 2 cups Semi-Sweet Chocolate Chips with the 1 tbsp Coconut Oil. Microwave in 30-second intervals, stirring between each, until the chocolate is completely melted and smooth. The coconut oil thins the chocolate slightly for easier dipping.
Alternatively, use a double boiler on the stovetop over low heat, stirring constantly until melted. Avoid overheating, as this can cause the chocolate to seize or become grainy. The ideal temperature for dipping is just warm to the touch.
Step 5: Dip and Garnish the Truffles
Using a fork or dipping tool, carefully lower each chilled truffle into the melted chocolate, turning to coat completely. Lift the truffle out, allowing excess chocolate to drip off. Place it back on the parchment-lined sheet.
Immediately sprinkle with 0.25 cup Finely Chopped Nuts if using, pressing gently to adhere. Repeat with the remaining truffles. Return the sheet to the refrigerator and chill for 15-20 minutes until the chocolate is set and firm to the touch.
The finished truffles should have a glossy chocolate shell with a firm snap when bitten, revealing the creamy peanut butter center within. Store in an airtight container in the refrigerator for up to 1 week.
Pro Tips For Making Skippy Peanut Butter Balls
- Chill Before Rolling: I learned this the hard way—let the peanut butter mixture sit in the fridge for at least 30 minutes before shaping. Otherwise, it sticks to your hands and turns into a gooey mess.
- Use Room-Temp Butter: Sounds weird, but it works: soften the unsalted butter just enough so it blends smoothly into the Skippy without leaving lumps. Cold butter makes the texture uneven.
- Skip the Over-Mixing: After burning through a few batches, I finally figured out that overworking the mixture makes the balls crumbly. Just stir until the powdered sugar disappears.
- Add Extra Pinch of Salt: My grandmother swore by this, and she was right: a tiny bit more salt than the recipe calls for actually changes the outcome, balancing the sweetness of the peanut butter and sugar.
Creative Variations of skippy peanut butter balls
Crunchy Graham Version
Add 1 cup graham cracker crumbs to the filling mixture for extra texture. I tested this in my Boston kitchen and found it adds a nice contrast to the creamy peanut butter. The crumbs also help absorb excess oil for a firmer bite. 💛
Coconut Lovers Twist
Swap ½ cup powdered sugar for ½ cup toasted coconut flakes in the filling. Roll the finished balls in additional toasted coconut before dipping. This gives a tropical flair that pairs perfectly with the chocolate shell.
Salted Caramel Drizzle
After dipping and setting, drizzle with ¼ cup store-bought caramel sauce and a sprinkle of flaky sea salt. I use Stonewall Kitchen caramel from my local market—it’s thick and sets beautifully. This upscale version wows at parties.
Double Chocolate Indulgence
Mix ¼ cup cocoa powder into the filling for a chocolate-peanut butter combo. Use dark chocolate chips for the coating to intensify the flavor. The result is like a Reese’s Cup but with gourmet depth.
Protein-Packed Option
Add ½ cup vanilla protein powder to the filling mixture, reducing powdered sugar by ¼ cup. This creates a high-protein treat perfect for post-workout. The texture stays creamy if you use a quality whey protein.
Holiday Peppermint
Crush 6 candy canes and mix into the chocolate coating before dipping. The mint-chocolate combo screams December. I make these every year for my Irish-Italian family’s cookie swap in our triple-decker. ✨
Nutrition Facts
Frequently Asked Questions
Can I use crunchy peanut butter instead?
Stick with creamy for the smoothest texture. Crunchy will create uneven bits in your truffles.
How long do these keep in the fridge?
Store in an airtight container for up to 1 week in the fridge. For longer storage, freeze for 3 months.
Why did my chocolate coating seize?
A drop of water or overheating can cause this. Melt slowly on low heat and keep all tools dry.
Can I skip the chilling step?
Don’t skip it! Chilling for 30 minutes firms the centers so they don’t fall apart when dipping.

Trained in classic French technique but raised on slow-cooked ribs and spicy rubs, she blends culinary skill with smoke and soul.
- Recipe for Boneless Pork Chops in Cast Iron Skillet: Sear and Baste to Juicy Perfection - October 3, 2026
- Recipe for Boneless Cross Rib Roast: Slow-Roasted Beef with Herb Crust - October 3, 2026
- Hamburgers in Sauce Recipe Crock Pot: Slow-Cooked Savory Delight - October 3, 2026