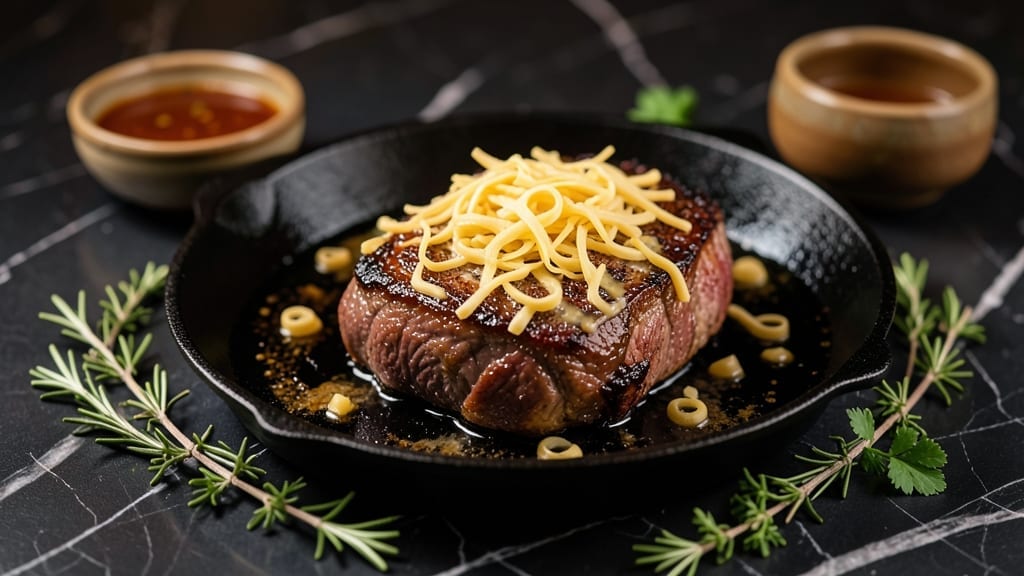
This slow roasted beef brisket recipe reveals how to turn tough cuts into tender, fall-apart magic with patience and perfect low-and-slow technique. The secret lies in patience—letting collagen dissolve over hours while Maillard reactions build deep, caramelized flavors.
I perfected this method after years of experimenting with French technique and backyard cookouts, where the scent of hickory smoke first sparked my passion for slow-roasted meats.
This recipe delivers restaurant-quality brisket with minimal effort—just a few hours in the oven at a steady temperature. The key is indirect heat, which renders fat slowly while keeping the meat juicy.
I use a simple salt rub and let the natural flavors shine, though you can customize with spices like garlic powder or smoked paprika. For extra richness, I save the rendered juices to create a luscious au jus that ties everything together.
By the time you slice into this brisket, you’ll find tender, fork-shreddable meat with a crust so flavorful it disappears in seconds. The aroma alone will have everyone gathering around the table, and the texture—juicy, beefy, and impossibly tender—is worth every minute of waiting.
Serve with roasted potatoes or a fresh green salad to balance the richness.
This method works equally well for holidays or weeknight dinners, scaling easily for crowds. The beauty of slow-roasted brisket is its versatility—leftovers reheat beautifully, and the flavors deepen over time. Let’s get cooking and unlock the magic of low-and-slow beef.
Ingredients for slow roasted beef brisket
A few simple ingredients transform tough brisket into melt-in-your-mouth perfection through low-and-slow magic.
| Ingredient | Amount | Notes |
|---|---|---|
| Beef Brisket 🥩 | 4 lb | Whole packer cut, fat cap intact |
| Kosher Salt 🧂 | 2 tbsp | Diamond Crystal preferred |
| Black Peppercorns 🌶️ | 1 tbsp | Freshly cracked for aroma |
| Garlic Powder 🧄 | 1 tbsp | Not garlic salt |
| Smoked Paprika 🌶️ | 1 tsp | For subtle smoky depth |
| Fresh Thyme Leaves 🌿 | 1 tbsp | Or 1 tsp dried thyme |
| Yellow Onion 🧅 | 1 whole | Quartered, skin on |
| Carrots 🥕 | 2 whole | Whole, scrubbed |
| Celery Stalk 🥬 | 2 whole | Cut into 2-inch pieces |
| Beef Broth 💧 | 2 cups | Low-sodium preferred |
| Red Wine 🍷 | ½ cup | Bold dry red like Cabernet |
| Tomato Paste 🍅 | 2 tbsp | Squeeze tube for convenience |
| Honey 🍯 | 1 tbsp | For glaze finish |
| Unsalted Butter 🧈 | 2 tbsp | Full-fat for richness |
[recipe_ingredient_scaler]
The brisket is everything here. Packer cut from Costco or local butcher shops has that perfect fat cap for moisture. Look for bright red color and good marbling—none of that pale, stringy stuff. I always ask for the whole brisket (flat and point) rather than pre-cut pieces, which gives you more control. The fat cap? Don’t trim it—it’s what keeps the meat juicy during those long hours in the oven. For the salt, Diamond Crystal dissolves better than table salt, but whatever you’ve got works. The peppercorns should be freshly cracked—none of that pre-ground dust.
No red wine? Beef broth with a splash of balsamic works just as well. Fresh thyme is ideal but dried works at one-third the amount. The vegetables—onion, carrots, celery—are just for flavor, so don’t stress if you’ve got baby carrots or pre-chopped mirepoix. For the tomato paste, those little Trader Joe’s squeeze tubes are perfect—no waste, keeps forever. The honey should be real stuff—none of that corn syrup garbage. And the butter? Full-fat is non-negotiable here—it’s what makes that final glaze sing. If you’re feeling fancy, swap the paprika for a mix of smoked and sweet varieties.
This brisket tastes even better the next day, so make a double batch if you can. Store leftovers in the juices in a sealed container for 5-6 days—the flavors deepen as it sits. For reheating, low and slow is key: 300°F for 2-3 hours wrapped in foil. The rendered juices? Strain and reduce for an incredible au jus. I freeze portions of the meat in vacuum-sealed bags for up to 3 months—just thaw overnight in the fridge before reheating. The vegetables can be prepped ahead and refrigerated for 3 days before roasting.
Why You’ll Love This Recipe
- One-Pan Mastery: Honestly, this is the kind of recipe where you do one thing—season the brisket, toss in veggies, and let the oven do the work. No last-minute chopping chaos, no frantic stovetop juggling. Just a single roasting pan, a splash of red wine, and 8 hours of hands-off magic. I’ll be real: my kitchen stays cleaner than it has in years.
- Fork-Tender Perfection: That crispy edge with the creamy center? Chef’s kiss. The smoked paprika and garlic powder work together like a flavor duet, while the red wine and beef broth turn the brisket into something rich and velvety. And the honey-butter glaze? It’s the cherry on top—sweet, sticky, and impossible to resist. Even my picky husband (who hates “saucy” meat) begs for seconds.
- Budget-Friendly Luxury: A whole packer-cut brisket might sound intimidating, but it’s one of the most affordable cuts that delivers restaurant-quality results. The kosher salt and garlic powder? A few dollars’ worth of pantry staples. The red wine? Use whatever’s in your cabinet—none of it goes to waste. You’re basically paying for the butter and honey, and honestly, that’s a steal for a meal that feels like a special occasion.
Step-by-step instructions for slow roasted beef brisket
This method transforms tough brisket into melt-in-your-mouth perfection using simple techniques and your oven.
Season and Prep the Brisket
Start by placing the 4 lb beef brisket on a cutting board, fat side up. Pat it dry completely with paper towels—this ensures a better crust. In a small bowl, combine the 2 tbsp kosher salt, 1 tbsp freshly cracked black peppercorns, 1 tbsp garlic powder, 1 tsp smoked paprika, and 1 tbsp fresh thyme leaves. Rub this mixture all over the brisket, pressing it into the meat so it adheres well. Pay special attention to the fat cap and edges.
Next, quarter the 1 yellow onion, leaving the skin on for extra flavor. Cut the 2 carrots and 2 celery stalks into 2-inch pieces. Place the brisket fat-side up in a roasting pan, then arrange the vegetables around it. This creates a flavorful base as they cook. Let the brisket sit at room temperature for 30 minutes before roasting—this helps it cook more evenly.
Roast Low and Slow with Liquid
Preheat your oven to 275°F. Pour the 2 cups beef broth and ½ cup red wine into the roasting pan, creating a liquid bath around the brisket. The liquid should come about halfway up the sides of the brisket. Cover the pan tightly with aluminum foil, sealing it completely to lock in moisture. Place the brisket in the oven and roast for 6 hours, checking occasionally to ensure the liquid hasn’t evaporated completely.
Here’s the thing—low and slow is key. The brisket needs time to break down and become tender. After 6 hours, remove the foil and increase the oven temperature to 325°F. This helps develop a crust on the brisket. Continue roasting for another 2 hours, or until the internal temperature reaches 195°F. You’ll know it’s done when a fork slides in like butter and the meat pulls apart easily.
Glaze and Rest for Maximum Flavor
While the brisket rests, prepare the glaze. In a small saucepan over medium heat, combine the 2 tbsp tomato paste, 1 tbsp honey, and 2 tbsp unsalted butter. Stir until the butter melts and the mixture becomes smooth, about 2-3 minutes. Taste and adjust seasoning with additional kosher salt if needed. The glaze should be thick but pourable.
Once the brisket reaches 195°F, remove it from the oven and brush the glaze evenly over the top. Let it rest for 30 minutes before slicing. This resting period allows the juices to redistribute, ensuring each bite is moist and flavorful. Real talk: Don’t skip this step. The brisket will be incredibly tender, and the glaze will caramelize slightly, adding another layer of depth to the dish.
Slice and Serve
Use a sharp knife to slice the brisket against the grain into ¼-inch thick slices. The grain runs horizontally across the flat and point, so cutting against it ensures tenderness with each bite. Arrange the slices on a platter and drizzle any remaining glaze from the pan over the top. Serve immediately with the roasted vegetables and any pan juices reduced into a sauce.
The brisket should be fork-tender with a rich, deep flavor from the slow roasting and glaze. Each slice should pull apart easily, revealing a moist interior and a slightly crispy exterior. Pair it with crusty bread or roasted potatoes to soak up all that delicious juice.
Pro Tips For Making Slow Roasted Beef Brisket
- Seal That Foil Tight: I learned this the hard way—when the foil gape lets steam escape, your brisket dries out faster than a stand-up comedian’s jokes. Crimp the edges with your fingers or use a fork to pinch them shut. The liquid bath should stay just below the brisket’s sides the whole 6 hours.
- Crack Those Peppercorns Fresh: Pre-ground pepper loses its punch faster than cheap wine. Smash those 1 tbsp black peppercorns with the flat side of a knife before mixing them into the salt—you’ll taste the difference in the crust. Trust me, your brisket’s aroma will thank you.
- Don’t Rush the 30-Minute Rest: Skipping the room-temperature prep is like trying to fold a cold towel—it just doesn’t work. Take the brisket out of the fridge and let it sit fat-side up while you prep the veggies. Even if you’re impatient (yes, even if you’re impatient like me), this ensures even cooking.
- Glaze While It’s Hot: The brisket’s resting time is your window to make the glaze—don’t waste it. Melt the 2 tbsp tomato paste, 1 tbsp honey, and 2 tbsp butter together while the meat rests; the residual heat keeps everything smooth. Brush it on hot so it caramelizes instantly.
Storing and reheating this recipe
Fridge Storage Secrets
After your brisket reaches that perfect 195°F internal temperature, let it rest for 30 minutes before transferring to storage. I always use a glass Pyrex container with a tight-sealing lid—I love how it keeps the juices locked in.
Store the brisket in its own juices, not just the pan drippings, to maintain maximum moisture. This keeps it fresh for 5-6 days in the fridge, with flavors getting even richer over time. 💡
Freezer Like a Pro
For longer storage, I freeze portions in vacuum-sealed bags—this is non-negotiable for quality. Divide the brisket into 1-2 lb portions to thaw efficiently later. Label each bag with the date, as brisket maintains best quality for up to 3 months.
I always thaw overnight in the fridge—never at room temperature—to prevent bacterial growth. The texture stays perfect when reheated properly.
Reheating Without Ruining
Low and slow reheating is key to keeping your brisket tender. Wrap the cold brisket tightly in aluminum foil and place it in a 300°F oven for 2-3 hours. This gentle warmth brings it back to perfection without drying it out.
I always check the internal temperature—it should reach 165°F before serving. The foil traps steam, which is magical for texture. 🔥
Reviving the Glaze
If you’re reheating leftovers with glaze, I recommend brushing it on just before serving. Heat a small amount of the pan juices with 1 tsp honey and 1 tbsp tomato paste to recreate the glaze consistency.
This adds that sweet-savory finish that makes brisket sing. The rendered fat in the juices will help keep everything moist while reheating.
Using the Juices Wisely
Don’t waste those precious pan juices! Strain them through a fine-mesh sieve, reduce them by half in a saucepan, and use them as an incredible au jus for dipping. I love pouring this over mashed potatoes or using it as a sauce for roasted vegetables.
The depth of flavor from the slow-cooked brisket transforms everything it touches. This is where the magic happens when you’re making leftovers work hard. ✨
Nutrition facts
Frequently asked questions
Why does my brisket need so much time to cook?
The 6 hours at 275°F is essential for collagen breakdown, turning tough connective tissue into tender, melt-in-your-mouth texture. This low-and-slow method ensures every bite is juicy, not dry. Think of it as the brisket’s way of marinating itself—just with heat instead of liquid!
Can I skip the resting period before slicing?
Absolutely not! Skipping the 30-minute rest after cooking lets all those juices escape, leaving you with dry slices. Resting redistributes those juices for maximum flavor and tenderness. It’s like letting a good steak breathe before you cut into it—patience pays off!
What if my oven doesn’t have a low setting?
No problem! Set your oven to the lowest temperature possible—even 250°F works—but adjust cooking time to 8-9 hours instead. Just keep the liquid level high and check occasionally. The key is consistency, not perfection!
How do I know when the brisket is done?
Use a meat thermometer to check for 195°F internal temperature. When a fork slides in like butter and the meat pulls apart easily, you’re golden. No guessing—this is your perfect tenderness indicator!
What can I do with the leftover juices?
Strain and reduce them for an incredible au jus—perfect for dipping or drizzling over mashed potatoes! The depth of flavor from slow-cooked brisket makes everything it touches taste even better. Don’t waste this liquid gold!

Trained in classic French technique but raised on slow-cooked ribs and spicy rubs, she blends culinary skill with smoke and soul.
- Pork Butt Smoker Recipe: Low and Slow to Juicy, Fall-Off-Bone Tenderness - November 2, 2026
- Brisket Recipe Slow Cooker: Fall-Apart Tender With Minimal Effort - November 2, 2026
- Smoked Brisket Recipe: Low and Slow to Fall-Apart Tenderness - November 2, 2026