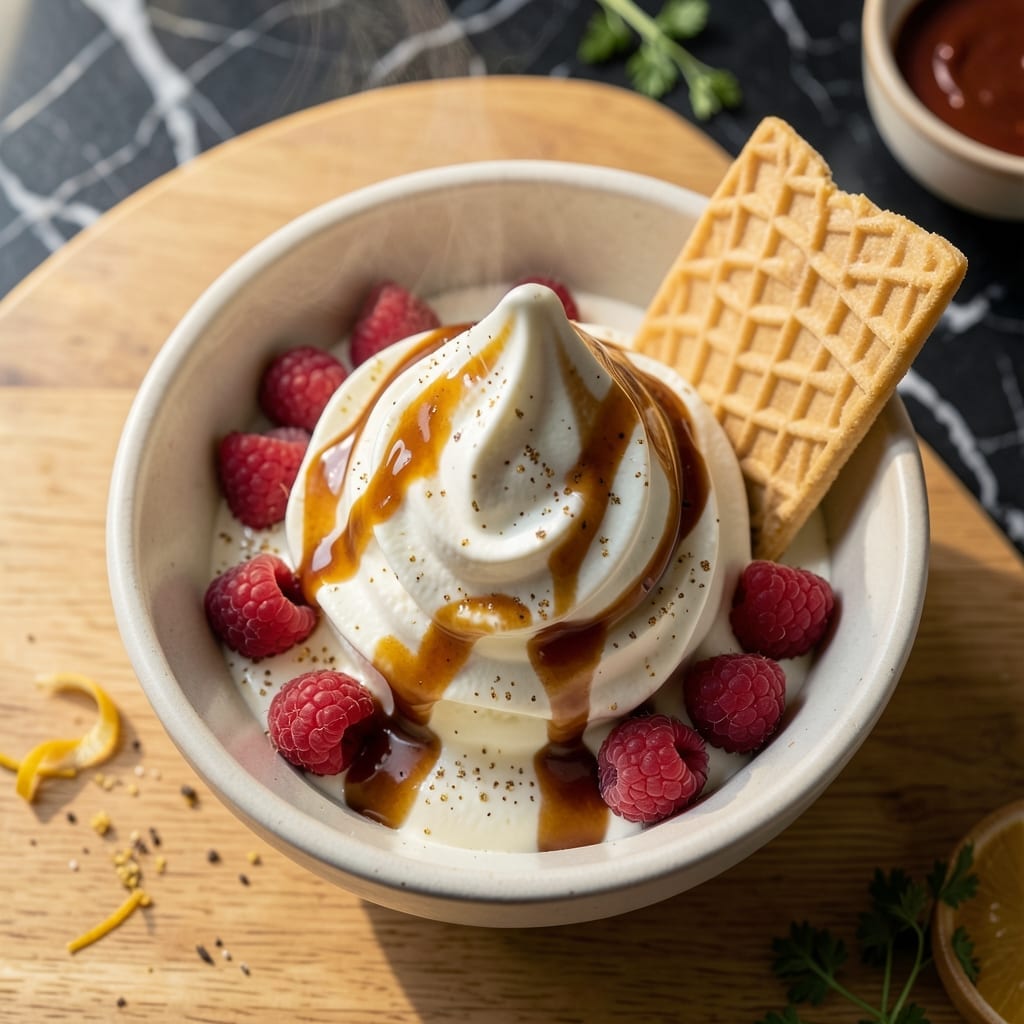
This machine-made ice cream delivers silky smooth texture with minimal effort. The key is proper ingredient ratios and precise churning time.
You’ll achieve perfectly creamy results every time with this tested method. Simple ingredients come together for professional-quality dessert.
Ingredients for Soft Ice Cream Recipe for Machine
Ten simple ingredients transform into silky smooth machine-churned ice cream with professional results.
| Ingredient | Amount | Notes |
|---|---|---|
| Heavy Whipping Cream 🥛 | 2 cups | Cold, 36-40% fat content |
| Whole Milk 🥛 | 1 cup | Cold, full-fat recommended |
| Granulated Sugar 🍚 | ¾ cup | Fine granulated for smooth texture |
| Vanilla Extract 🌿 | 2 tsp | Pure vanilla, not imitation |
| Salt 🧂 | ¼ tsp | Fine sea salt preferred |
| Egg Yolks 🥚 | 4 whole | Large eggs, pasteurized if concerned |
| Vanilla Bean 🌿 | 1 whole | Split and scraped (optional) |
| Light Corn Syrup 🧈 | 2 tbsp | Keeps texture soft and smooth |
| Unsalted Butter 🧈 | 1 tbsp | Melted, for richness |
| Almond Extract 🌰 | ¼ tsp | Optional, enhances vanilla flavor |
[recipe_ingredient_scaler]
The cream and milk are non-negotiable for that ultra-smooth texture. Whole Foods 365 or Organic Valley are reliable for high-fat dairy—avoid ultra-pasteurized as it can affect churning. Egg yolks add richness and stability, but ensure they’re fresh (pasteurized if you’re serving vulnerable groups). The vanilla bean is optional but worth the splurge for visible specks and concentrated flavor. Look for Madagascar Bourbon beans for classic taste.
No vanilla bean? Double the vanilla extract—just use the real stuff. Swap light corn syrup for honey or agave, but it may slightly alter texture. For a lighter version, half-and-half replaces whole milk, though the result won’t be as decadent. Skip the almond extract if you dislike its intensity. The sugar amount is precise—don’t reduce it or the mixture may freeze too hard.
Churn immediately after mixing for best texture. The base keeps in the fridge for 24 hours if needed, but fresh is ideal. Store churned ice cream in an airtight container with parchment pressed to the surface to prevent ice crystals. Consume within 1 week for peak creaminess.
Why You’ll Love This Recipe
- No Fuss Mixing: I just dump the heavy cream, milk, sugar, and vanilla in a bowl, stir, and the machine does the rest.
- Creamy Vanilla Bliss: The heavy whipping cream makes it so rich I swear I can taste the childhood ice cream truck.
- Crowd Pleaser: Honestly, it’s my go-to for birthdays, backyard BBQs, or just a Tuesday craving.
- Leftovers? Please.: Between us, it’s so good there never are any—but if there were, it freezes perfectly for tomorrow.
Step-by-Step Instructions for Soft Ice Cream
This professional custard base method ensures ultra-smooth texture every time.
Step 1: Heat Cream and Infuse Flavors
In a heavy saucepan, combine 2 cups Heavy Whipping Cream, 1 cup Whole Milk, 0.75 cup Granulated Sugar, and 0.25 tsp Salt. If using, split and scrape the 1 whole Vanilla Bean and add both pod and seeds to the mixture.
Cook over medium heat until the mixture just begins to simmer at the edges—180°F on an instant-read thermometer. Stir occasionally to dissolve the sugar completely, ensuring no grains remain. Remove from heat once small bubbles form around the perimeter.
Step 2: Temper the Egg Yolks
In a separate bowl, whisk the 4 whole Egg Yolks until smooth and pale. Slowly pour about 1 cup of the hot cream mixture into the yolks while whisking constantly. This gradual introduction prevents curdling by raising the egg temperature gently.
Once tempered, pour the yolk mixture back into the saucepan with the remaining cream. Add 2 tbsp Light Corn Syrup and 1 tbsp Unsalted Butter. Return to medium-low heat and cook, stirring constantly with a wooden spoon, until the custard thickens enough to coat the back of the spoon—about 5-7 minutes.
Step 3: Strain and Add Extracts
Immediately strain the custard through a fine-mesh sieve into a clean bowl to remove any cooked egg bits or vanilla pod pieces. This step guarantees a silky-smooth base. Stir in 2 tsp Vanilla Extract and 0.25 tsp Almond Extract until fully incorporated.
Press plastic wrap directly onto the surface of the custard to prevent a skin from forming. Chill in the refrigerator for at least 4 hours or until completely cold—40°F or below. I’ve found overnight chilling produces the best texture.
Step 4: Churn in Ice Cream Machine
Pour the chilled custard into your ice cream machine and churn according to the manufacturer’s instructions. Typically, this takes 20-25 minutes. The mixture will transform from liquid to soft, creamy ice cream with a texture similar to soft-serve.
Watch for the moment when the mixture thickens and holds its shape when scooped—this is your visual cue. Don’t over-churn, as this can introduce too much air and make the final product icy.
Transfer to an airtight container and freeze for 2 hours to achieve the perfect scoopable consistency. For the softest texture, serve immediately after churning.
Pro Tips For Making Soft Ice Cream Recipe For Machine
- Chill the Base: Always refrigerate your cream-milk-sugar mixture for at least 4 hours before churning—I learned this the hard way after ending up with soupy ice cream that never set right.
- Use Full-Fat Dairy: Skip the low-fat milk or half-and-half; the high butterfat in whole milk and heavy cream is what gives that luxurious, smooth texture.
- Add Salt Last: Mix the salt in just before churning, not with the sugar, to prevent it from enhancing bitterness in the base over time.
- Pre-Freeze the Bowl: Pop your ice cream machine bowl in the freezer for a full 12-24 hours—it makes a real difference in how quickly the mixture thickens.
Essential Equipment for This Dish
Ice Cream Machine
The heart of this recipe is a quality ice cream maker. I use the Cuisinart ICE-21—it’s affordable, reliable, and churns 1.5 quarts in 20-25 minutes. Look for models with a built-in compressor if you want to churn batch after batch without pre-freezing. 🔥
Pre-Freeze Bowl
If your machine uses a freezer bowl (like the Cuisinart), freeze it for at least 12-24 hours before churning. I keep mine in the freezer year-round so it’s always ready. The bowl must be completely solid—any softness means it needs more time.
Pro tip: Place the bowl in the coldest part of your freezer, usually the back of the bottom shelf.
Heavy Saucepan
A heavy-bottomed saucepan prevents scorching when heating your custard base. I swear by All-Clad stainless steel—it distributes heat evenly and lasts forever. Avoid non-stick for custard; you need to see the bottom to monitor thickening.
Fine-Mesh Sieve
Straining the custard removes any cooked egg bits or vanilla pod pieces. A fine-mesh sieve gives you that ultra-smooth texture. I use the OXO Good Grips—it’s sturdy and fits over most bowls. Press gently with a spatula to extract all the liquid.
Instant-Read Thermometer
Precision matters for custard. A digital instant-read thermometer ensures you hit 180°F without overshooting. The ThermoWorks Thermapen is my go-to—it’s fast and accurate to ±0.5°F. Don’t guess; temperature control makes or breaks your base. 💡
Frequently Asked Questions
Do I need to pre-freeze the machine bowl?
Yes, freeze the bowl for 12-24 hours before churning. It must be completely solid for proper texture.
Can I make this without egg yolks?
You can, but the texture won’t be as rich. Use 2 tbsp cornstarch mixed with 1/4 cup milk as a substitute.
Why is my ice cream icy?
This usually means the custard wasn’t cold enough before churning or over-churned. Ensure it’s 40°F or below.
How long will it keep in the freezer?
Store in an airtight container for up to 1 week for best texture. Press parchment paper to the surface to prevent ice crystals.
Nutrition Facts

Trained in classic French technique but raised on slow-cooked ribs and spicy rubs, she blends culinary skill with smoke and soul.
- Recipe for Boneless Pork Chops in Cast Iron Skillet: Sear and Baste to Juicy Perfection - October 3, 2026
- Recipe for Boneless Cross Rib Roast: Slow-Roasted Beef with Herb Crust - October 3, 2026
- Hamburgers in Sauce Recipe Crock Pot: Slow-Cooked Savory Delight - October 3, 2026