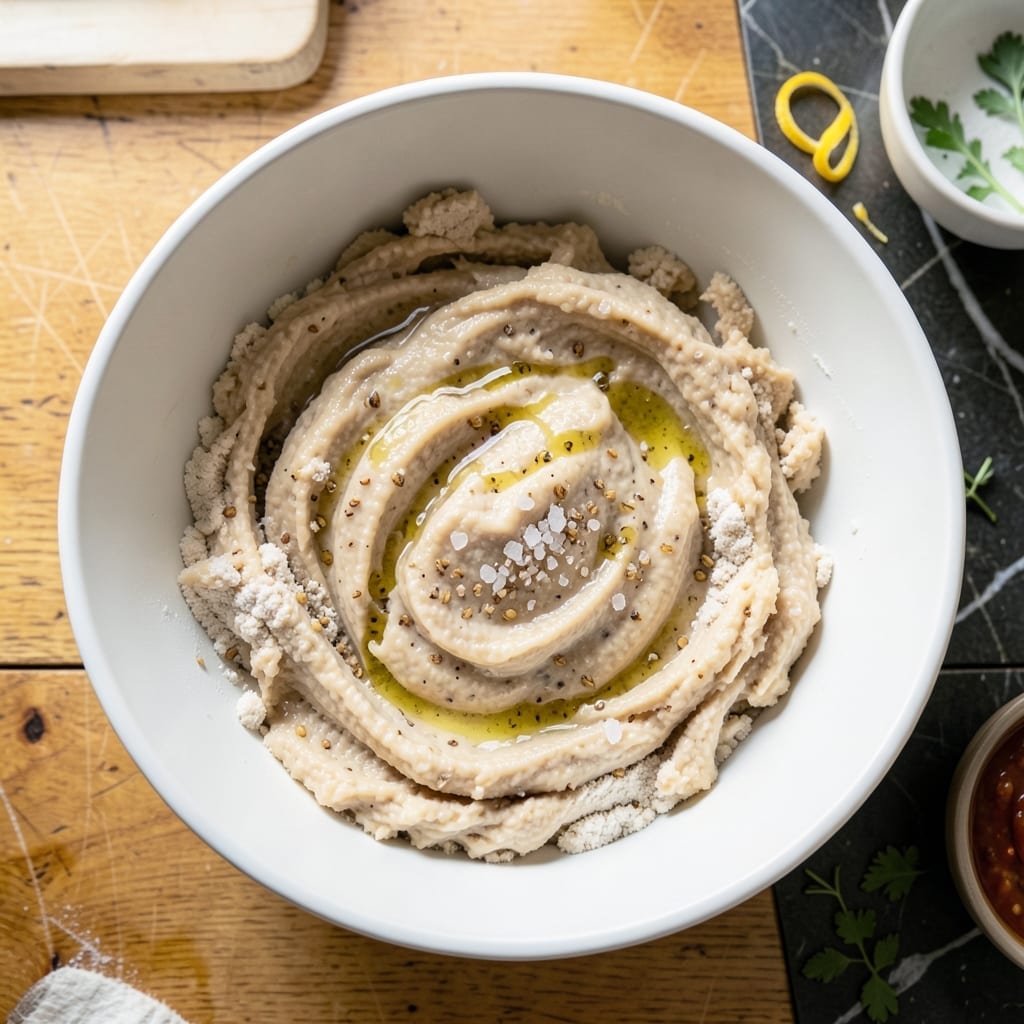
Baking artisan sourdough at home doesn’t require a scale. This method uses precise cup measurements to create a crusty, open-crumb loaf with professional results.
With a simple starter, flour, water, and salt, you’ll achieve that signature sourdough tang and chewy texture. The process takes time but delivers restaurant-quality bread.
Ingredients for Sourdough Recipe in Cups
Eight ingredients deliver professional sourdough without a scale. Precision in cups works.
| Ingredient | Amount | Notes |
|---|---|---|
| Active Sourdough Starter 🍞 | ½ cup | Fed and bubbly, at peak rise |
| Bread Flour 🌾 | 4 ½ cups | High-protein for structure |
| All-Purpose Flour 🌾 | ½ cup | For slight softness balance |
| Warm Water 💧 | 2 ¼ cups | Filtered, 80-85°F ideal |
| Fine Sea Salt 🧂 | 2 tsp | Diamond Crystal preferred |
| Olive Oil 🫒 | 1 tbsp | For bowl lubrication only |
| Rice Flour 🌾 | ¼ cup | For dusting banneton |
| Honey 🍯 | 1 tsp | Optional for starter feeding |
[recipe_ingredient_scaler]
The flour quality is paramount. King Arthur Bread Flour provides consistent protein levels for optimal structure, while a touch of all-purpose adds subtle softness. Your starter must be active—fed within 4-6 hours of use, showing visible bubbles and a slight dome. Warm water temperature matters: too hot kills the yeast, too cold slows fermentation. Filtered water prevents chlorine interference with the wild yeast.
No bread flour? All-purpose in a 50/50 mix with whole wheat increases protein sufficiently. Substitute fine kosher salt at double the volume of sea salt (they weigh differently). The olive oil is purely for convenience—nonstick spray works too. For the banneton dusting, semolina or cornmeal can replace rice flour if needed, though rice flour prevents sticking best.
Store flour in airtight containers in a cool, dark place for up to 6 months. Maintain your starter at room temperature with weekly feedings, or refrigerate for 3-4 weeks between uses. The baked loaf stays fresh 3-4 days in a bread box, or freeze slices for 3 months.
Why You’ll Love This Recipe
- No Fuss Measuring: I love that I can skip the scale and just use cups for everything—starter, flour, water, even the salt.
- That Sourdough Tang: The active starter gives it that classic slightly sour bite that just hits different.
- Weekend Project: Honestly, it’s my favorite way to spend a lazy Saturday—mix, fold, wait, bake.
- Budget Bakes: Bread flour and all-purpose are cheap, and one batch gives me loaves for the whole week.
Step-by-Step Instructions for Sourdough Bread
Master the artisan process with precise timing and sensory cues for a perfect loaf.
Step 1: Mix and Autolyse the Dough
In a large mixing bowl, combine the 0.5 cup Active Sourdough Starter, 4.5 cups Bread Flour, 0.5 cup All-Purpose Flour, and 2.25 cups Warm Water. Stir with a wooden spoon or your hands until no dry flour remains. The mixture will be shaggy and sticky—that’s exactly what you want at this stage.
Cover the bowl with a damp towel and let it rest for 30-60 minutes. This autolyse period allows the flour to fully hydrate and gluten to begin developing without kneading. You’ll notice the dough becomes smoother and more elastic as it sits.
Step 2: Incorporate Salt and Perform Stretch-and-Folds
After autolyse, sprinkle the 2 tsp Fine Sea Salt evenly over the dough. Wet your hands to prevent sticking, then dimple the salt into the dough by pinching and folding it repeatedly. Continue until the salt is fully dissolved and the dough feels cohesive.
Over the next 2 hours, perform a series of stretch-and-folds—every 30 minutes, wet your hands, grab one side of the dough, stretch it upward, and fold it over the top. Rotate the bowl and repeat on all sides. After 4 sets, the dough should feel stronger, with visible gluten strands when stretched.
Step 3: Bulk Ferment Until Nearly Doubled
Cover the bowl and let the dough ferment at room temperature (70-75°F ideal) for 4-6 hours. You’re looking for a 50-75% rise in volume—it should be puffy, with bubbles visible on the surface and sides. The dough will appear jiggly when gently shaken.
If your kitchen is cooler, bulk fermentation may take up to 8 hours. If warmer, it may finish in 3 hours. Watch the dough, not the clock. The surface should look slightly domed, and a finger pressed lightly into the dough should leave a slow-springing indent.
Step 4: Shape and Proof in Banneton
Turn the dough onto a lightly floured surface. Shape it into a tight boule by pulling the edges toward the center and pinching to seal, then rolling it gently to build surface tension. Lightly dust a banneton with the 0.25 cup Rice Flour to prevent sticking during proofing.
Place the shaped dough seam-side up in the banneton. Cover and refrigerate for 12-18 hours (overnight works perfectly). Cold proofing slows fermentation, enhances flavor development, and makes scoring easier. The dough should hold its shape and feel firm when ready to bake.
Step 5: Bake to Golden Perfection
Preheat your oven to 475°F with a Dutch oven inside for 1 hour. Turn the cold dough onto parchment paper, score the top with a sharp blade or razor, and transfer it to the hot Dutch oven using the parchment as a sling.
Bake covered for 20 minutes, then remove the lid and bake for another 20-25 minutes until the crust is deep golden brown and the internal temperature reaches 205-210°F. Cool on a wire rack for at least 1 hour before slicing to allow the crumb to set fully.
Pro Tips For Making Sourdough Recipe In Cups
- Feed Your Starter: Use an active starter that’s been fed 4-8 hours before mixing—it should float in water when tested. I learned this the hard way after baking dense bricks with a sluggish starter.
- Autolyse First: Mix the flours and warm water first, then let it rest for 30-60 minutes before adding salt and starter. This builds gluten without extra kneading.
- Skip Cold Water: Warm water (about 85°F) kickstarts fermentation faster and helps the dough rise consistently. Cold water just slows everything down.
- Salt Last: Hold off on adding the fine sea salt until after the autolyse phase—it can inhibit gluten development if added too early. Sounds weird, but it works.
Make-Ahead Tips for This Recipe
Prep the Starter
Feed your starter 8-12 hours before mixing dough. I combine ¼ cup starter, ¼ cup bread flour, and ¼ cup warm water with 1 tsp honey for a boost. It should triple in volume and show active bubbles when ready. 💡
Mix Dough Early
Combine all dough ingredients the night before baking. After autolyse, cover and refrigerate for 8-12 hours. This head start develops flavor and fits your schedule. I often prep before bed for morning shaping.
Cold Bulk Ferment
After mixing, perform the first 2 stretch-and-folds at room temp, then refrigerate the dough for the remaining bulk fermentation. This can extend to 24 hours without overproofing, giving you flexibility.
Shape in Advance
Shape your dough up to 4 hours before baking and keep it in the banneton at room temperature. Cover with a damp towel to prevent drying. This works well if your oven schedule is unpredictable.
Freeze for Later
After shaping, you can freeze the dough in the banneton for up to 1 month. Wrap tightly in plastic wrap first. Thaw overnight in the fridge, then bake as usual. ✨
Preheat Strategically
Place your Dutch oven in the oven while preheating to 475°F. I set a timer for 1 hour to ensure it’s fully hot. This step can be done while you shape your final loaf.
Nutrition Facts
Frequently Asked Questions
Can I use all-purpose flour instead of bread flour?
Yes, but use a 50/50 mix with whole wheat to boost protein. Bread flour’s higher protein creates better structure and chew. All-purpose alone may yield a denser loaf.
How do I know when bulk fermentation is done?
Look for a 50-75% volume increase with visible bubbles. The dough should jiggle slightly and leave a slow-springing indent when poked. Timing varies by temperature.
Why does my sourdough have a dense crumb?
Underproofing or weak starter are common causes. Ensure your starter is active and dough nearly doubles during bulk fermentation. Proper stretch-and-folds also develop gluten for an open crumb.

Trained in classic French technique but raised on slow-cooked ribs and spicy rubs, she blends culinary skill with smoke and soul.
- Recipe for Boneless Pork Chops in Cast Iron Skillet: Sear and Baste to Juicy Perfection - October 3, 2026
- Recipe for Boneless Cross Rib Roast: Slow-Roasted Beef with Herb Crust - October 3, 2026
- Hamburgers in Sauce Recipe Crock Pot: Slow-Cooked Savory Delight - October 3, 2026